13
2013As I mentioned when I was defining all of these terms in my Painting with Light post, back lighting can be just plain tough! Oh, but I love to backlight for families and maternity… so I’m a bit giddy about this post regardless :-p
Lighting a subject from behind requires us to meter for the light in one of three ways in camera: meter for the background, meter for the subject, or meter for the subject and then adjust using the Zone System or by trial and error, so that we keep some detail in the background. I’m going to touch on the advantages and disadvantages of each of these methods briefly in this post.
However, I want you to know that you can modify the light in a back lit photo through the use of light modification: for our class that would mean: on-camera flash or a reflector. Or you can modify the image in post-processing/editing to get a pleasing composition. Both of those options will be covered in upcoming lessons.
Metering Back Lighting for the Background
Using an evaluative or multi-segmented metering mode (most camera’s default) and not adjusting manually using zone system (or trial and error) is going to create a back lit image where your subject is either very dark or silhouetted every single time.
Advantages
Back lit subjects exposed for the background can create dramatic silhouettes. Those whose figures are just shadowed, can give you a sense that you’re peaking in on their world but still retain some detail in the imagery.
It is easy to create back lit images where the background is properly exposed using Auto/A/S/P modes with no to just a bit of an adjustment in Exposure Value.
Disadvantages
You’re going to have a dark subject with very little detail. Depending on what you’re trying to capture: this could be detrimental to your imagery.
Case Studies

My husband bird watching. I pretty much made him drop everything when I saw this back lighting and the geese in the water. This is so him!
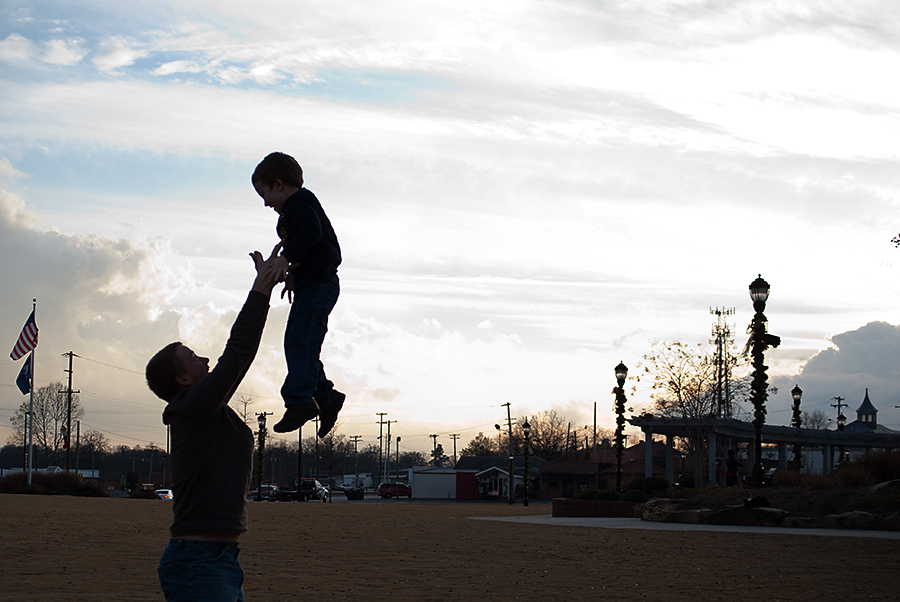
I exposed here for the background (specifically the sky). It’s actually a little distracting with all those cars and buildings… but I love the silhouette high in the sky.
Metering Back Lighting for the Subject
To meter for the subject, we’ll have to switch our metering mode to spot metering. You’re going to have to dive into your manual to figure out how to choose the spot, but you’ll want to spot meter right on your subject whether that is a person (aim for their skin if so) or a palm tree.
Advantages
The advantages of metering your back lit scene for your subject is that your subject will be clearly defined. You’ll be able to see all the detail in that person or tree or scene.
With Spot metering as your metering mode, you may be able to use Auto/A/S/P modes to capture your image.
Disadvantages
The disadvantage of using this method is that if your scene is very bright, you’re likely to blow the highlights of the background. The resulting image will have a well lit subject with a bright almost white background with little detail.
Case Studies
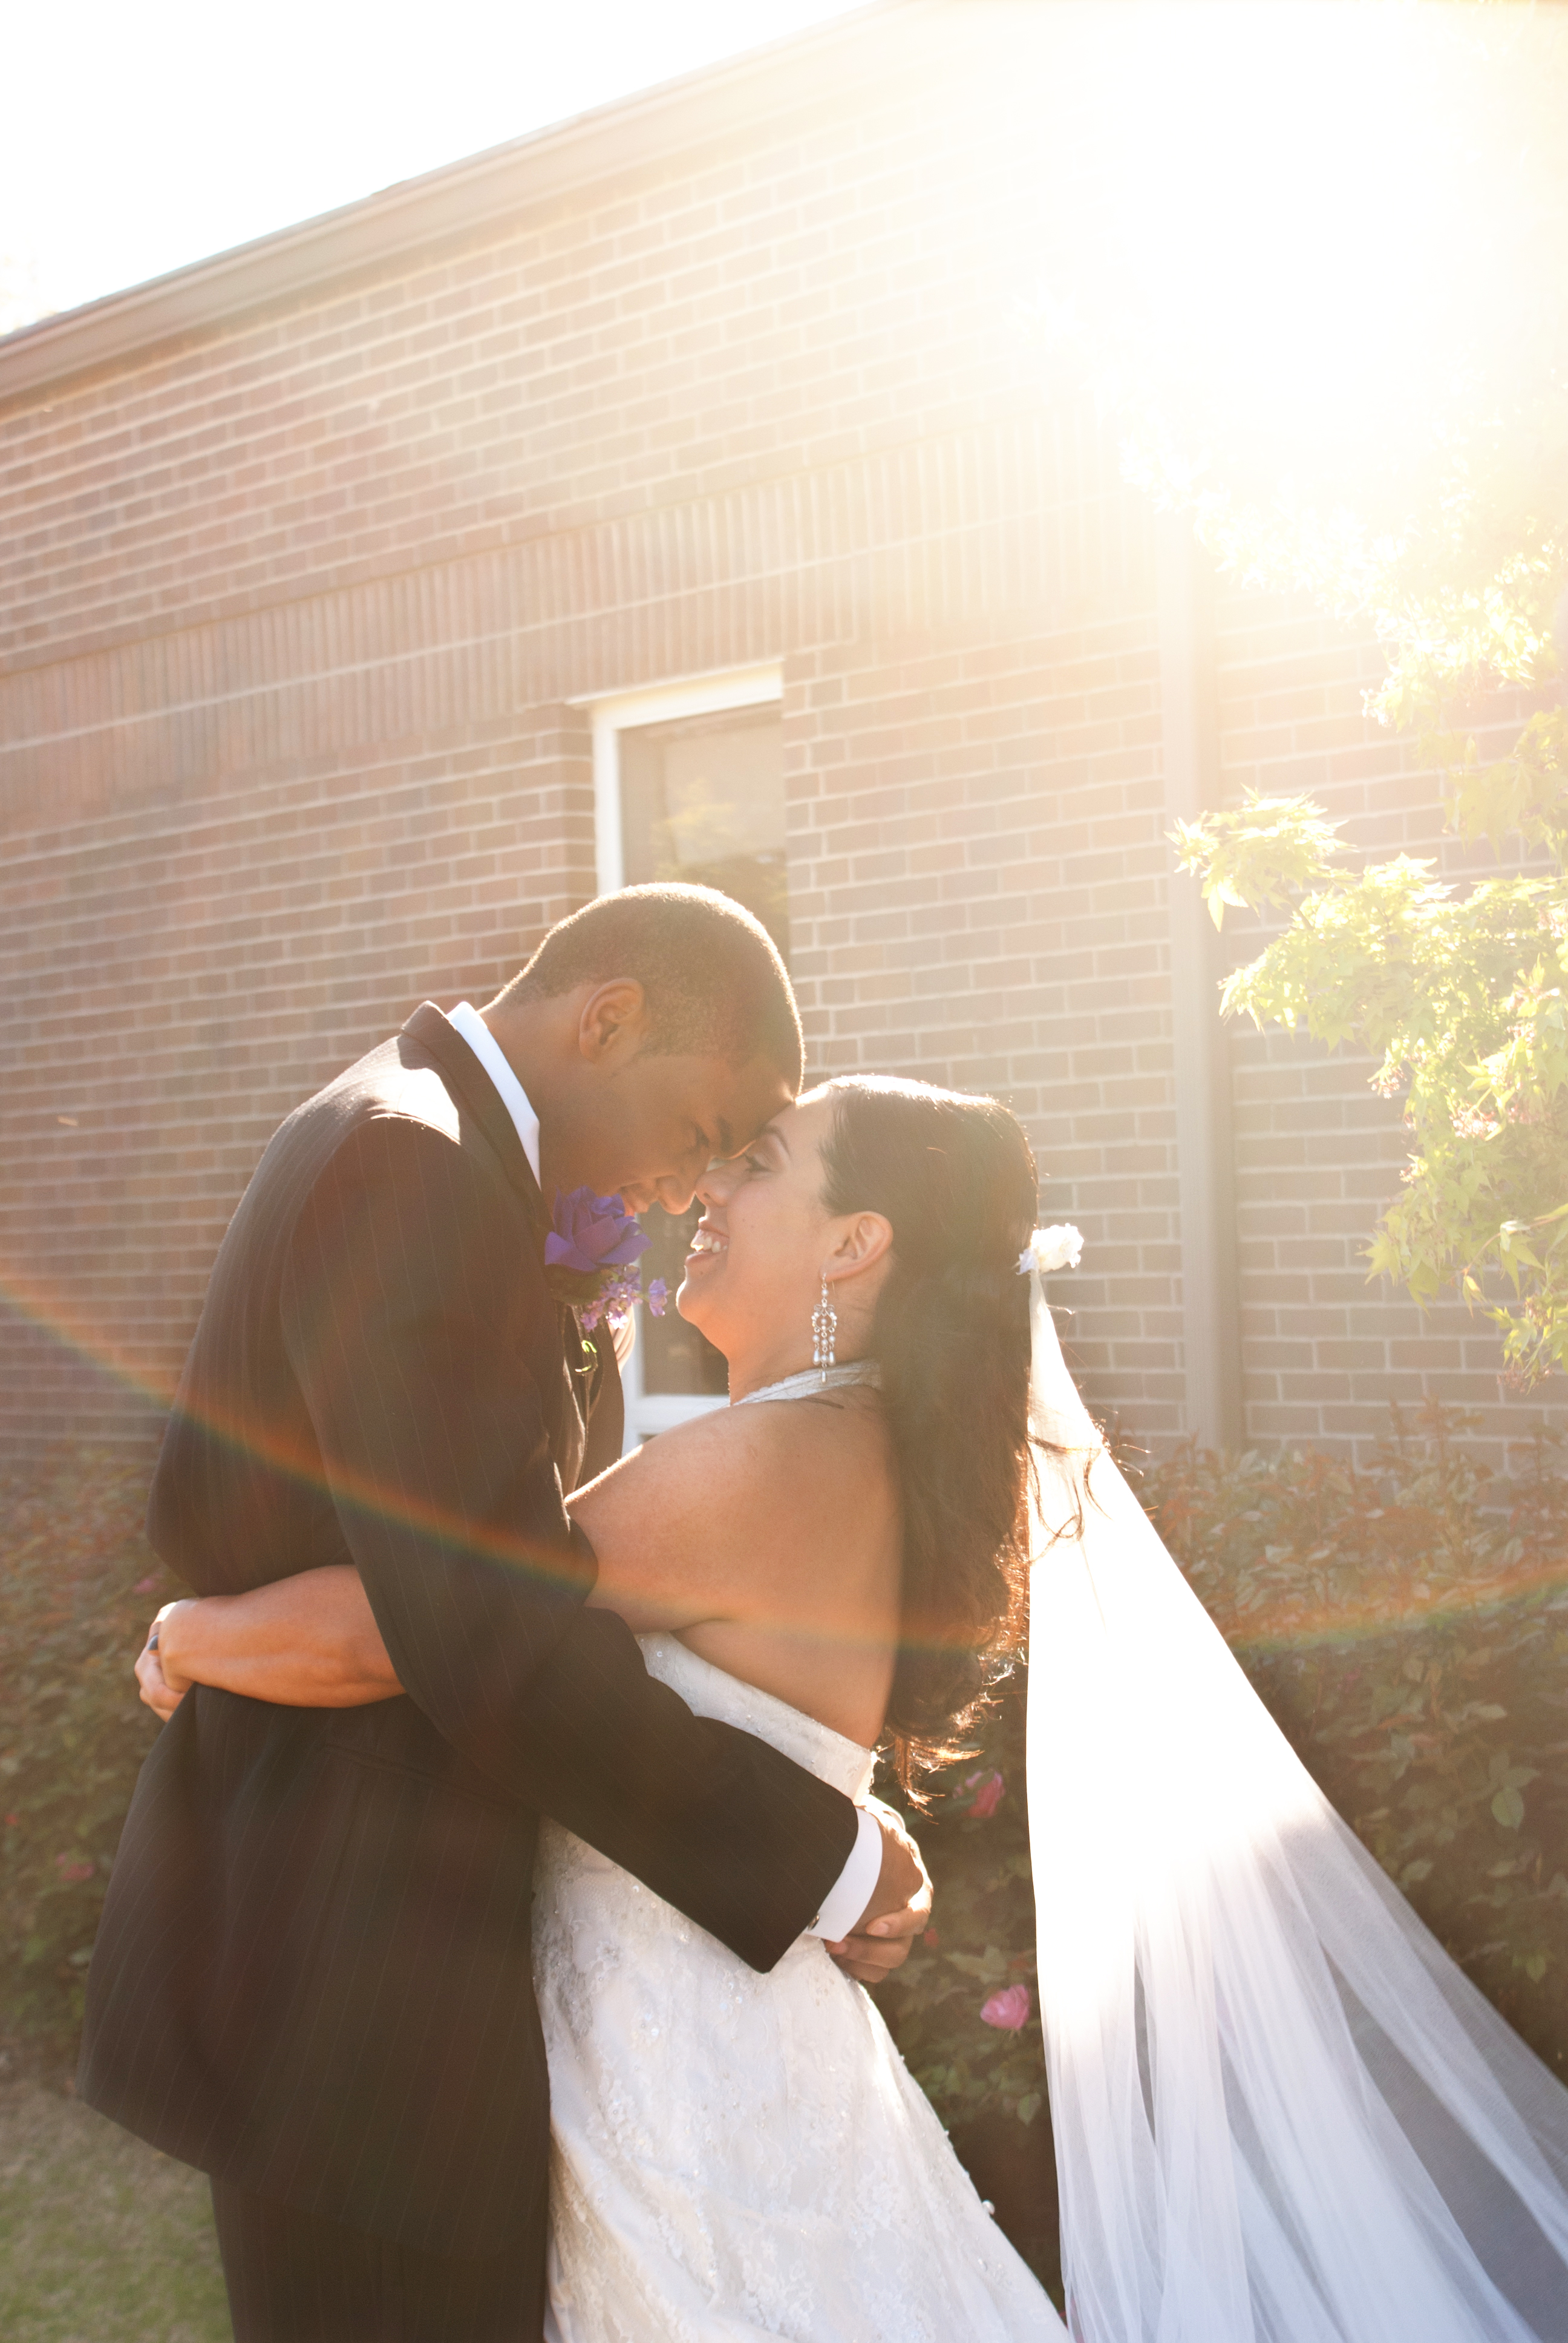
Here I exposed for the subjects. (no… I don’t do weddings. I was a volunteer second shooter here for my sister in law. I never would have posed these guys in front of that brick building… sigh). The sky is blown out, but luckily the sky is not the majority of this image. And that intentional sunflare… ah… to die for. 🙂
Metering for the Subject and Adjusting in Manual Mode
So this is our middle ground for back lit subjects. If you’re trying not to silhouette your subject and yet you’re in a situation where metering for your subject will blow out the background, this is the only way to correct in-camera without light modifiers, editing, or com positing two images together.
To do this: meter for your subject in spot metering. Then use exposure bracketing to bracket up to a full 2 stops below. Have a look-see on the LCD and decide which image has the best exposure for both your subject and your backdrop. (Alternatively, you could use the zone system to calculate how many stops you would need to move below to retain some detail in your highlights.)
Advantages
You’ll have a pretty decent exposure for both the background and your subject.
Disadvantages.
Your subject may still be darker and your background may still be lighter than you would like. You’ll likely want to run this image through editing software in post-processing to fix both of these downfalls.
Case Studies
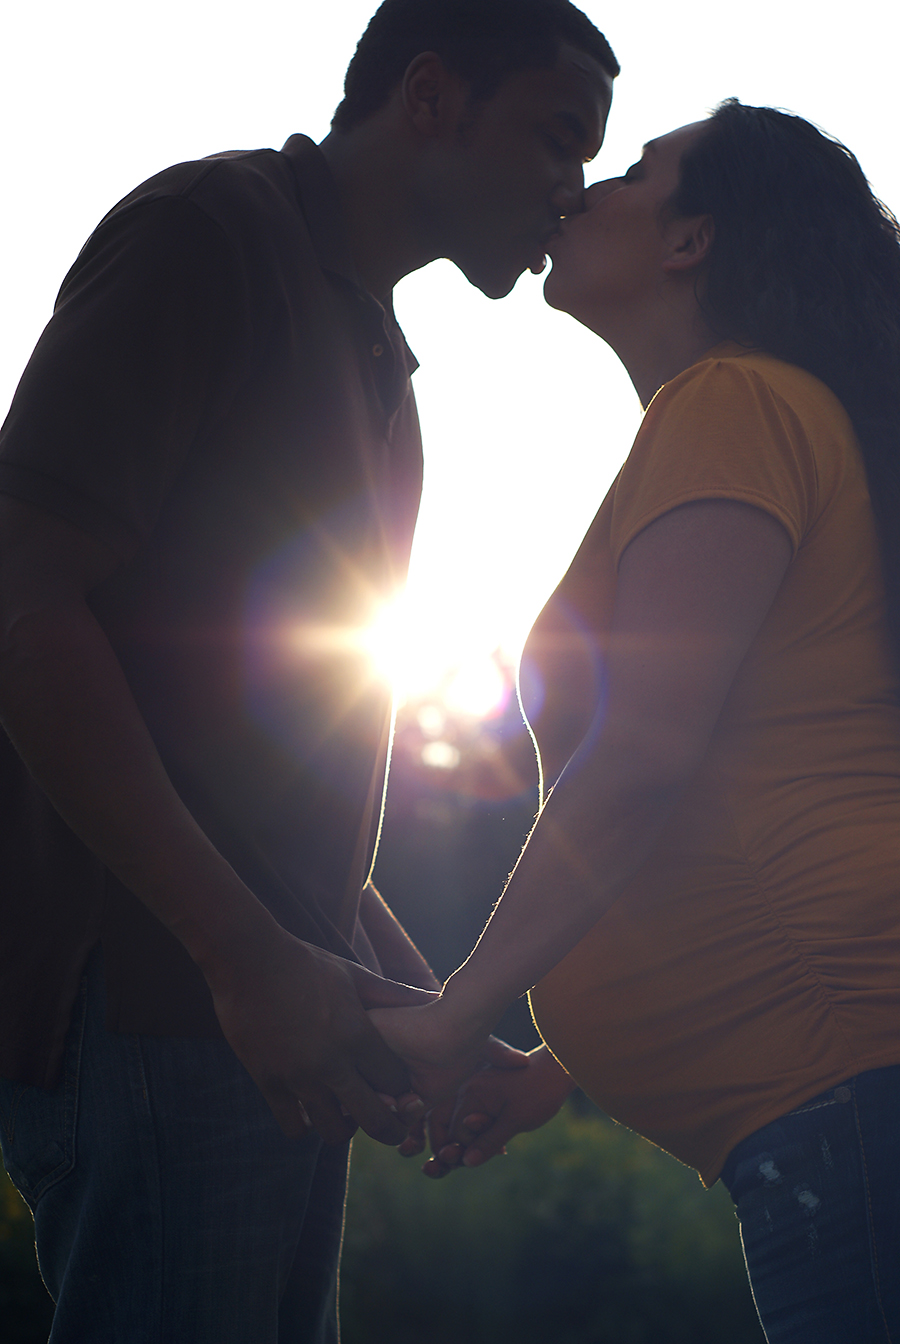
I aimed for the middle in this image. I wanted some detail in the back and some on the subjects. I think I could have done a better job here, but it was a moment inspired solely by the angle/location of the sun 🙂
Side by Side Comparison
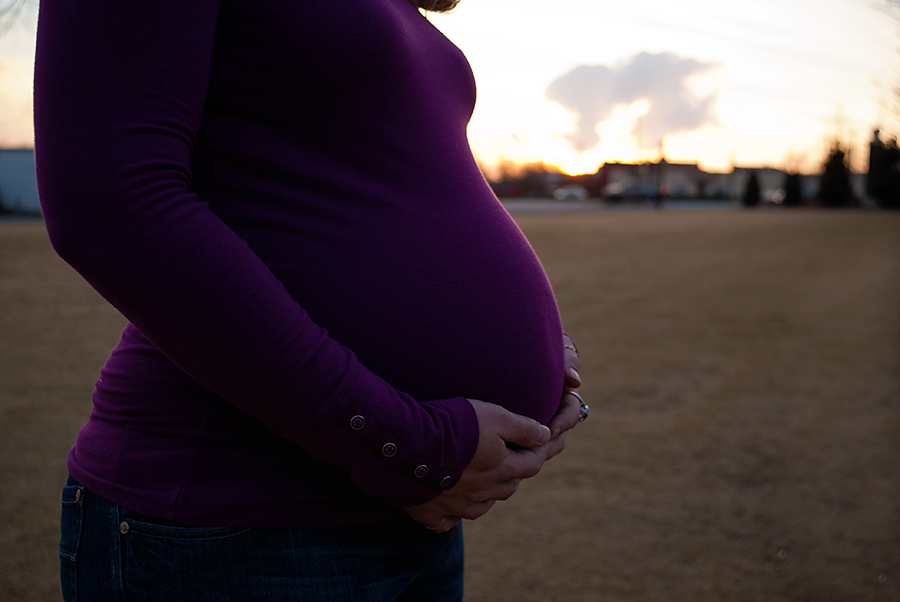
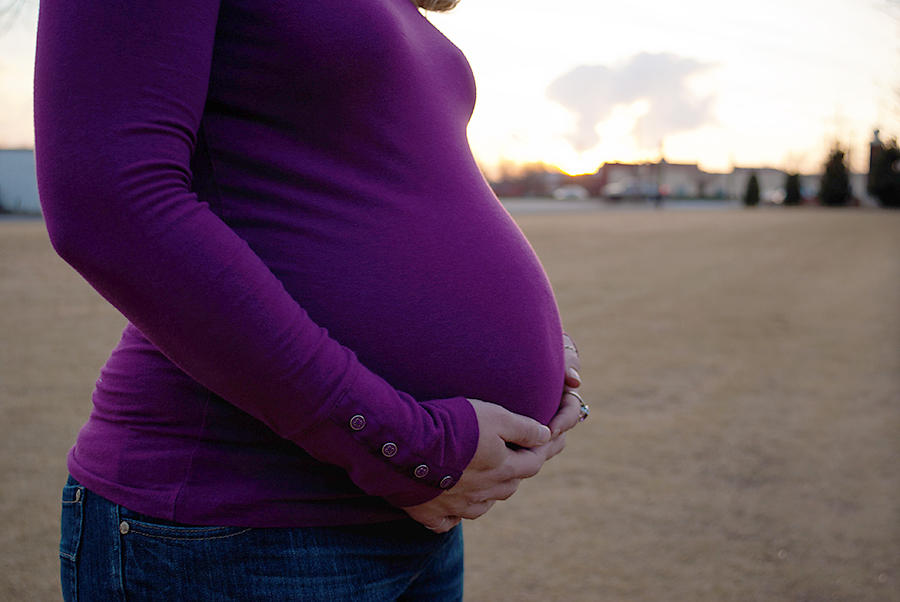
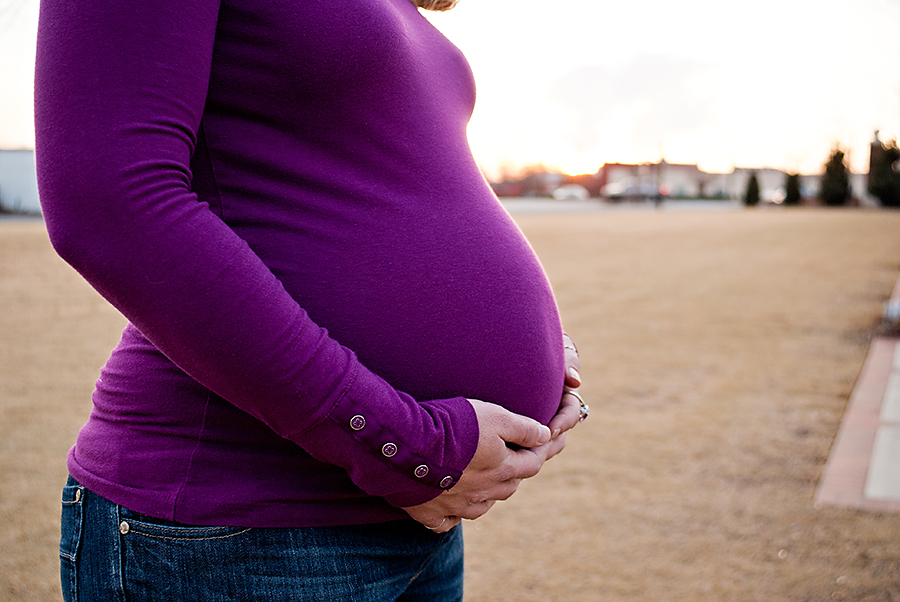
I actually exposed for the background with this image straight out of the camera (I liked the rim lighting around the baby bump.) So this series of images are actually different post processing edits that would show you how each of these scenarios would look as if I had did it in all of the methods described above.
Assignment
Remember at the end of August I’ll be giving you an assignment to take imagery in a bunch of lighting types. You can start on this now or wait until I announce the assignment. September will be a no assignment month, giving everyone a bit of time to catch up.
08
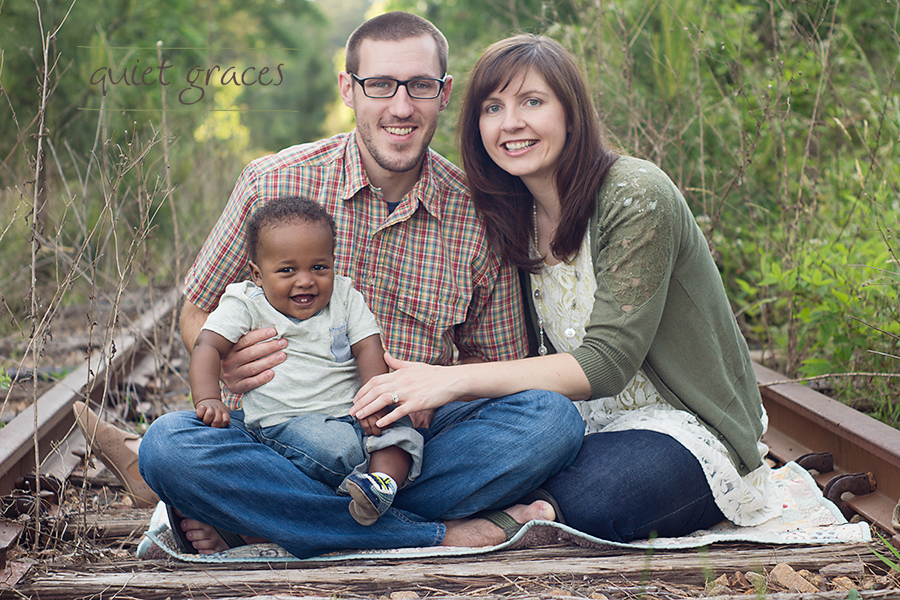
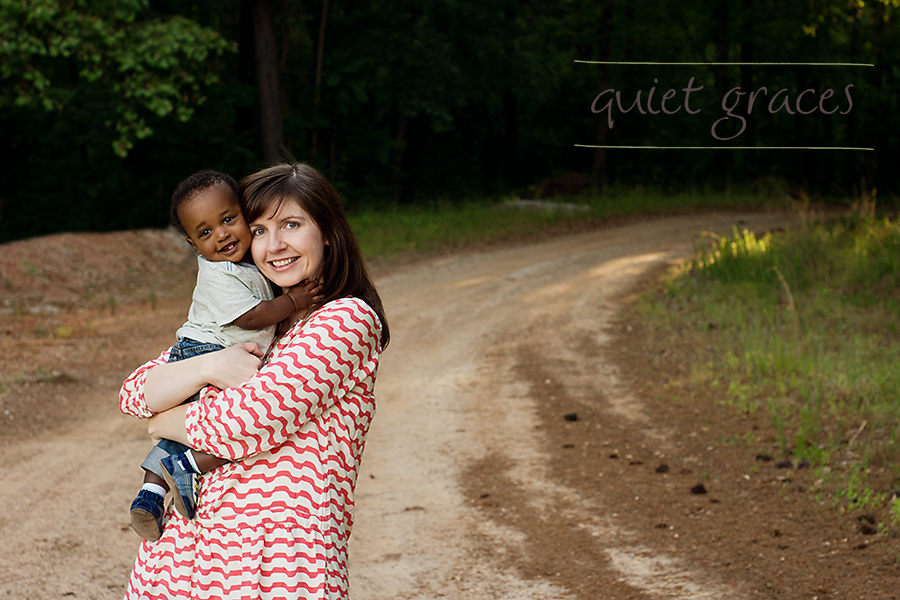
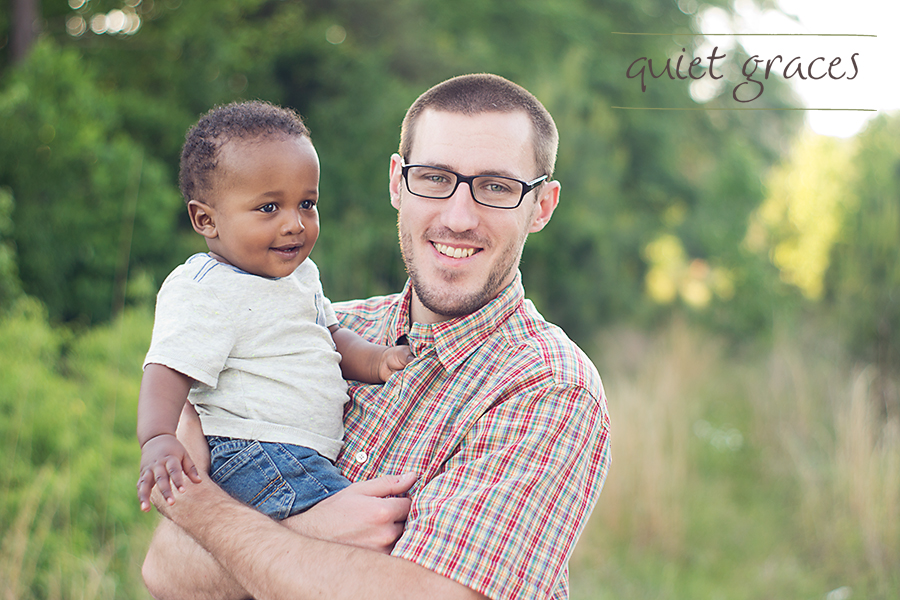
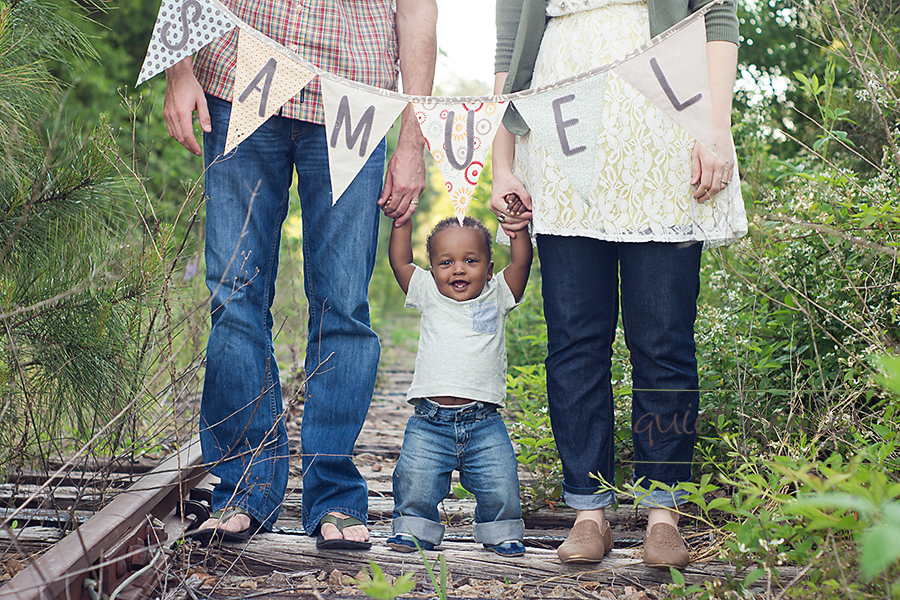
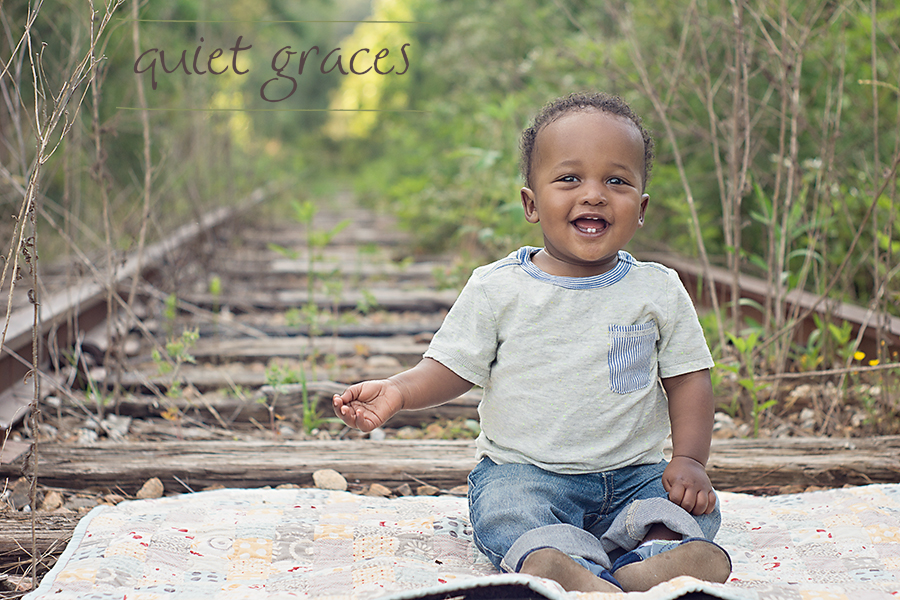
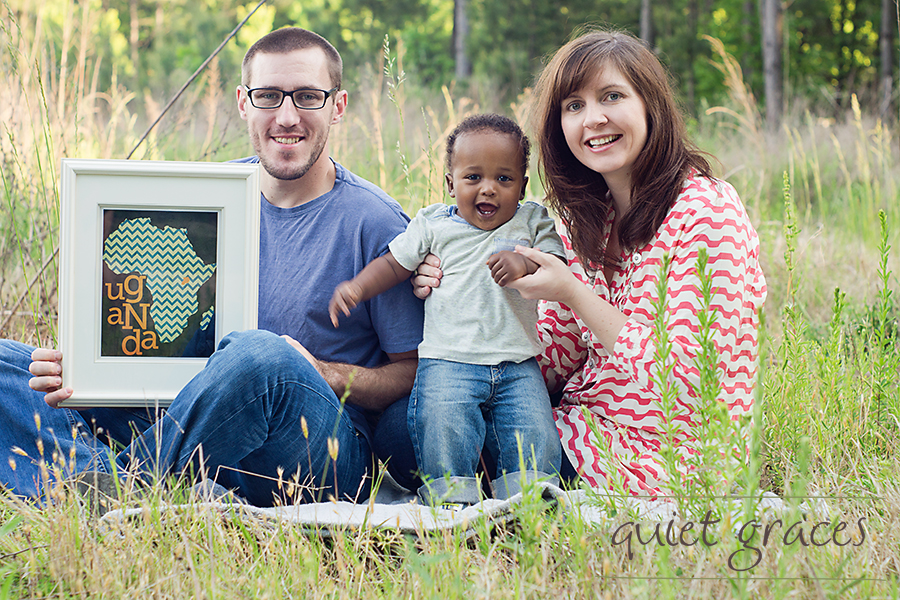
2013I am so grateful I was able to photograph this Greenville SC Baby Photography session.
Samuel is a little boy well loved and in a home of grace that his heavenly Father prepared for him. This little boy was a positive delight, full of smiles laughter and wonder. And oh how his parents love and delight in him.
Best of all, I was able to help them announce their next adoption! If you would like to help this family bring home another child or two, please consider donating $15 dollars; for every donation they receive, they’ll make a dress for another orphan. I really think this is a super exciting way to raise money for an adoption.
06
2013Side lighting can have a lot of variation. For the purpose of this class, I’m going to call this type of lighting anything that isn’t 80% or more front lit and anything that isn’t back lit. We could have light reaching only one side of the face and blocked completely by the features. Or we could have a minimum of side lighting where the image is still a little flat but is gaining some shadows.
Because of the huge range that side lighting covers, the effect can be very dramatic and mysterious to just hints of dimension by the shadows.. Of all lighting types, this one can be most harnessed for the effect you most desire. I’ve found that as I am able to control my light more after switching to continuous lighting, that I prefer the dimension created by side lighting. I like the contrast and depth in newborn portraits and I find myself hungering for this lighting in portraits of my own children. This may be my current obsession. I try to keep my light generally at a 45 degree angle. However, I want you to play with and enjoy this lighting type so feel free to experiment as I am now.
I think the most difficult part of side lighting is matching your images emotion and energy to your lighting. The first image in the case studies below is a great example. Her serious mud tasting expression coupled with the dramatic light across her face makes for lighting that really compliments the mood of the image. Had she be smiling, I don’t think this image would have been such a favorite for me. So the short lesson her is to look for side lighting that compliments your subject. I can see side lighting being really beautiful bringing out the texture in gorgeous architecture, so don’t think this is just a portrait type lighting. Experiment!
Side Lighting Case Studies

The light here is at almost a 90 degree angle to her face. Her brow and nose are shadowing the entire image right side of her face. This type of dramatic side lighting can be really fun to use.
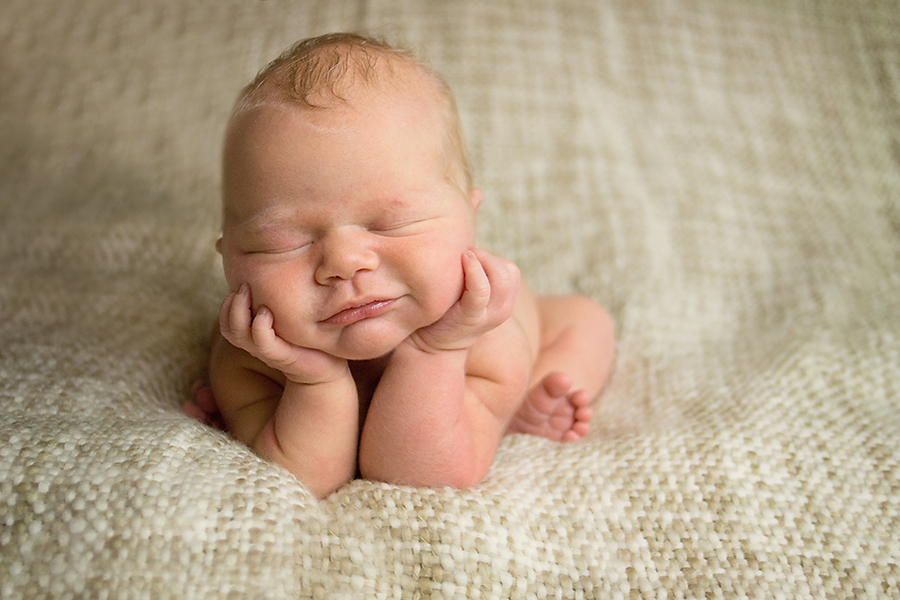
This is the 45 degree side lighting angle that I’ve become so fond of in my newborn portraiture. I love love love the drama this adds to the final image.
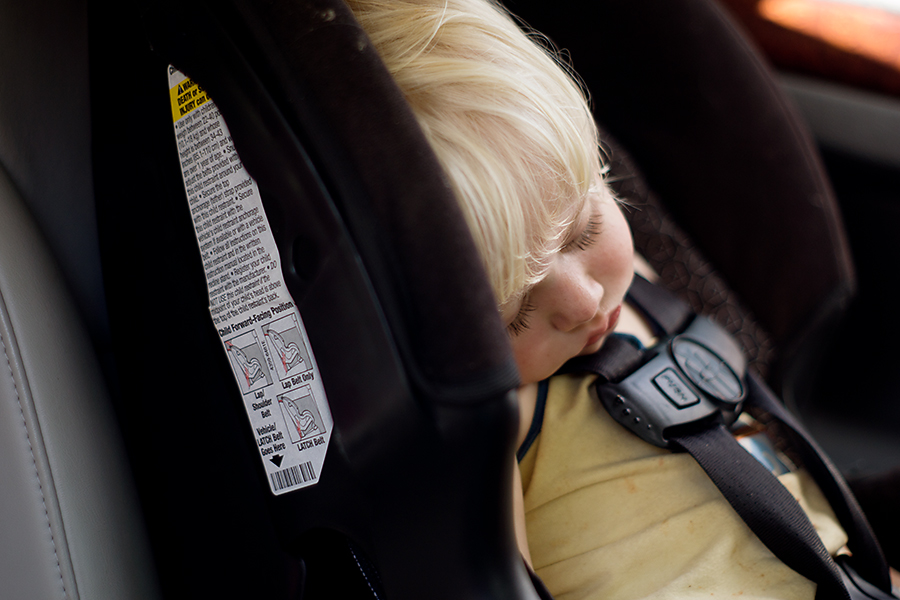
Available light from the window behind him is lighting up the far side of his face while the closer side is deep in shadows. I liked the side lighting here so much, that I actually took out my big camera just to snap this image. It’s beautiful and soft, but the shadows give such a rich depth.
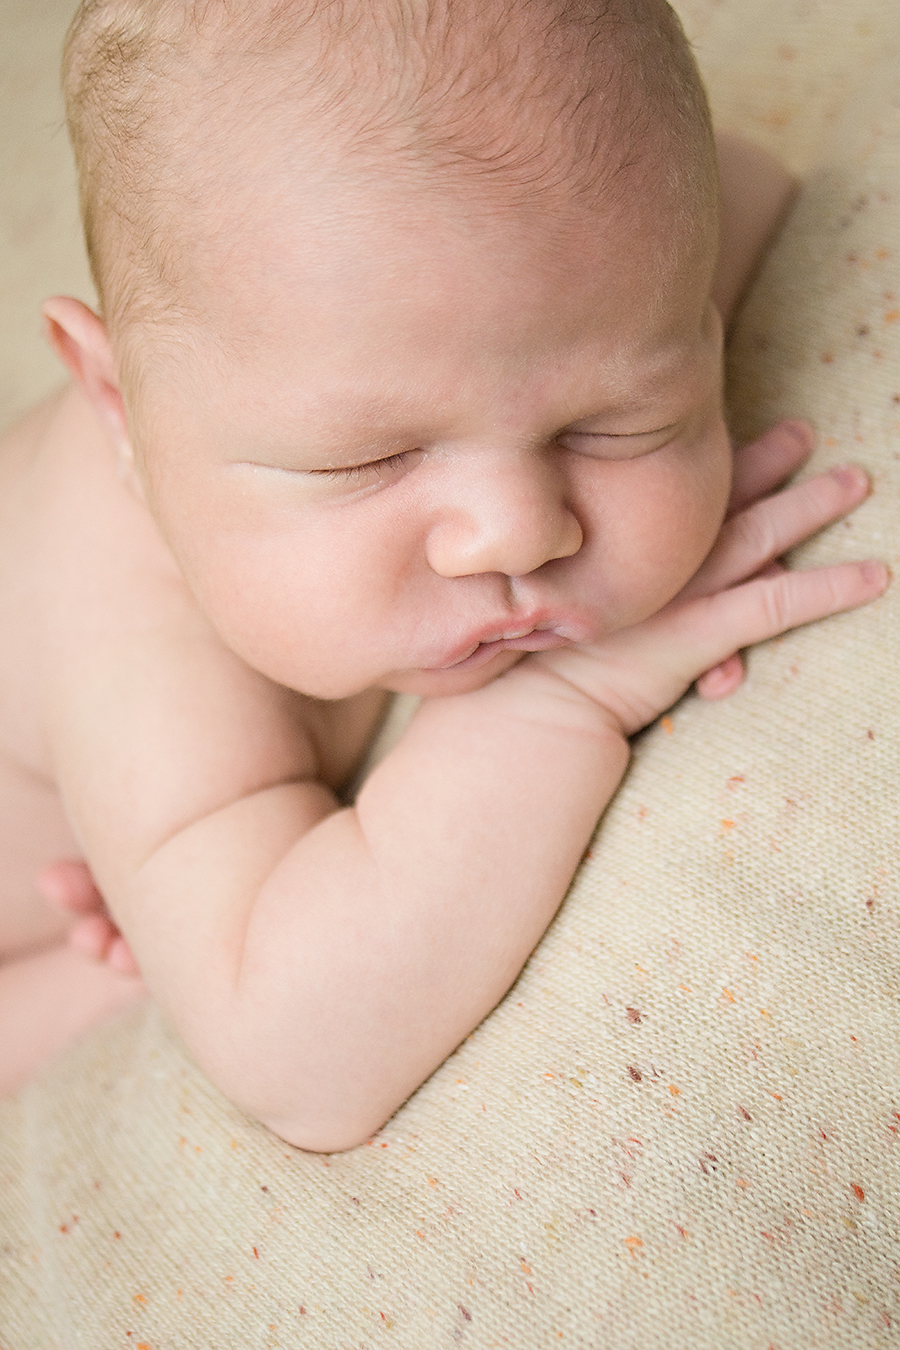
The side lighting here isn’t quite 45 degrees. I just can’t get over how much depth this lighting versus flat lighting creates for these little people. For me this means, I’m finally developing a style that I love 🙂
Assignment
Remember at the end of August I’ll be giving you an assignment to take imagery in a bunch of lighting types. You can start on this now or wait until I announce the assignment. September will be a no assignment month, giving everyone a bit of time to catch up.
04
201301
2013Ok… the story behind this post title. Ha!
Karen and Shamus are our church small group leaders. Before his birth we were at small group chatting about which day the following week would be the induction date.
Karen exclaimed something along the lines of, “Any day next week but Valentines day!”
Shamus said something like, “Why not? Then he’d be Zan the Love Man? No wait… no one better call him that.”
Next thing you know, the whole small group is calling him “Zan the Love Man.”
Sorry, Zan, the nickname is going to stick, but we promise not to tease you too much.
Oh, no! I think we’ve hurt his feelings!
(On a side note, isn’t this the most awesome frown?! I love it!)
Relational Greenville, SC Newborn Photography
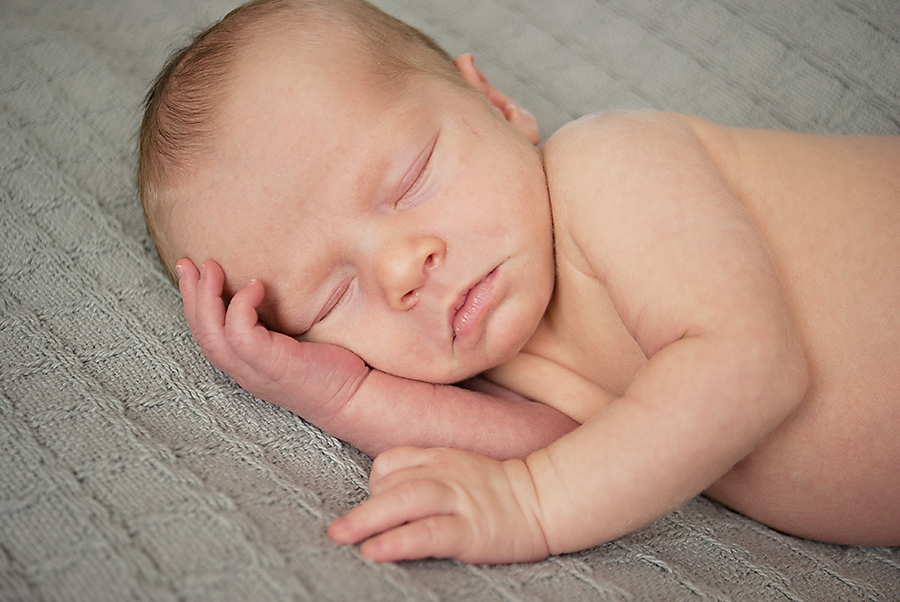
So this was the session that sort of set my philosophy for Greenville, SC newborn photography. I want to capture newborns all asleep and curly and adorable, but I also want to capture them in relationship to the people who love them most. I know the roller coaster that Karen and Shamus rode while waiting and praying for Zan. And the following image just makes my heart soar because I know I’m looking at hope realized.
This is why if during your pre-session consult you say “I’m not sure I want to be in images with my baby.” I’m literally going to beg you to get in the picture. These images will be images that your child treasures long after you’re gone. They’re the images that tell the story of relationship, of joy at your child’s arrival, of the very grace of God.
Just a few more images of Zan for you to enjoy. I really love this kiddo and I can’t believe he’s already half a year old. Where did the time go already?
