29
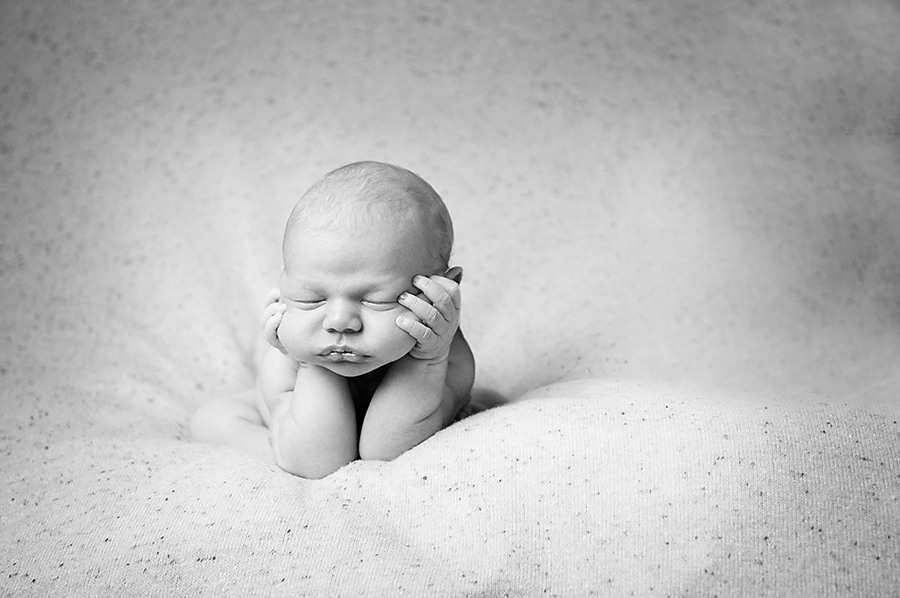
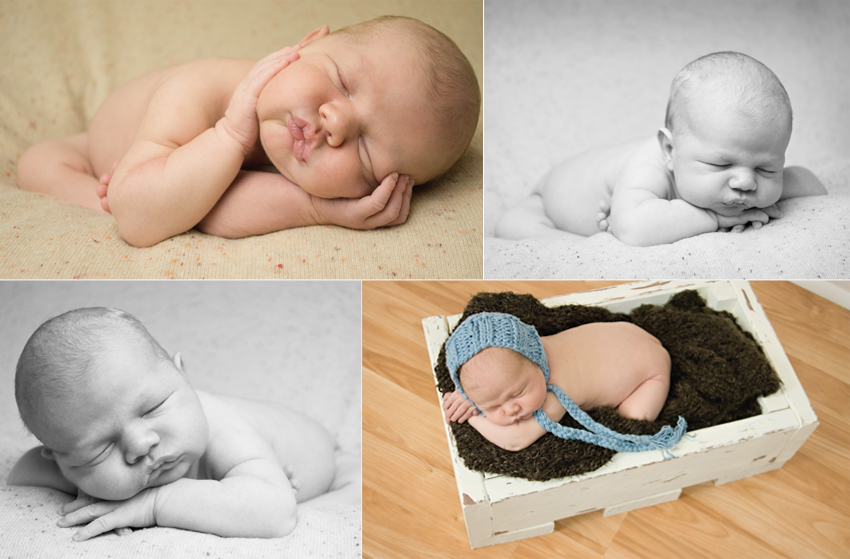
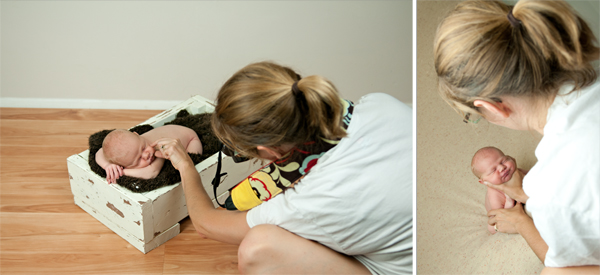
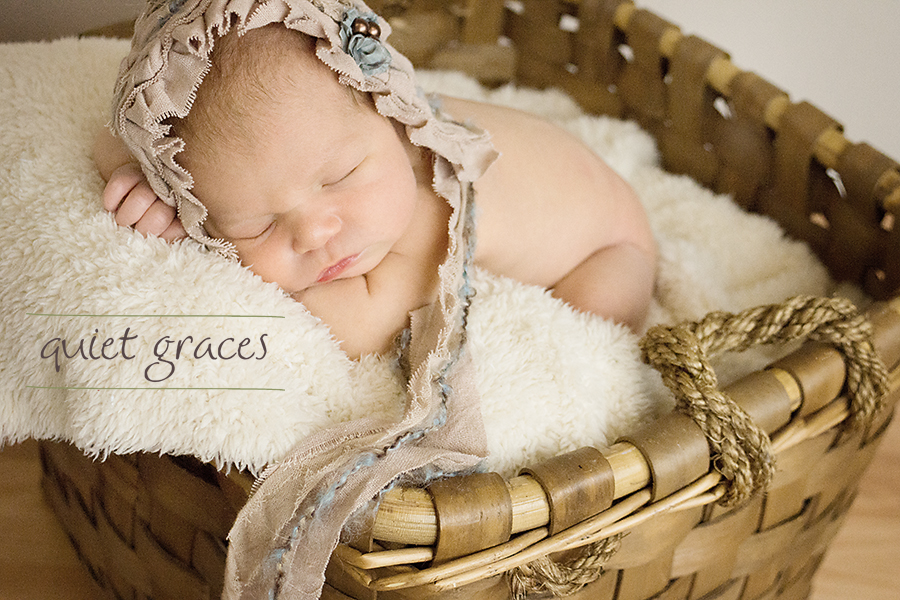
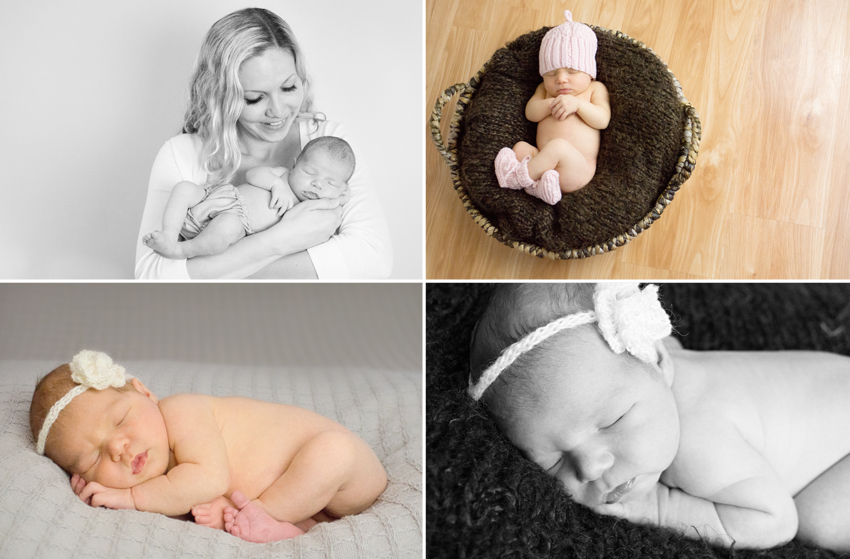
2013Andrew’s mommy is a photographer acquaintance from college. I saw her using Pinterest to collect tutorials on the “Frog Pose” featured above and offered to help her achieve that image. I guess that means I’m a Greer SC Newborn Photographer who does mentoring sessions? I really do love helping other photographers learn 🙂
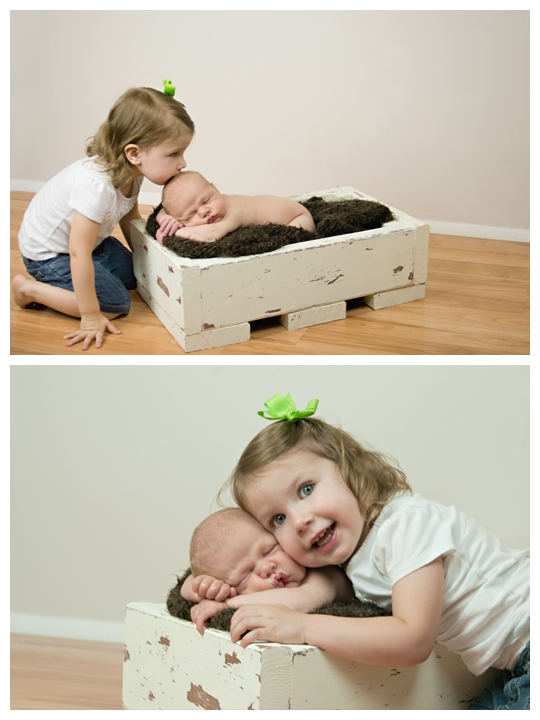
Let me tell you, it was so nice to have another photographer in the room. I could pose and she could photograph which is one of those things that make sibling images so much smoother: especially with a sibling as young as Sophie (2). It was a little slice of heaven. So about half of these images she took and the other half I did, but I edited them all for the purpose of this blog 🙂
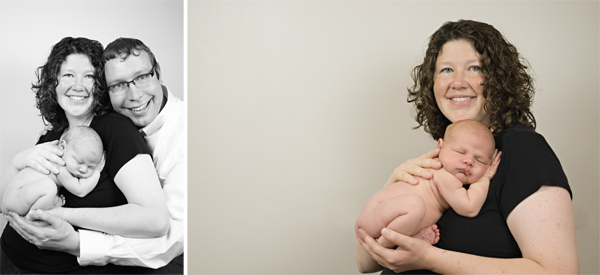
But the real reason I invited her over was so that Michelle could get in the images too. As a photographer, it’s pretty difficult to get ourselves in our images and I wanted to give her that gift.
In return, Michelle gifted me some images of me doing one of the things I love most: posing squishy little babies. Thank you, Michelle!
27
2013There are situations where the image you want to create cannot be done well in the available light. When this occurs, it’s time for a little light modification. We’re going to explore the most simple forms of light modification here for those situations where you want to improve your imagery.
Reflectors
A reflector is anything that bounces light back at your subject. Photographers use both natural reflectors in our scenes as well as hand held reflectors.
Using a reflector is all a matter of angles. Lets say we’re side lighting a portrait but would like a little more light on the dark side of the face. Solution: hold up or use a natural reflector to angle light back into the portrait from the opposite side. Using a reflector during mid-day shoots is must for reducing those under eye shadows. Finding the right angle will be a matter of experimentation unless you’re good with visual geometry.
Natural Reflectors
Natural environmental reflectors are all around us. For instance, the white walls of a house will naturally reflect whatever light enters the home. Other natural reflectors include water, white/tan sand, light colored cement, white walls, and just about anything white/pale gray that will bounce light back into your subject from your environment.
With a natural reflector that’s immobile you’ll likely have to move your subject around to find the angle that works best.
Handheld Reflectors
I have used white poster board, towels, and burp clothes as handheld reflectors. You don’t have to buy a specialized piece of equipment, but if you want to buy here is a cheap one on Amazon (affiliate link). Purchased reflectors will have different colors: often silver, gold, and sometimes black to block light.
Examples when using a Handheld Reflector
The reflector used in this shoot is much larger than the one I linked, but this will give you a visual of using one.
Diffusers
Diffusers soften light and are great for those times where you can’t avoid mid-day portraits. Holding a diffuser over a subject will soften that overhead light. Diffusing light through a sheer white curtain will make window light softer in your portraits.
Like reflectors diffusers can be purchased, but for your purposes, a sheer white curtain panel and a white sheet/length of fabric should be perfect should you ever need to use one.
22
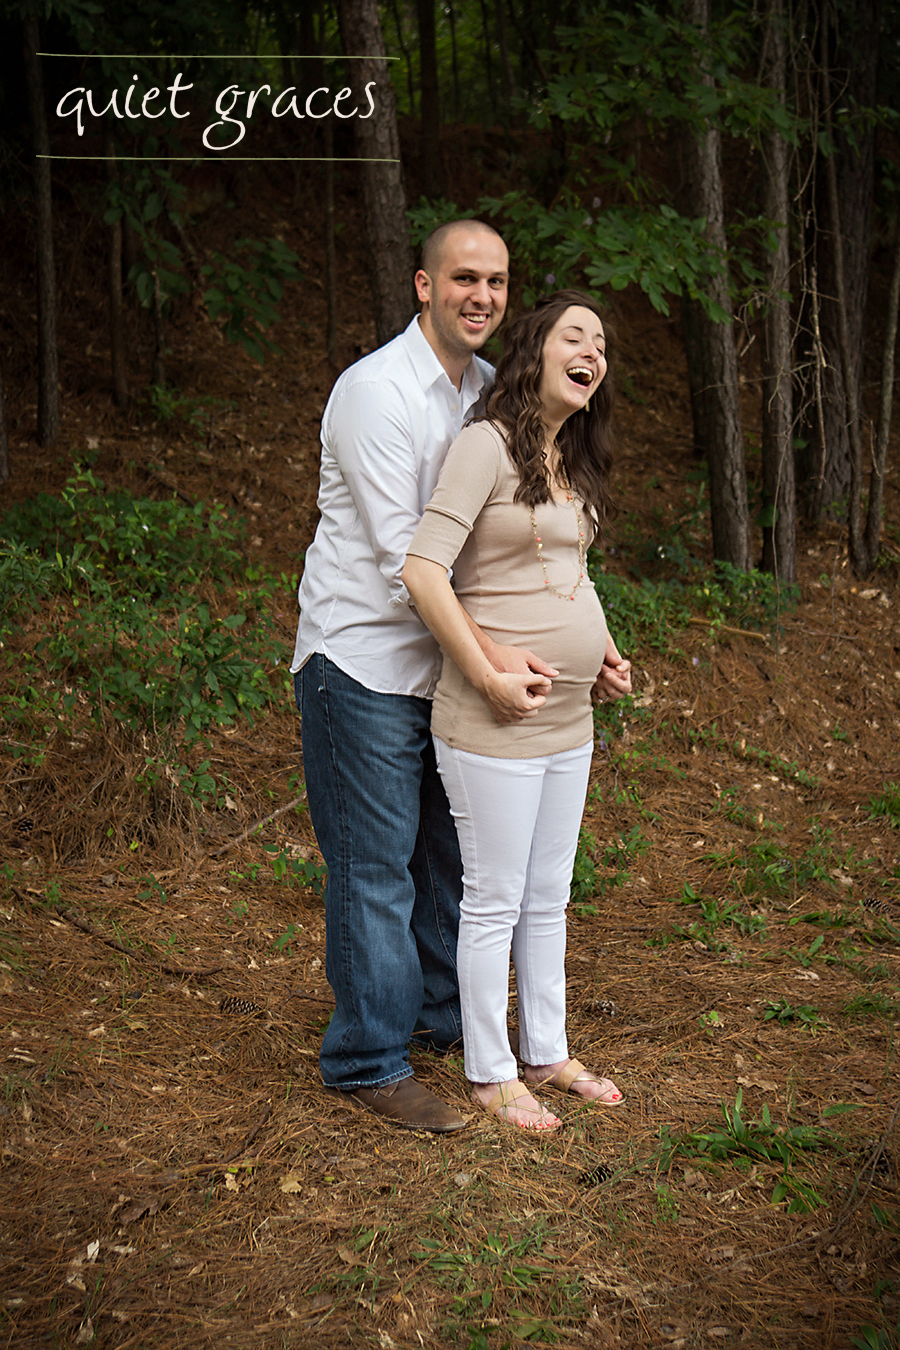
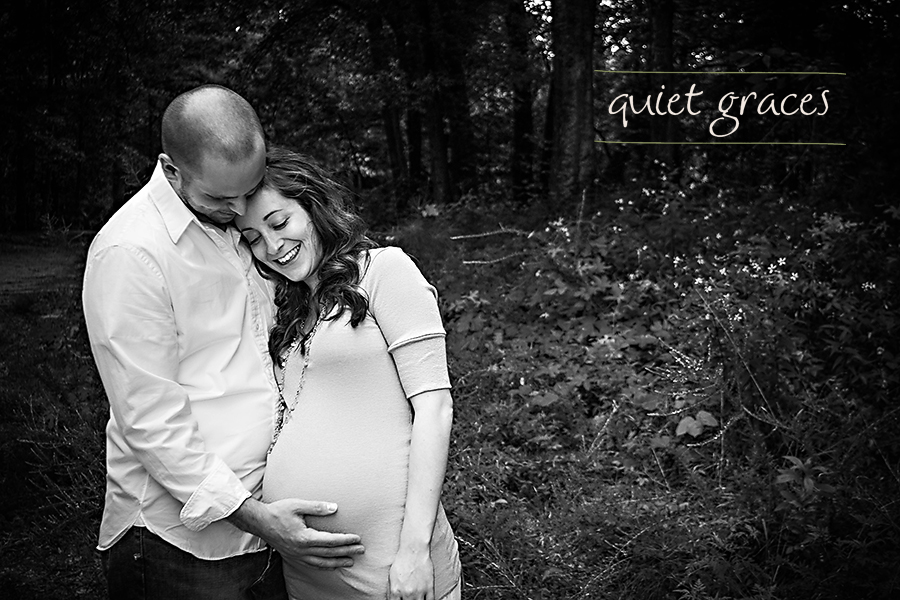
2013When I spoke to Sarah in our pre-session consult about the story she wanted me to tell as her Greenville SC Maternity Photographer, I knew I had found my ideal couple. The story they have to tell about their little boy is nothing short of a miracle (I’ll share more after their newborn session!), but what drew me to Sarah was her laugh. And we laughed hard and long for this session.
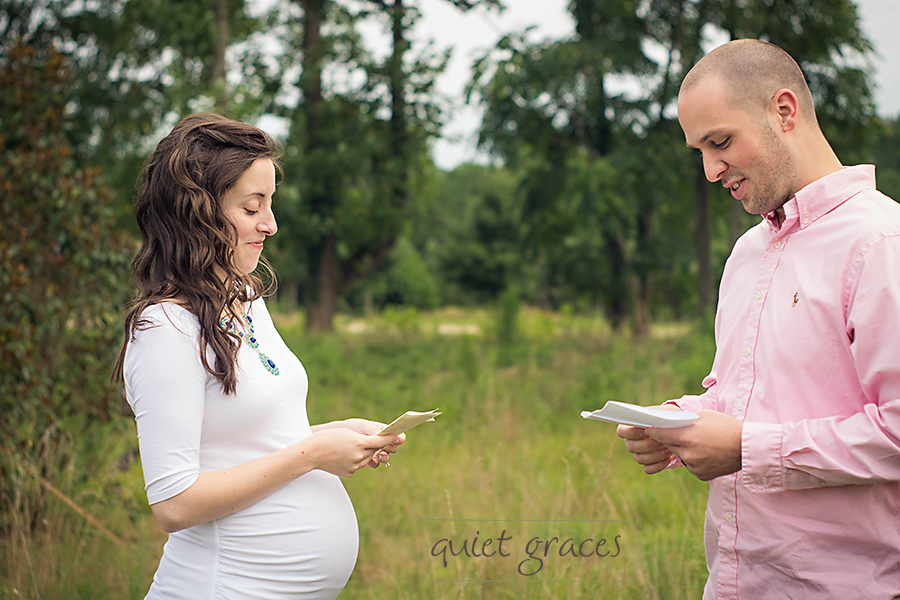
Sarah and Justin allowed me the privilege of doing a Beloved Style Maternity Session. Beloved Photography is a genre that seeks to capture honest raw emotion through the use of verbal prompts to create an experience that is simultaneously photographed. Basically, I take my clients to a location, find the light, pose them loosely, and then give them something to do or talk about. As a girl with a degree in experiential education, this type of experiential documentary-style photography is my heart strings. I don’t know why I didn’t try it sooner.
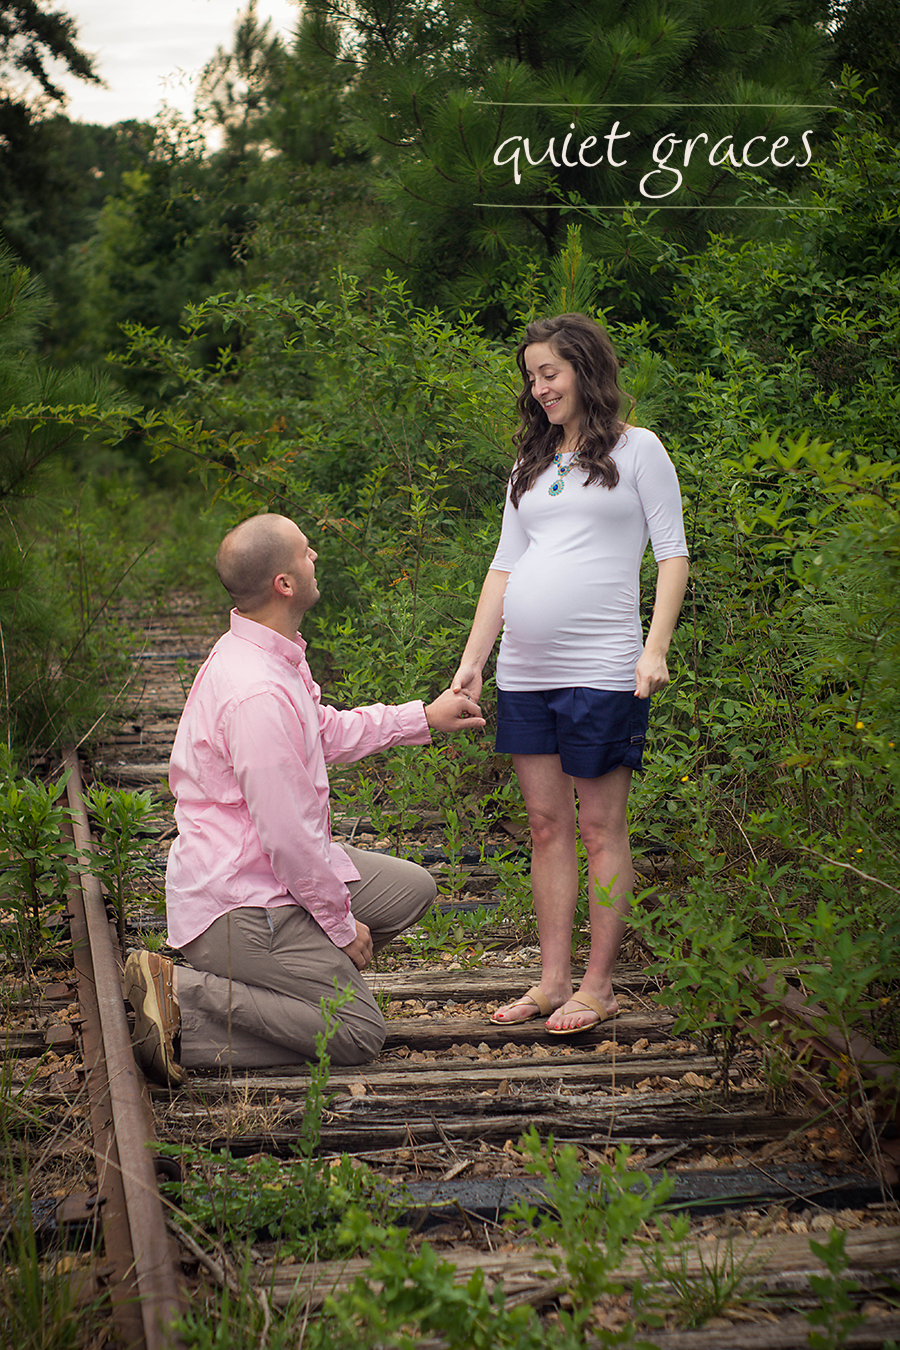
I asked Sarah and Justin to write little love notes to share at the beginning of the session. I had them telling knock-knock jokes. I asked them to dream about who they wanted their son to be. And I had Justin tell Sarah just how much he would love her still even though pregnancy will change her body.
That last one may have brought bubbly always laughing Sarah as close to tears as I think she’ll admit.
The beauty of a Beloved Session is that it helps a couple grow closer and have an experience they won’t forget while creating images that will help them relive the whole experience every time they look at their art. The photographer is far enough away, that he/she can’t really hear the things they are sharing, but close enough to create beautiful images and give a new experience prompt when needed.
I’m pretty sure that I’ll be doing maternity sessions in the Beloved Style from now on. I can’t believe the raw emotion and the authentic expressions we captured in just over an hour.
Sarah and Justin, thank you so much for trusting me with this much anticipated season of your life. I can’t wait to meet and snuggle your little boy in October.
20
2013First, we learned about natural light in the forms of full sun, open shade, dappled shade, and the golden hour. Then we looked closely at front, side, and back lighting. This week we’re going to tackle using available light with and emphasis on indoor photography. There’s a lot of principles we’re going to borrow from our previous posts, but available light requires a little more analyzing on the spot. Are you ready for the challenge?
Available Light Photography
Technically, any photography that doesn’t use off-camera flash is available light photography. But when I talk about available light for the purpose of this post, I’m talking about indoor and night photography specifically.
When we’re shooting in these situations we’re likely using both a wide aperture and high ISO just to get the shutter speed fast enough to be handheld. We may be whipping out tripods at night so that we can use slow shutter speeds and keep our aperture (and ISO too) stopped down to capture all the beauty.
Things to Remember When Using Available Light
- Rarely will our camera meter get it right. If you’re truly trying to represent the scene as you see it, you’re going to have to aim for 1 or more stops of underexposure. If you rely on a camera meter, the scene will be much brighter than you see: that may be a desired affect, but remember that in manual mode (or program mode) you get to decide the look you desire.
- Locate your light sources. Note how light is falling. Ask your subject to move toward better light (if appropriate) or move yourself to a capture a better angle. Window light is my favorite light for inside imagery, but sometimes we’re working with our overhead bulbs.
- All of the principles of front, side, and back lighting will apply to available light imagery but may be more dramatic.
- White balance is crucial. If you miss white balance, things are going to be very off. However, inside images also have color casts due to painted walls. So if you’re shooting under florescent, but the wall is yellow, you may want to see if incandescent is the better white balance. The same with blue walls: switch to florescent. Working in Kelvin for white balance helps too. Take some test shots before you shoot your subject and play around with white balance. There’s no excuse for you not learning how to white balance for each paint color in your own home. Practice.
- Due to high ISO, available light images are often super grainy. Even if you nail white balance and manage to remove color casts the noise/grain in the image can still distort colors and distract. Therefore, embrace the black and white conversion. We’ll touch on doing black and white conversions when we learn about editing, but in whatever software you use to edit, there’s always a simple way to do it.
Case Studies
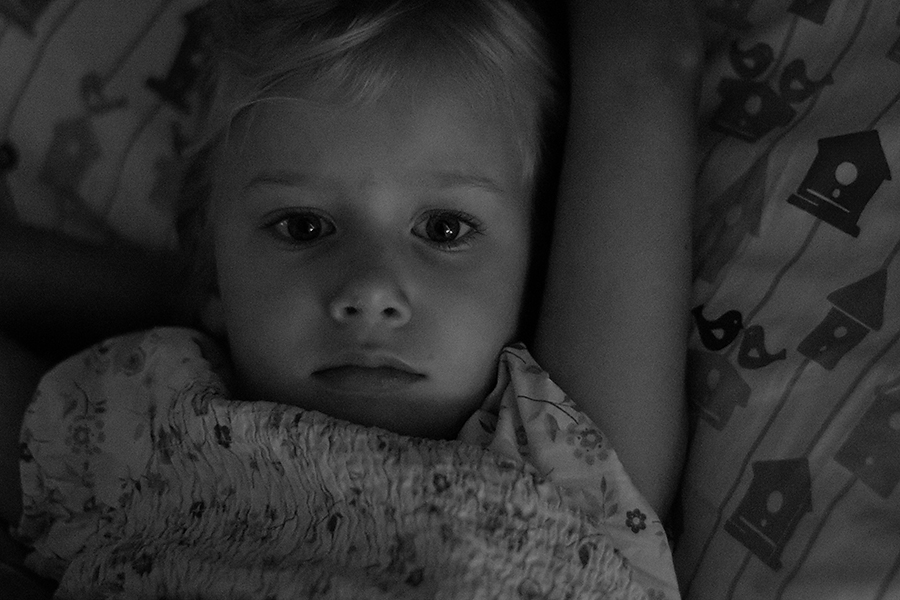
I was thinking about this post when I woke my Aeralind from nap one afternoon. I loved the light! Here head is pointing toward a wall and there is a widow on that wall about 3 feet from where she is lying. It’s casting gorgeous directional side lighting across her face. I kept this image dark and knew when I took this series that they would be black and white; I chose black and white mainly because her dress and pillow clashed in color but also because it would highlight the yummy light better than a color image.
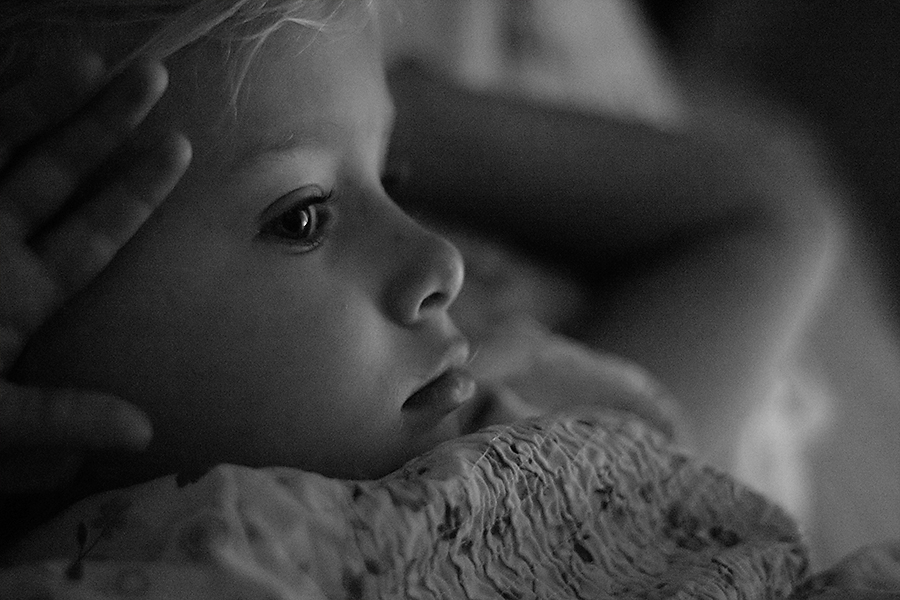
Same light, same day. I moved my position to almost back light her profile. See how much photographer movement can change both light quality/direction?
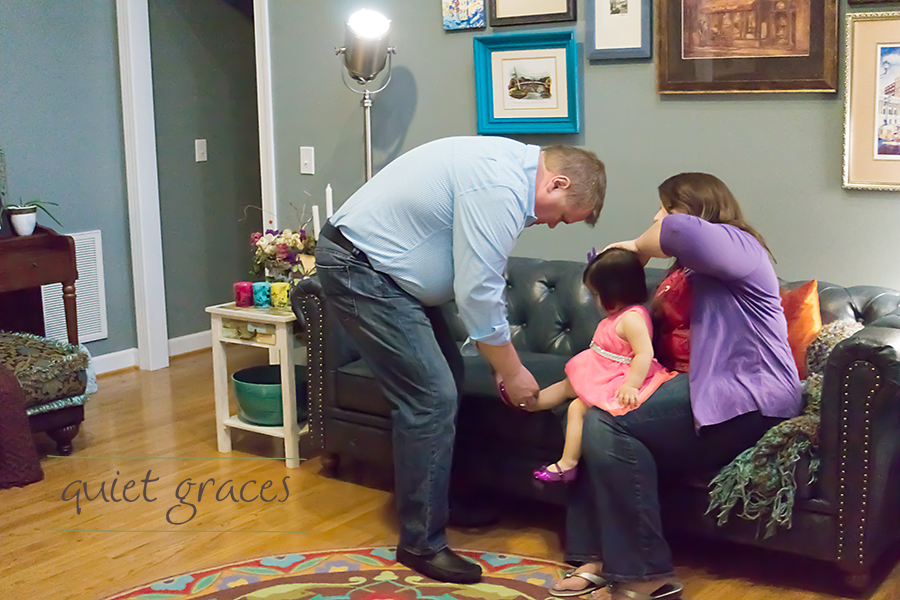
I had a really tough time with this wall color for this family session. Perfecting white balance was hard and even now I’m not wholly satisfied. There were a bunch of lights on in this room but I still had to crank my ISO all the way up to 12,500 to get a shutter speed fast enough to freeze a toddler.
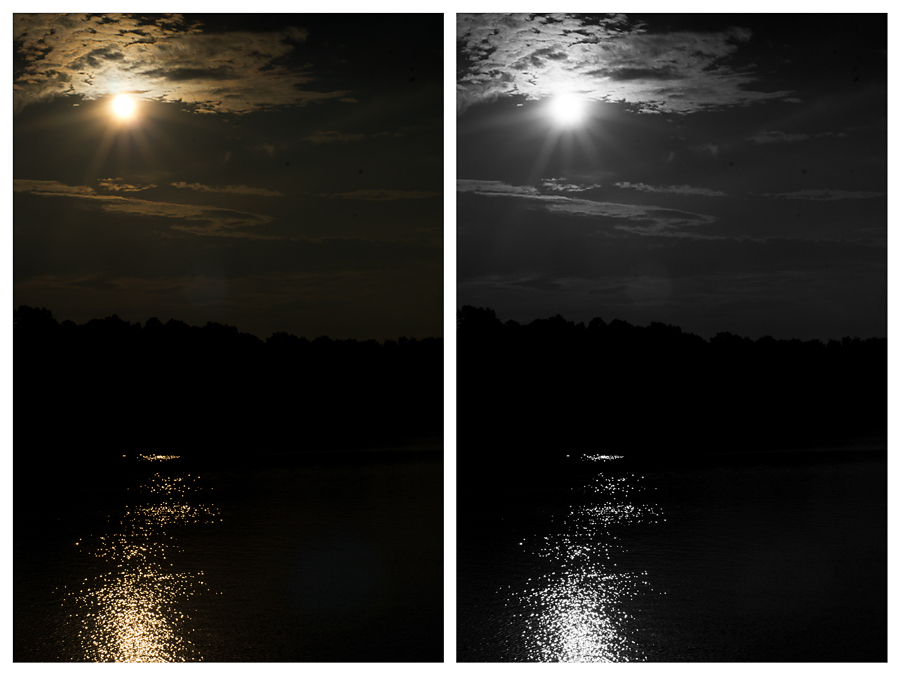
First: I can’t decide if I like this image better in color or B&W so you get to see both. This is not a nighttime image, but it follows the principles that I would use for a night time image. I seriously underexposed this image (at least -2 stops) to keep the sky/water dark. Since this was daylight, I was able to hand hold, but had it been night I would have needed a tripod.
Questions?
For this lesson, I know I dropped a ton a of general principles on you that I’m asking you to apply in available lighting conditions. That means that I may have left something out or been slightly unclear. Please let me know in the comments if you have questions and I’ll try to answer them directly.
15
2013I can’t even begin to tell you what an honor it was to be contacted by this client for Greenville, SC newborn photography for baby number 2! I served Amy way back in my portfolio building days two years ago as my fourth baby ever. The lighting was horrible the first day we shot, so I had to go back and shoot again. I was learning so much in those days and my imagery needed to grow in so many ways. I was both surprised and honored that my images were still featured prominently in Amy’s home.
Here are a few favorites from Charli’s session two years ago. As you can see, I’ve always sort of leaned toward the relationship images 🙂 These family black and whites are precious!
Now look how big and beautiful Charli is two years later! So pretty and such a sweet big sister!
Piper Olivia’s Greenville, SC Newborn Session
For Piper’s session, I finally managed to heat my studio room to the precise temperature to keep a newborn happy and sleepy. We were all sweating profusely, but sweet Piper never woke once and let us pose her however we wanted. I’d also just completed my first newborn workshop, so lots of things were coming together for me! I’m really excited about this imagery.
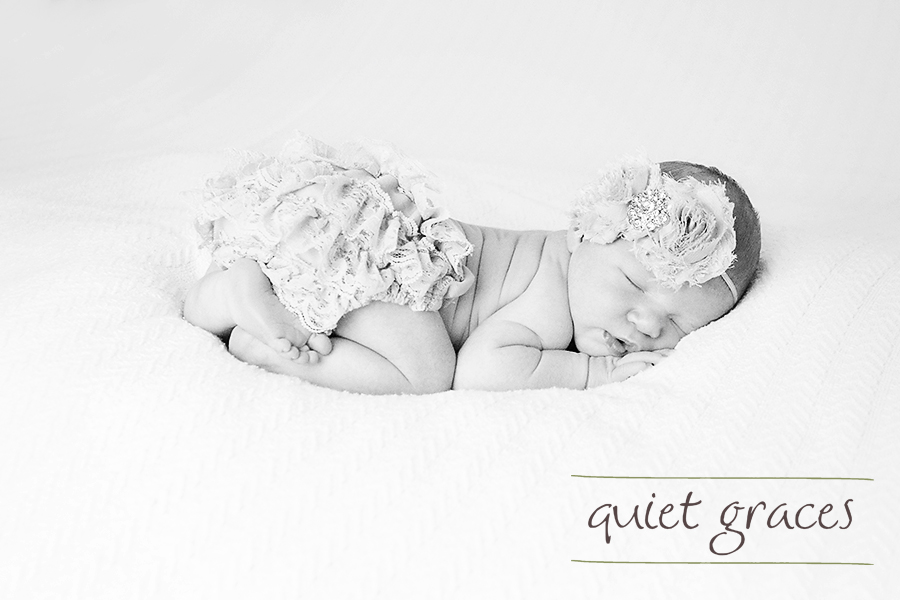
Mom brought this ruffled diaper set. I loved that it inspired me to finally nail this pose! Love those back wrinkles.
Piper’s also one of only two girls I’ve been privileged to photograph this year: what’s with the boy baby boom? I need another girly fix and soon!
