24
2013Back in our Storytelling with Images series I challenged you to change perspective. Today I’m going to come back to that briefly with a short definition of each possible shooting perspective.
Eye level
Eye level perspective occurs when your camera is on the eye level of your subjects.
Above
The Above perspective occurs when you are shooting down on your subject.
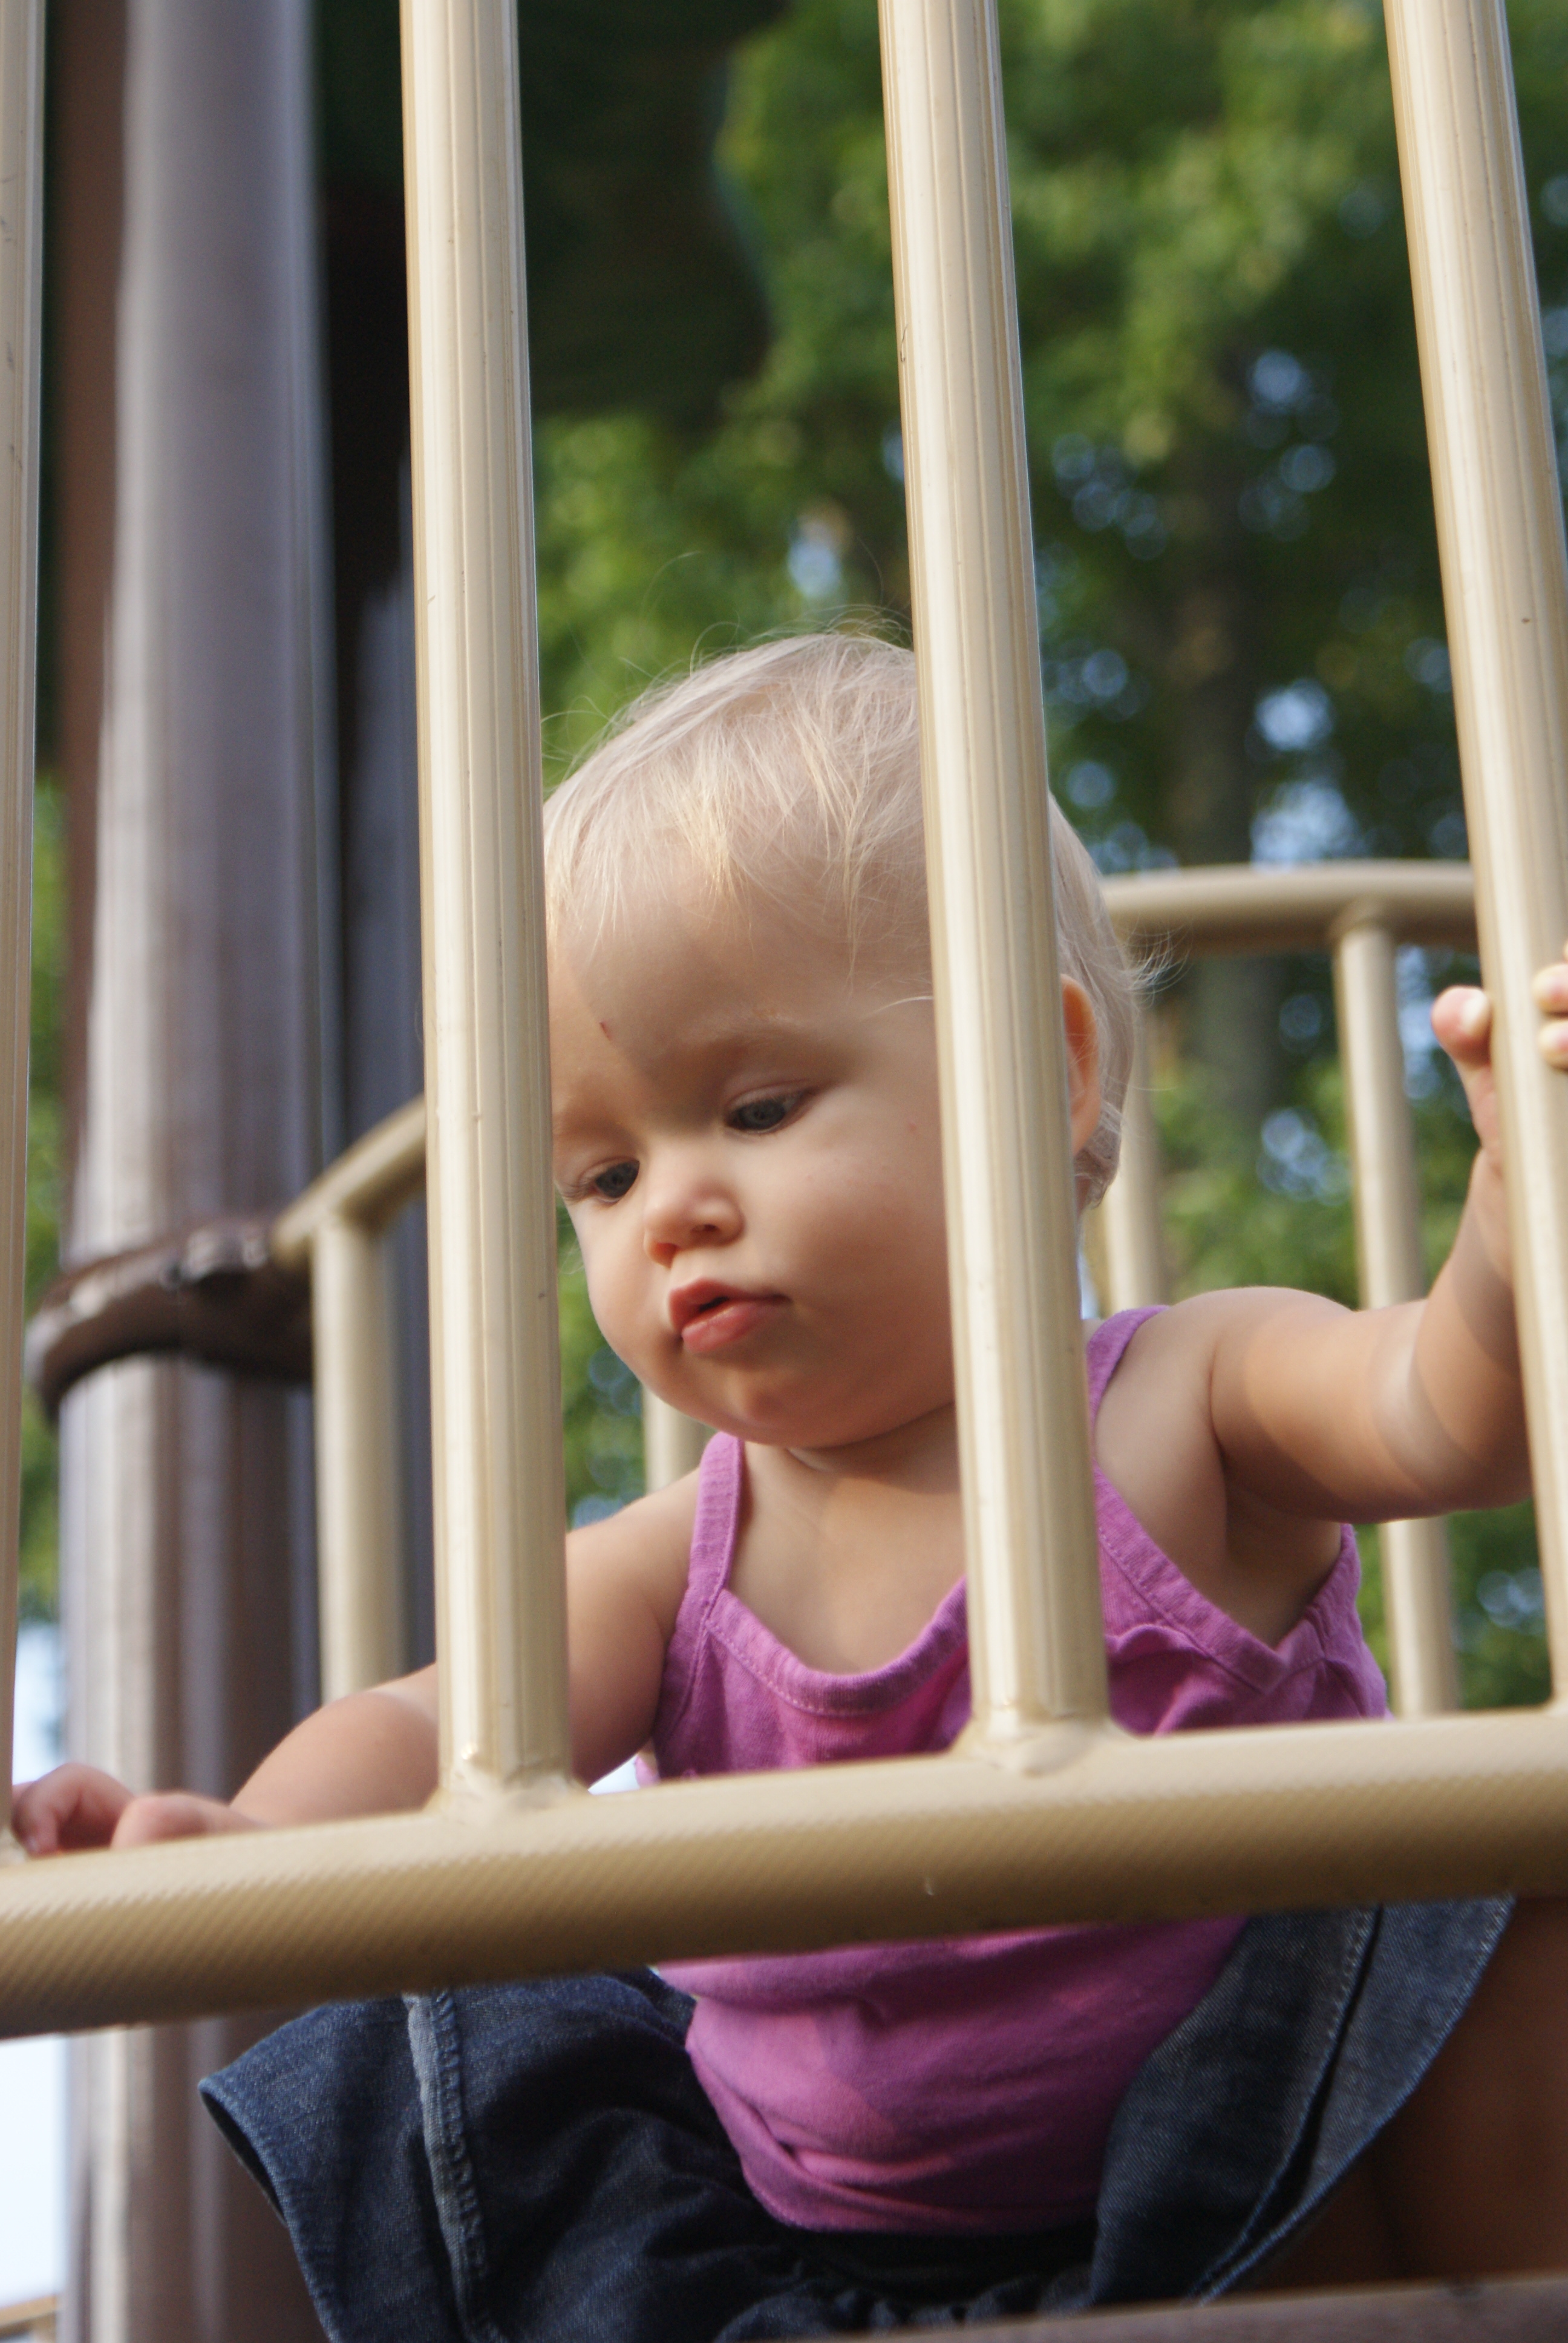
Below
The Below perspective occurs when you are shooting up at your subjects.
Framed
The Framed perspective occurs when something in your image literally makes a frame around your subject.
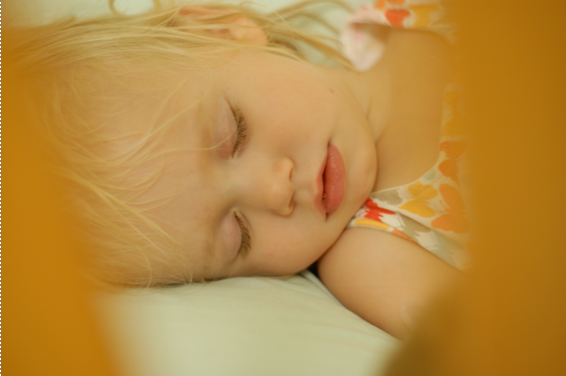
Hidden
A Hidden perspective occurs when you place something in the fore ground so close to the lens that it blurs out making the viewer feel like they are peering into a secret world.
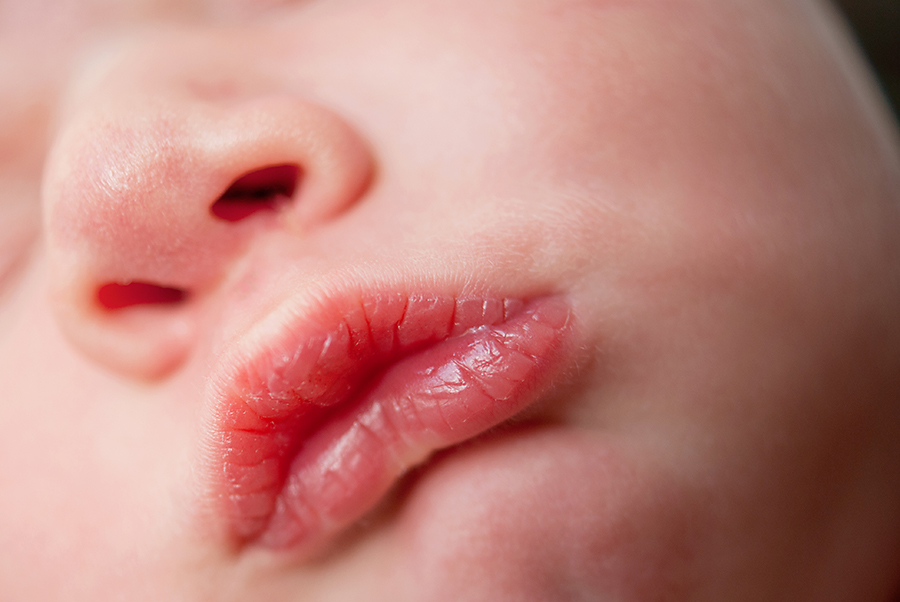
Close-Up
Close-Up perspective form images with little background details outside of your subject. This may be a macro shot or a tight portrait.
Wide
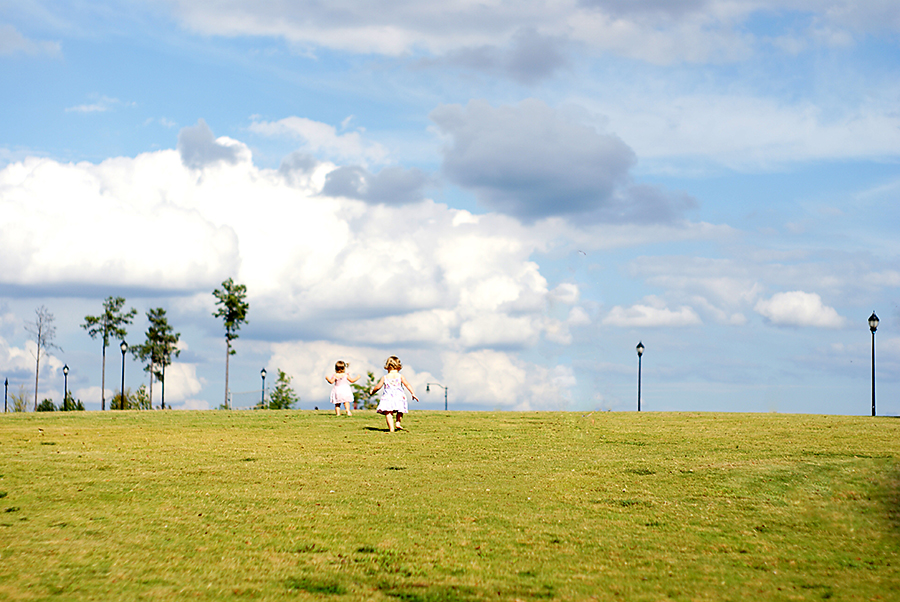 A Wide perspective contains lots of background detail to assist in telling the story.
Vanishing Point
(Obviously, I don’t use this perspective much… it’s kinda hard to see/nail. But there’s clear examples in Brooke’s Class recommended below.)
Vanishing point perspectives place the subject along a leading line that ends abruptly right into the subject.
Why Just Quick Definitions?
The reason I’m only giving you a quick definition is that there’s the great free e-course by Brook Snow on Photo Perspectives. I really admire her work and this course is simply beautiful! Sign up and enjoy 🙂
17
2013If you’ve been perusing other photography blogs, you may have noticed that a lot of photographers sweat by RAW files. So I’m going to take a minute to explain the differences between RAW and JPEG. However, first I want you to hear this: I would not recommend shooting all the time in RAW. If you shoot in RAW, you should have a purpose for doing so. A fear that you might mess up exposure for a very important event or a need to pull out more detail in post processing. That said, let’s explore the differences.
JPEG
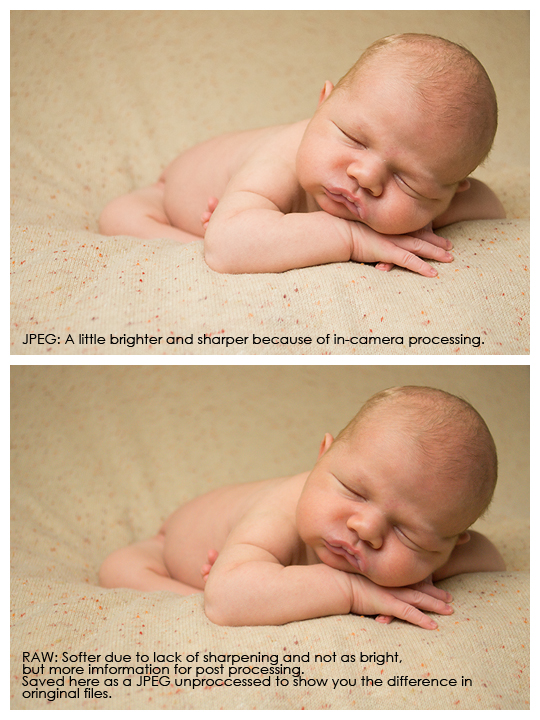
A JPEG is likely the file type that you are using on your camera presently. It is a smaller compressed image that is processed in camera to look good immediately.
Pros
- JPEGs can go straight from your camera to your computer to your printer or a website. No editing required. It’s a sort of universal file type.
- JPEGs look sharp and have been brightened/had contrast added.
- JPEGs are smaller (my camera produces 10mb JPEGS)
Cons
- With the JPEG format you only have control over certain things. The camera will sharpen, brighten, add contrast, and a number of other things before compressing the file. You can manipulate how your camera will process a JPEG by selecting Vivid or other color presets in your menu. Check your camera manual for these presets and play around with them. See if you like one over the other.
- JPEGs store less information, therefore, you have less latitude for error.
RAW
A RAW file is uncompressed. When you view it on your computer it will look less bright, sort of fuzzy, and seem to have very little contrast.
Pros
- All that data means you have a lot of room for error. If you miss exposure by about a stop, you can change it in post processing (but there will still be consequences).
- Since the image is unprocessed, you will have full control over the final JPEG
- The file is a digital negative that you use to create your own image
Cons
- RAW files are GINORMOUS. A typical RAW file is 25MB or more. HUGE. And then you still have to process it to make it a JPEG. So if you keep both the RAW and final JPEG that’s 35mb of hard drive space.
- RAW files cannot be printed/placed on the web as is. Every RAW file must be processed in editing software prior to use.
- Learning to edit a RAW file so that it looks as nice as an in-camera JPEG takes a while.
Conclusion
I would totally recommend a beginner photographer shoot everything in JPEG. I’ve recently been kicking myself for not switching my camera back to JPEG mode after shooting a client session in RAW. I really don’t have time to edit each image and save them as JPEG for my own family. However, if you have a specific project or goal that requires more latitude than a JPEG file is capable of handling (for instance a seriously contrasted scene) I would recommend giving RAW a try. It’s worth learning how to use effectively for those times when you want full control, but the totality of the topic is beyond the scope of this class.
10
2013I totally thought about writing this post myself, but I’m pretty sure I can’t top the following post written by Annie at Paint the Moon. So hop on over there to read this post and then come back here for your photo assignment.
Read Find the Light and Sparkly Eyes
Portrait Lighting Assignment
Go on out there and shoot some portraits. 5-9 should be a good number. I know this is a tough assignment for those of you who don’t have a passel of children to shoot like I do. Don’t be afraid to call a friend and say you’d like to shoot their portraits. Or even to approach a stranger with your mission: get the strangers email and send them a couple images as payment. 🙂
I want you to capture at least one portrait with sparkly catch lights in your subjects eyes. The rest are up to you. When you upload your images to the Flickr Pool, please tell us about the light quality in your photo. Was is back lit during the golden hour? Open shade side lit? Tell me why you chose or what you like about the lighting in your image.
05
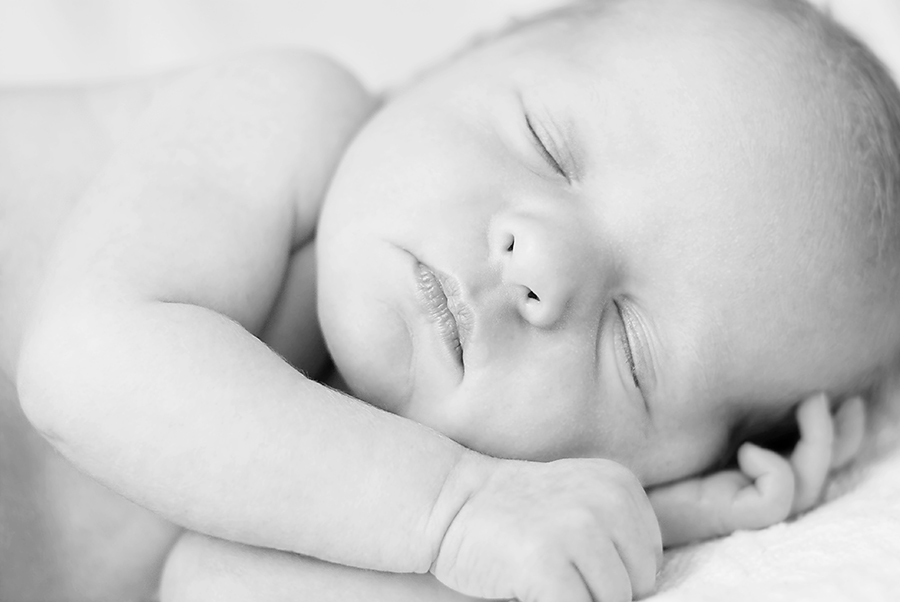
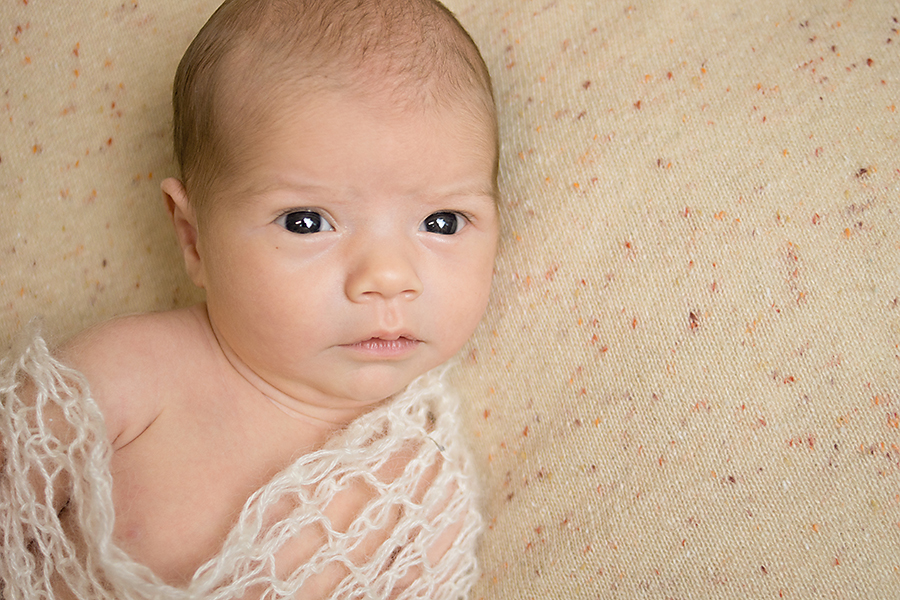
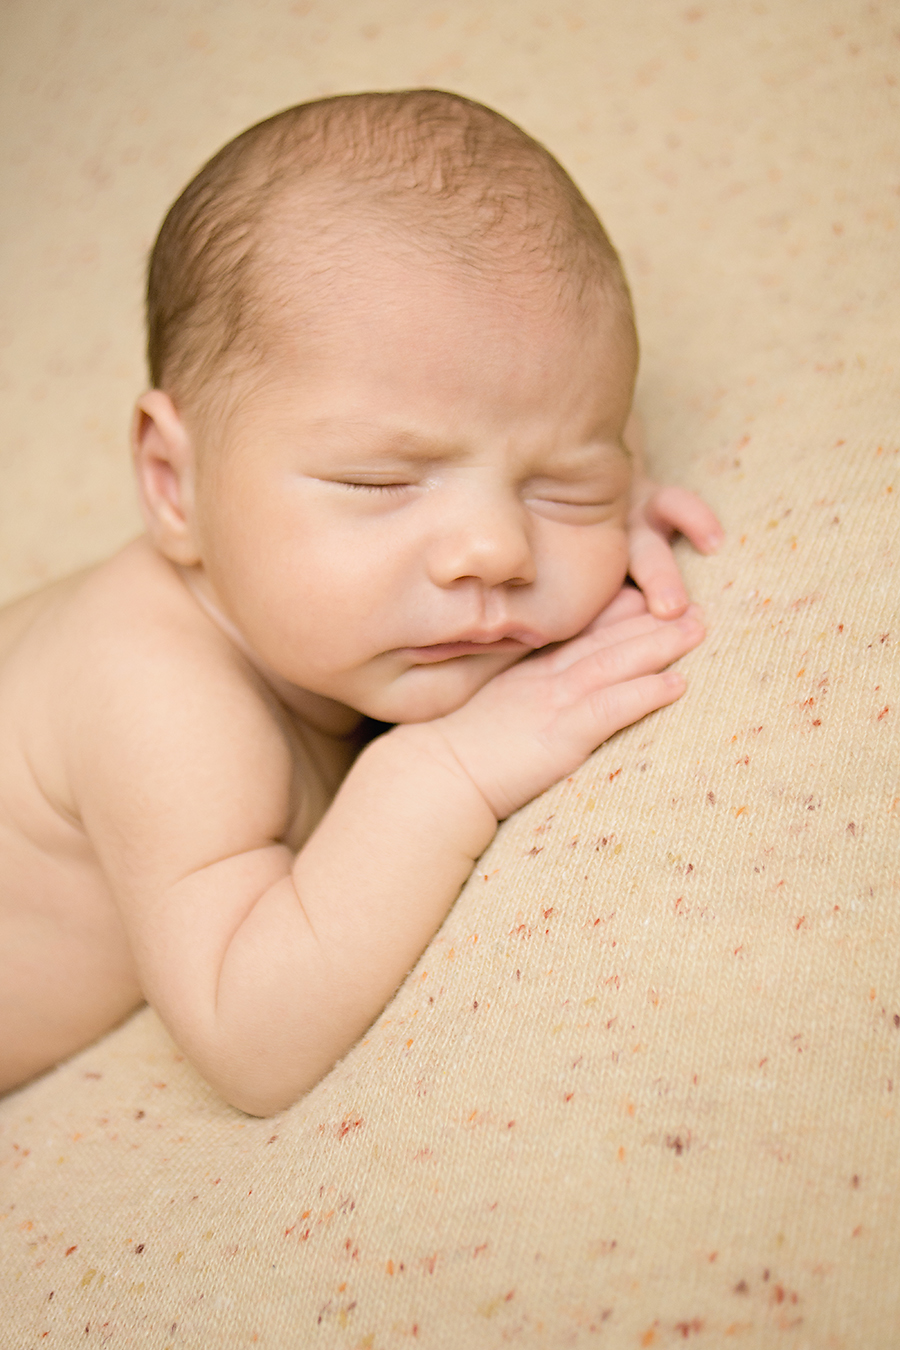
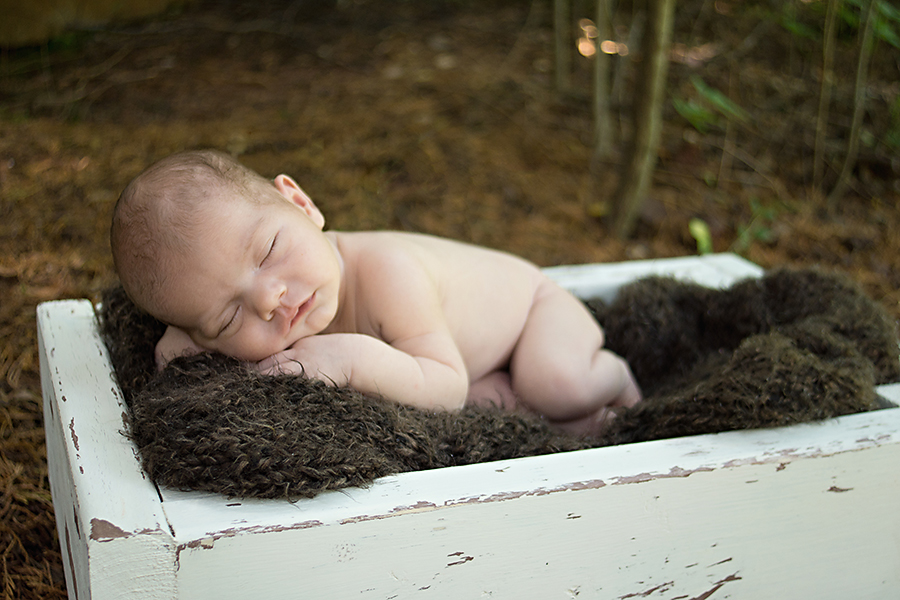
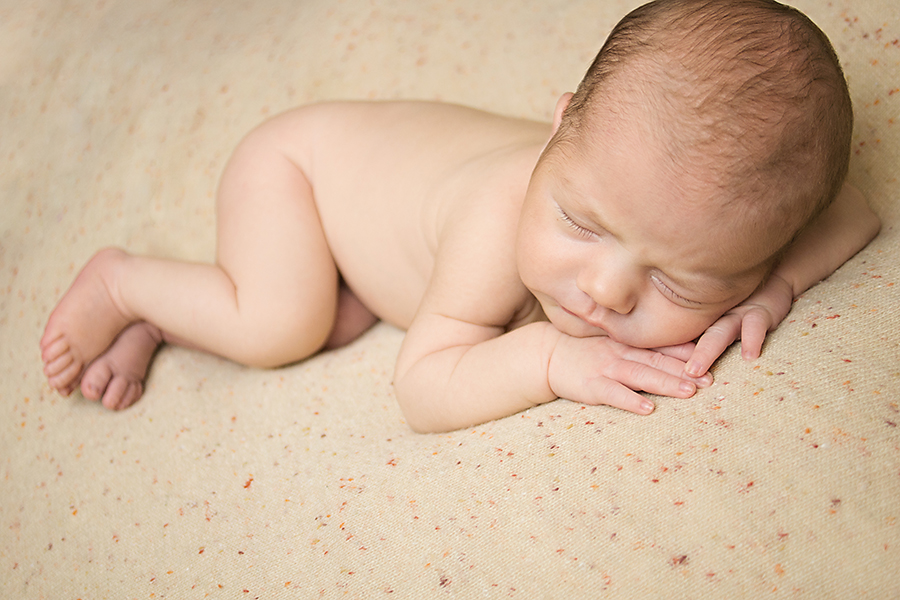
2013When Sarah and I talked during her pre-session consult, she mentioned that the story she wanted her Greenville SC Newborn Photography session to tell was thankfulness to God because babies are a gift.
But everything seemed to stand in our way of even getting to this session. We mis-communicated once and had to reschedule, next, there was an attack of the stomach bug for her little girl, and, finally, my babysitter backed out on me last minute and I scrambled to find a replacement. I found one last minute and we finally were able to meet. In case you were wondering, this sort of thing doesn’t normally happen.
But by this time, Shawn was 19 days old. Newborns are best photographed between 5-14 days: at this age the baby still has “womb memory” and retains their ability to curl up tightly without discomfort. After the growth spurt around 3-4 days, they’re also extremely sleepy which makes my job much easier.
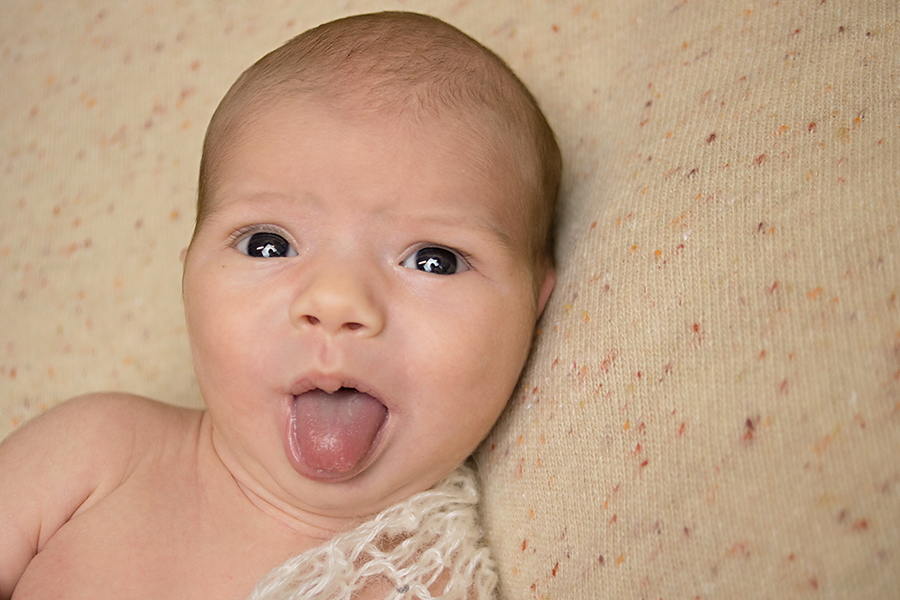
19 days is officially the oldest newborn I have ever photographed, but, oh, how hard we worked for some of these images. And Shawn definitely had opinions about how he wanted to be posed. I’ll write about the differences between an under 14 days newborn and a 19 day newborn for an upcoming post. I’m willing to do both, but know that your imagery will be different.
But for now I want you to hear that Sarah’s vision of thankfulness for this precious gift of God was realized in this session. I’m thankful for our ability to capture these images despite our obstacles. I’m thankful that I was able to meet him. I’m thankful that Lily, at almost 4 years old, was able to follow directions precisely for gorgeous sibling shots.
But most of all I’m super thankful for the time I was able to hold this precious bundle of joy and rock him to sleep. I was so blessed to be a part of this family’s story.
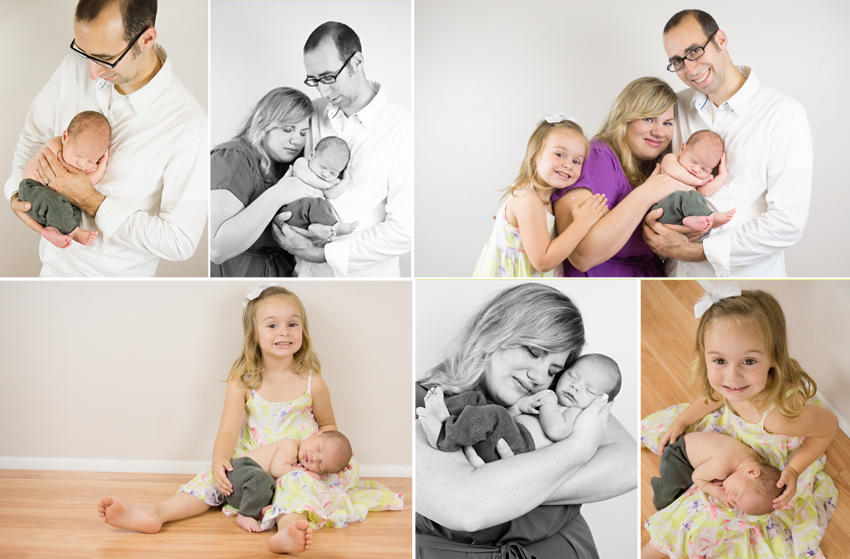
And a final one to make you laugh (because it cracks me up every time)! Shawn, I pray you’re bring your family many more laughs and lots of joy.
03
2013So far in this class I have dissuaded you from using your flash at all. You’ve learned to take even low light images without the aid of on camera flash. One of the reasons I discourage the use of flash while you’re learning your camera is because your camera will automatically trigger the flash in the wrong lighting situations.
When to use On Camera Flash
Here are a few rules of when it’s okay to use flash.
- When your subject is at least 3 feet away from the camera and no more than 15 feet away.
- When you need to freeze motion in a dark scene and can’t get your shutter speed fast enough any other way and you’re still following rule 1.
- When you need fill flash for a dark subject.
- When you can use a diffuser for your on camera flash.
In this post, I’m going to cover reasons 3 and 4 since the first two are just sort of common sense guidelines.
Fill Flash
Remember our back lit scene? Remember how tough it is to get a good exposure for your subject without blowing out all the details in the background? A brightly back lit scene is the ideal place to use your on camera flash. This is also true for those harsh mid-day photos with the sun high overhead casting terrible shadows.
“What, Melissa?” You cry. “I thought flash was best used in low light situations?!” Well, unless your low light situations meet requirements 1 and 2, then this actually is the best place to use on camera flash. In this scenario it’s called fill-flash. You’ll have to manually activate your flash in these situations (mine has a simple button next to the pop up flash, but read your manual to be sure!)
You may need to adjust the strength of your flash to do this (read your manual to learn how), but you may not. You’ll know right away if your flash is too bright when your subject looks white and washed out. Power it down a little and try again.
For this example I powered my flash down two stops. The extra light did make the sunrise a little brighter than it appeared in real life, but not so much that I’m unhappy with the outcome. Just in case you were wondering, if you’re tent camping with this little boy, he will wake you just prior to the sun. So what else should you do but take sunrise pictures?
Diffusing On Camera Flash
So what about those low light situations where don’t want a lot of grain and your subjects are closer than 3 feet or you’re hating the washed out look of your on camera flash?
This is a situation where your flash will need diffusing. You can start by taking your flash power down a few notches (read your manual), but if that doesn’t work you can buy a flash diffuser. Like most gear, this isn’t something you will need unless you face the situation over and over. But it’s a cheap little piece of gear if you like to play around. You can also improvise something like this with lightweight white fabric and a wire coat hanger for you DIY types 😉
A Little Housekeeping and your Assignment
Whew! I can’t believe we’ve powered through all of our lighting posts. The class is beginning to wind down. Over the next three weeks, I’ll be featuring a few sort of miscellaneous posts on things that haven’t really fit well elsewhere. Then, I’ll guide you in picking a final project to showcase your new skills. Finally, I’ll be featuring your images from these summer assignments on October 8th (so now is the time to catch up!). After those feature images, I’ll spend our remaining time on various editing topics (with just a few mini-assignments) while you work through your final projects.
To make it easy for you to finish all your unfinished assignments from summer here they are all in one place:
Using your Camera in Manual Mode Assignment
Manual Mode Workflow Assignment
Exposure Bracketing Assignment
Full Sun/Open Shade/Golden Hour Assignment
Portrait Lighting (the post is for next week so the link will work then)
Lighting Assignment
I’ve been preparing you for this throughout our lighting series. If you’ve been taking images concurrently throughout the series, you’ve likely covered all these assignments. If not, it’ll probably be pretty easy to combine them with the assignments above. Just make sure you label them for both assignments in the Flickr Pool.
- Front light an image or two.
- Side light an image or two.
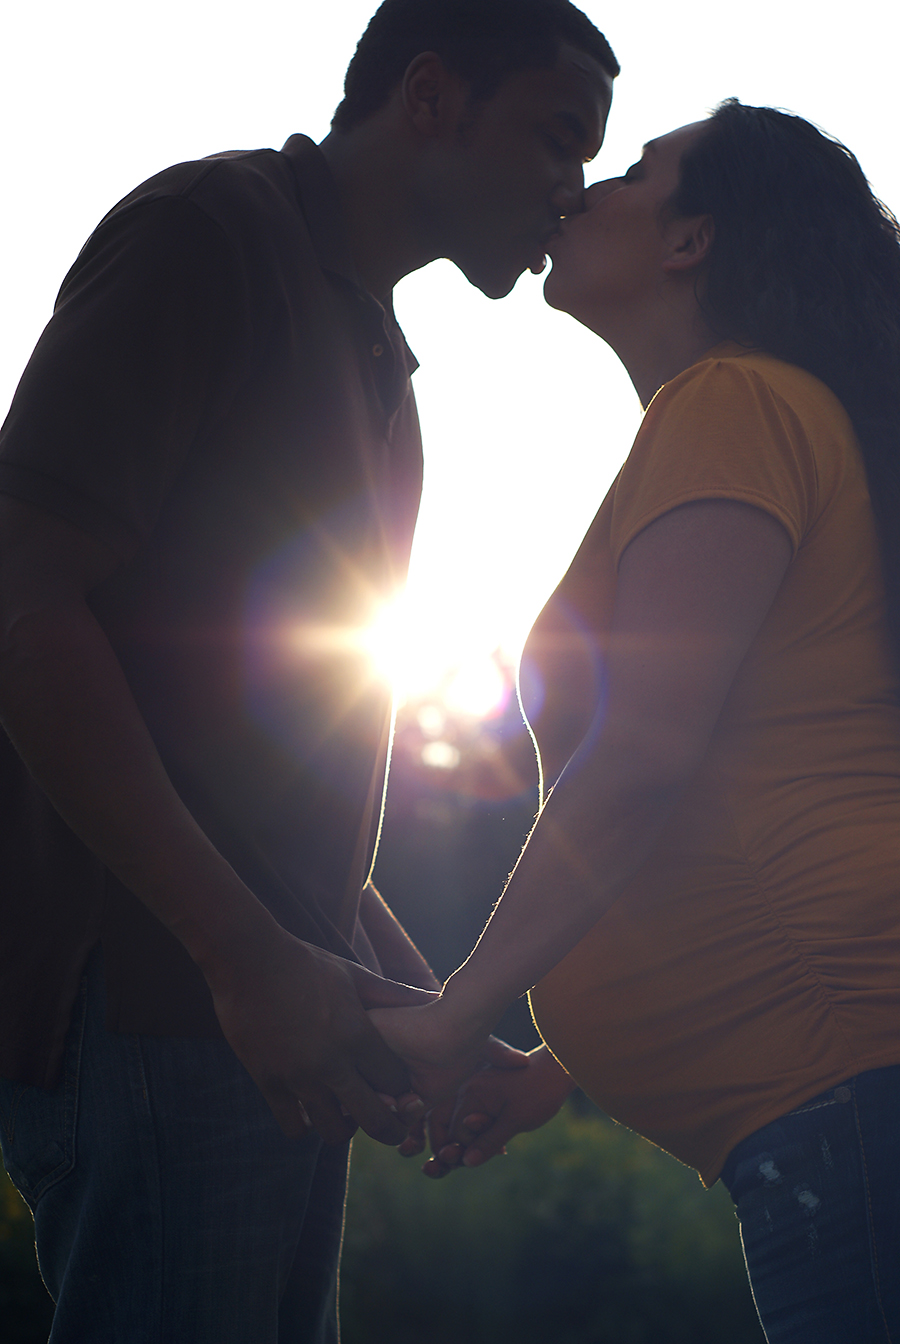
- Back light an image so as to silhouette your subject.
- Back light an image exposing for your subject.
- Back light and use an improvised reflector (poster board, white towel, concrete, a lake, sand) OR use fill flash to get decent exposure for both the background and the subject.
