11
2013I’ll be showcasing the 4 family sessions I’ve had the pleasure of capturing in the upcoming weeks.
I don’t do a lot of family sessions because I can’t always find clients with the same vision for their family portraits. And also because I have three children under 4 and limited weekend/night availability. 😉
Yet I love authentic documentary family photography. I love being drawn into your world and quietly snapping away in the background while giving my family clients the minimum of direction.
I want to capture real families authentically loving one another right in the midst of the daily.
This style of photography isn’t for everyone and I’ve already mentioned that I don’t have a lot of availability, so how can you tell if we’re a good fit?
Authentic Documentary Family Photography with Quiet Graces
Family Mini-Session
For my mini sessions in an outside location, I start with a posed image or two while the kiddos (and the husband) are still ready to follow instructions. This is portrait that you’d see featured on a Christmas card or grandma’s wall. Then, I encourage play. I’ve already talked to you prior to the session and you have brought an assortment of toys or maybe bubbles or even your husband’s guitar for all of you to enjoy. I will place you in some great light and photograph the fun for the duration of the mini session.
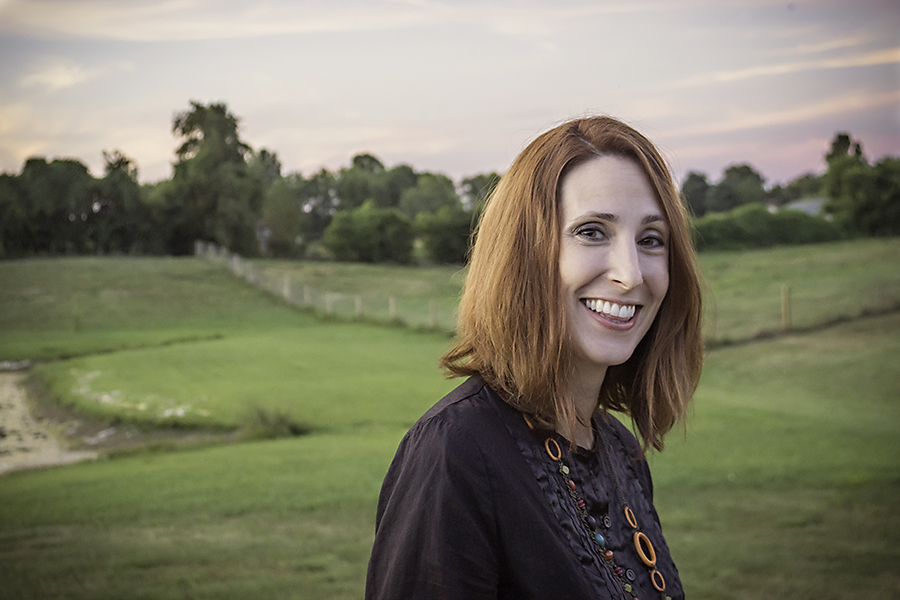
I’ll capture your family as they really are.
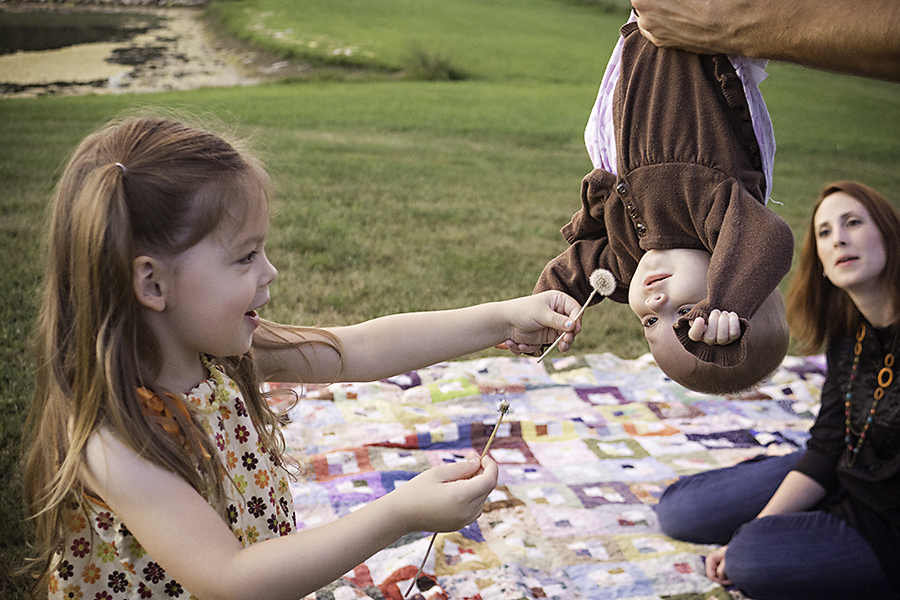
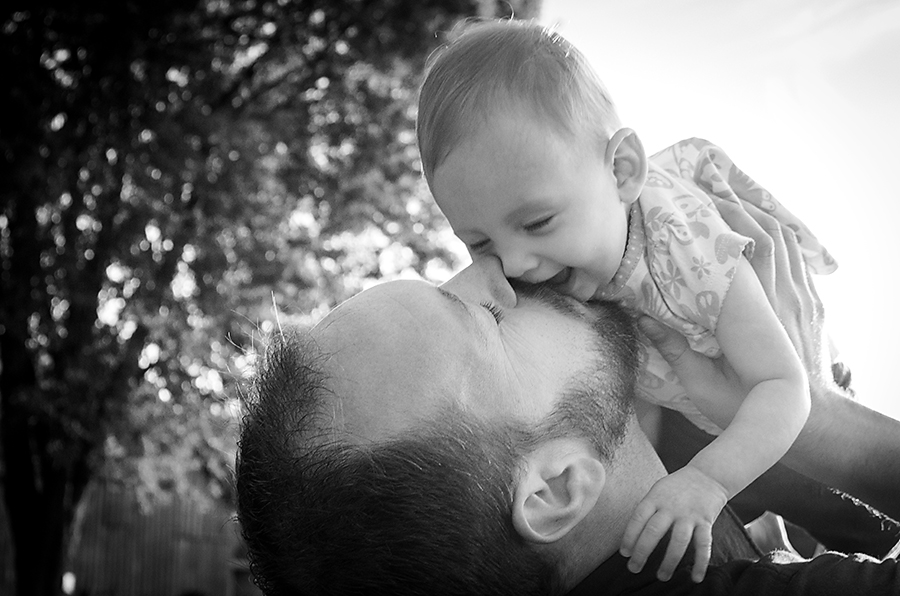
Your goofy husband hanging the baby upside-down to blow on a dandelion.
Your toddler squishing the baby.
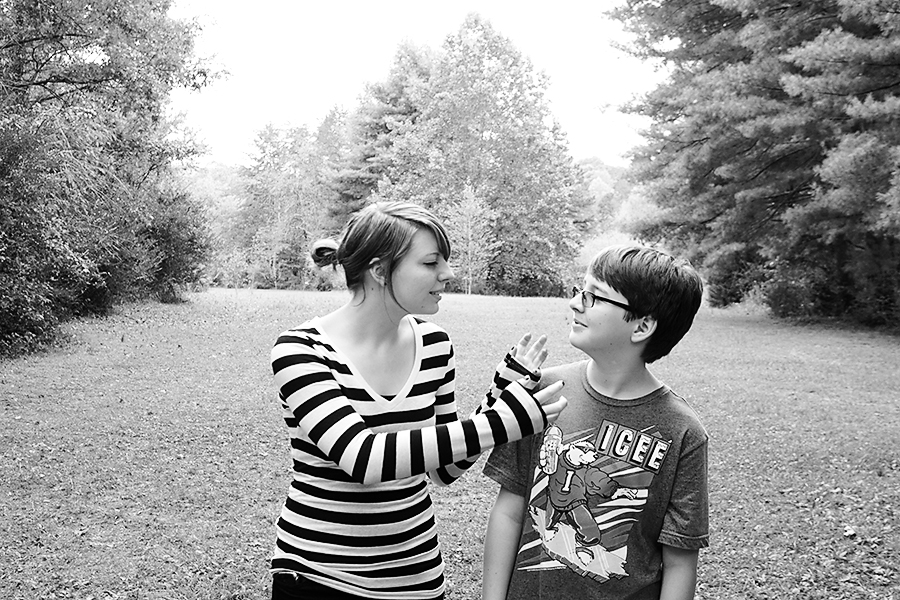
Sibling rivalry.
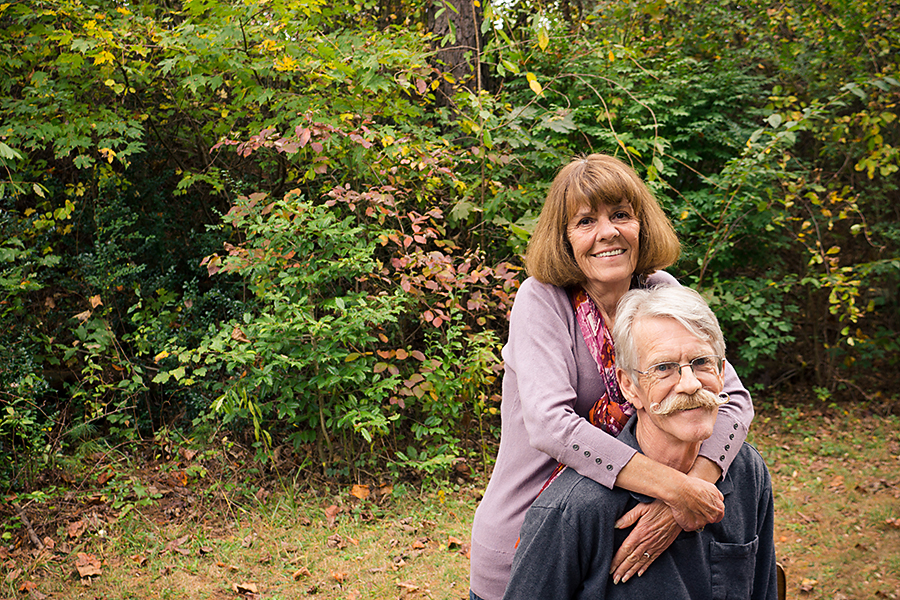
Old Love.
Commissioned Family Sessions
While I love these fun and quick mini-session, my favorite type of family session is just a little different. If you’ve hung around Quiet Graces for any length of time you know that I love finding the beautiful in the messy. As a photographer, I’m no different.
My dream client calls and asks if I would like to come over and photograph their Saturday morning ritual of playing under the covers and eating cereal with their kiddos in bed. They’ll treasure an image of dad chasing a toddler who escaped, mostly naked from the changing pad while dad grabbed their socks from a drawer. They’ll treasure an image of their daughter sitting on the counter watching mom do her hair for the day. They’ll be super excited to see images of the sibling playing trains on a messy floor and even more excited that I somehow captured them sneaking kisses while the kids played. After our slow morning, we headed out to a park, or the lake, or even the library my client loves to spend time at for a few more formal images.
I want to capture the real life my clients love to live.
I only periodically offer mini-sessions (in the spring and fall) and only limited numbers of these sessions. However, if the family session at home is your dream session, don’t hesitate to contact me about my availability.
07
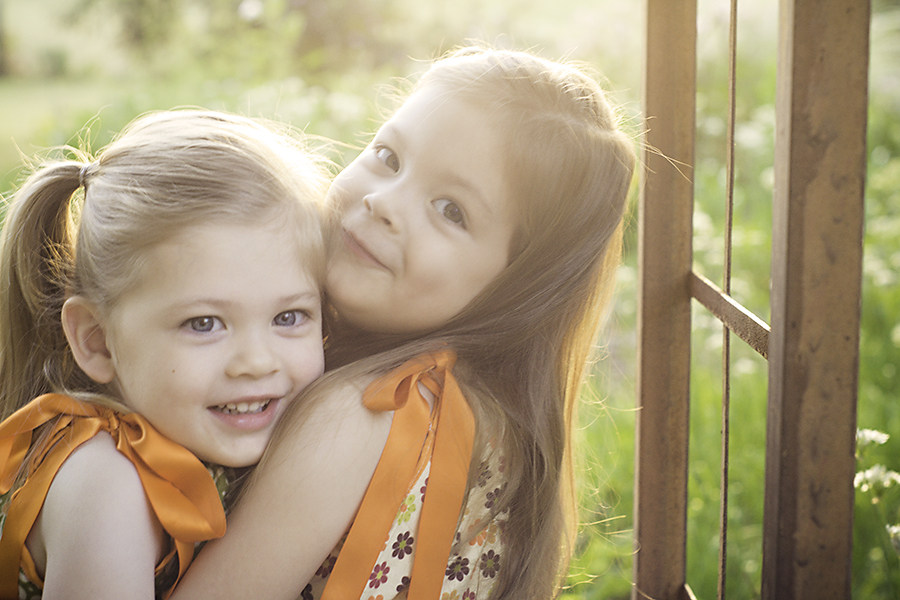
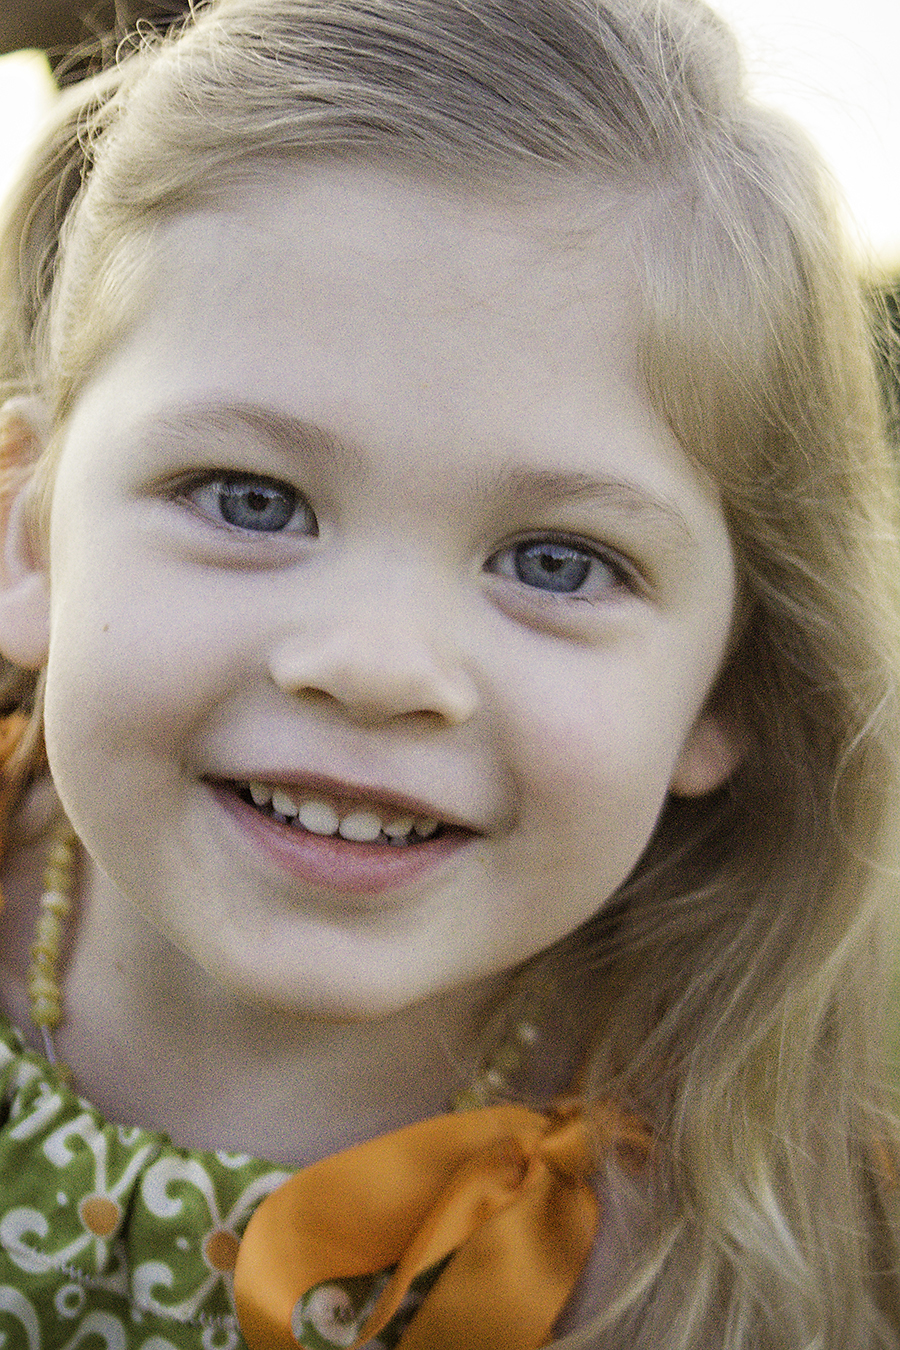
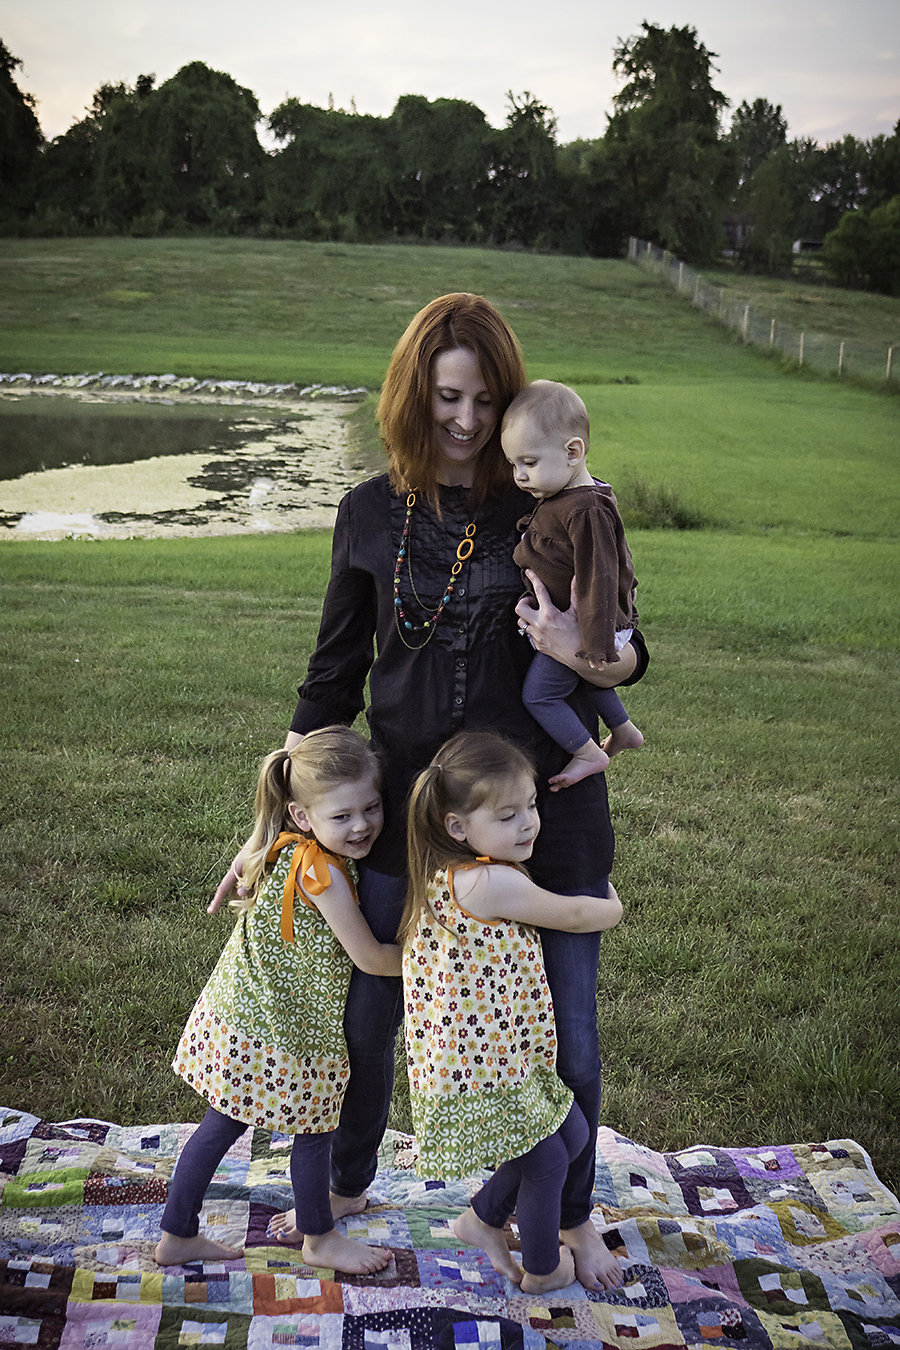
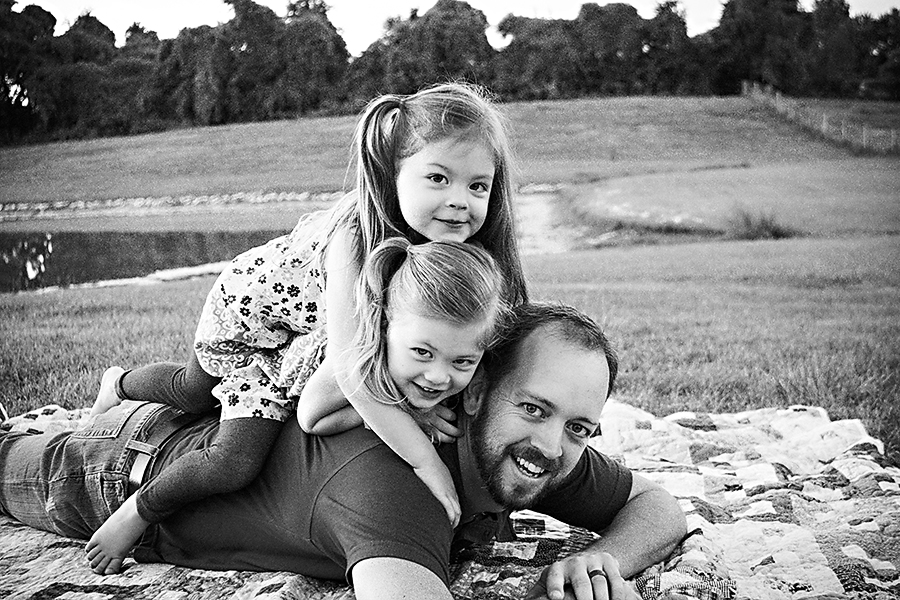
2013When I photograph someone I love my work almost flies to another level. I’m not scared of loosing their approval and I’m just concerned with loving them well with my lens. The Jenkins family has always let me love them well through my lens.
This woman she speaks love to me and I flourish in her encouragement. And when I encourage her to be brave on the other side of the lens: magic happens. I’m able to document who she is and how she loves.
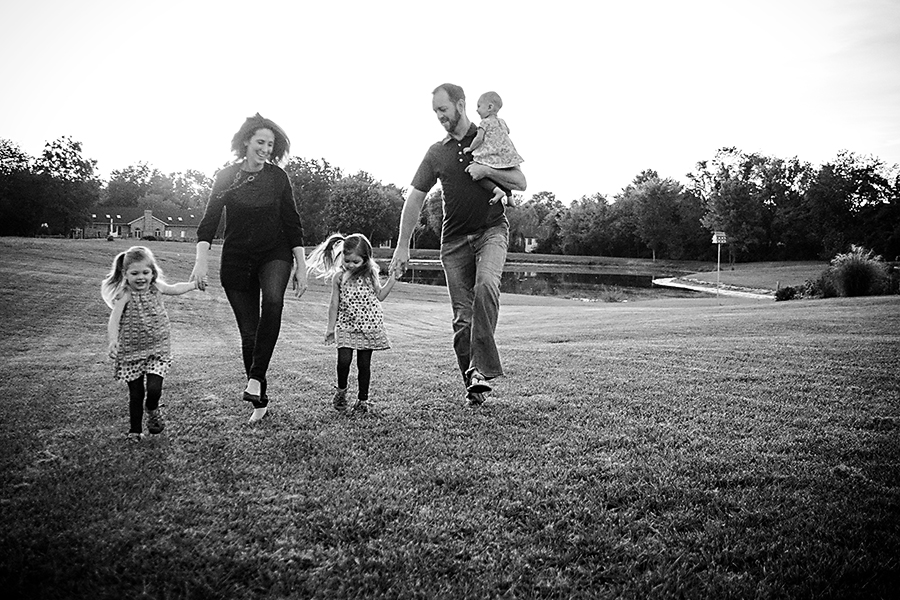
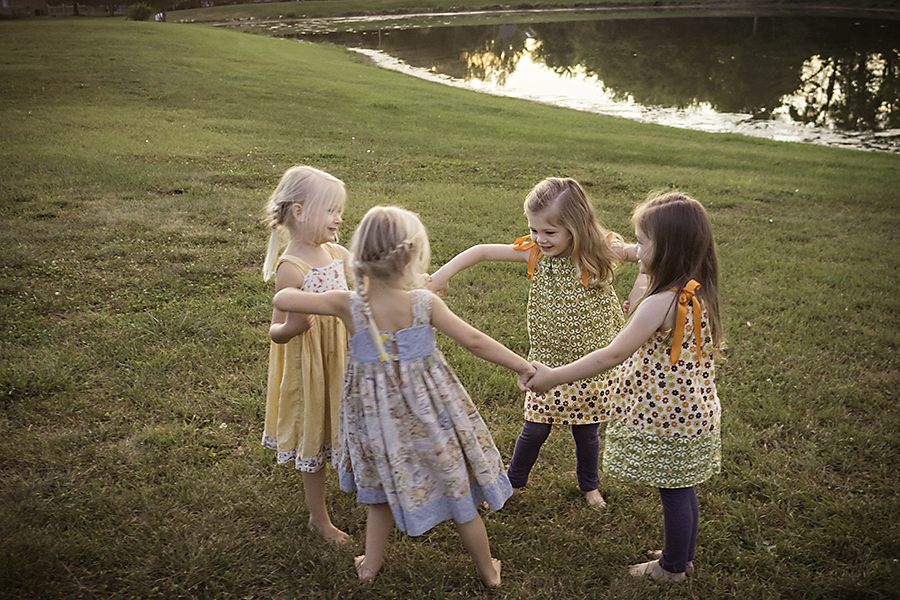
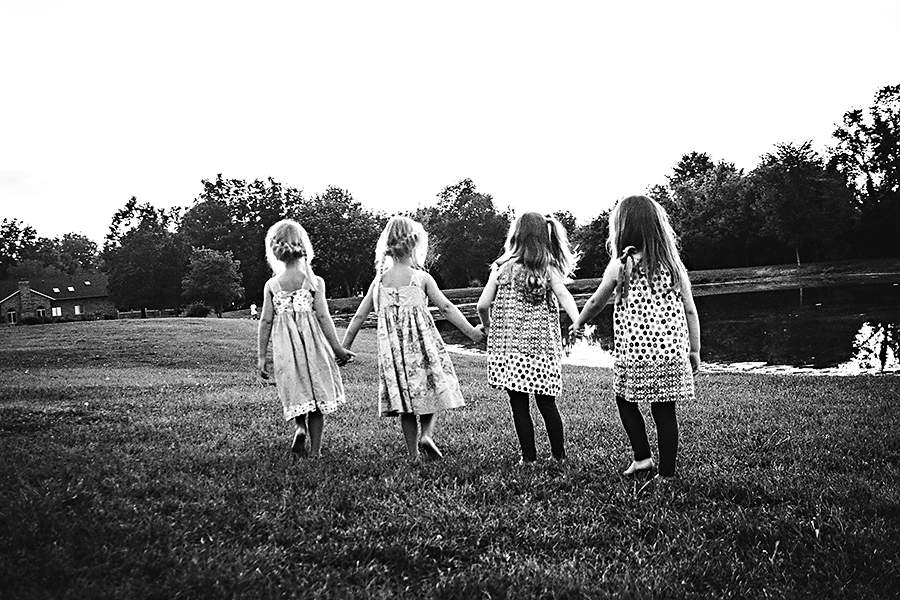
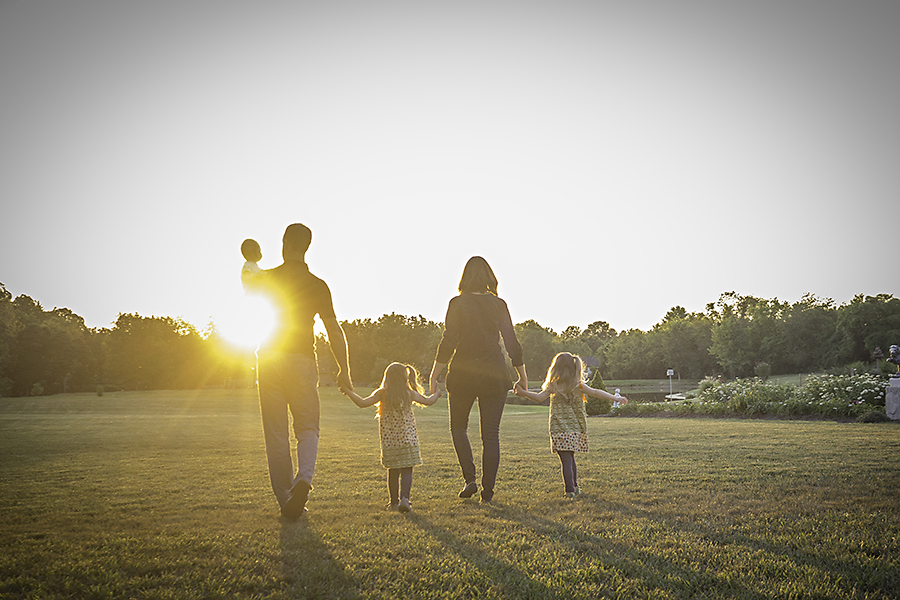
I’m able to create documentary family photography to show how a family really lives. And we play. Chasing the sunset. Skipping. Laughing. Blowing dandelions. Playing ring around the rosies with my girls.
This is what I was made to do: to tell your stories with beauty so that on those messy hard days, you can remember why it’s all worth it to begin with.
05
2013Welcome back class! I see you’ve made the best of our little break and I am super excited to see your images in the Flickr Group! I’ll be posting some of your images from the Flickr Group tomorrow to showcase how you’ve grown over the summer.
If you haven’t posted anything in the Flickr Group recently, today is your last chance to get your images in so I can include them on tomorrow’s blog.
Today we’re going to talk just a little bit about nailing focus before jumping into editing topics for the remainder of the year. There will be no more assignments outside of your Final Project. So start creating and consider this series of posts bonus materials.
Nailing Focus
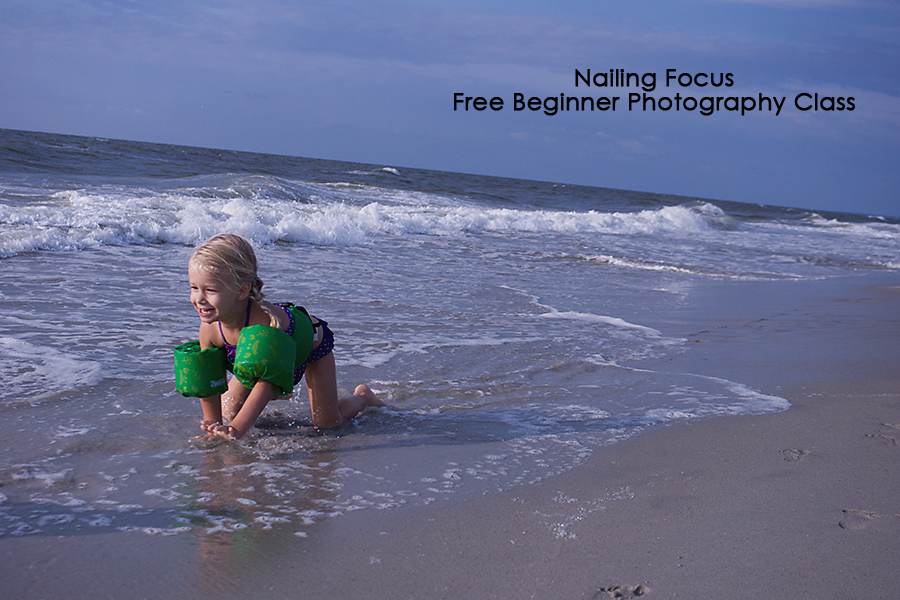
There’s nothing more disappointing to me than taking the ‘perfect’ shot only to pull it up on the computer and discover that I missed focus. Ug! This is one of these areas that I’m learning along with you because I learned on and used a manual focus film SLR until 2009. Yeah, I’m one of those die hard old school fans. I’d love to move my lifestyle family mini sessions back to film someday… ah, dreamy.
Wait. Where were we? Oh, yeah, nailing focus.
There are two things that tie into nailing focus: Focus Mode and Auto Focus Area. Let’s tackle these one at a time.
Focus Modes
You’re going to have to consult your manual to find out how to toggle these handy dandy focus modes.
Manual Focus or MF
Manual focus is focusing with the focus ring on your lens. Depending on your camera, you’ll need to switch either the lens or the camera into MF mode. Some cameras even allow you to toggle manual focus temporarily with a button on the back.
Manual focus is best used in the following situations:
- When you don’t have enough light or contrast in your scene to lock focus with Auto Focus. You’ll know this is happening if your lens keeps running and your camera won’t allow you to fully depress the shutter button.
- When you’re shooting still life or a very still subject
- When you’re shooting at infinity on a tripod for say a landscape with a closed down aperture
- When you know the exact distance from your sensor (marked on your camera body) to your subject. Usually the camera is on a tripod for this.
One Shot/AF-S/Auto Focus Single Shot
When you half depress the shutter button halfway, this will grab focus on the point the camera or you have selected it and hold focus on this point. You can use this mode to focus on a certain point and then recompse an image by holding down the shutter button halfway.
This focus mode is used for still subjects like landscapes or adult portraits or cooperative children. Keep in mind that if you’re shooting wide open, even a small movement of your subject can cause missed focus in AF-S mode.
Al Servo/AF-C/Auto Focus Continuous
When you half depress the shutter button, this focus mode will lock to the subject. As long as the button is half depressed, the camera will attempt to continue focusing on that moving subject.
Obviously this is heaven for toddlers, animals, and fast moving subjects. Switching into this mode could be a game changer with fast subjects. This focus mode works best when your subject is in the center of the frame. So shoot wide and crop later.
Al Focus/AF-A/Auto Focus Automatic
When you half depress the shutter button, the camera will decide whether the subject requires AF-S or AF-C. But just like manual mode, the camera can get it wrong. You get to pick whether you want the camera to decide for you or not.
Auto Focus Area
In addition to choosing the Focus Mode (how your camera will focus), you also can also choose Auto Focus Area (where your camera will focus). Again, you’ll have to consult your manual to determine how to change your Auto Focus Area, but it’s totally worth it!
I’ll be using the names for the Focus Area as Sony describes it… so you may have to consult your manual to determine your respective names 😉
Automatic or Wide
The default setting. Do you really want your camera choosing where to focus and deciding on an area different than you would have wanted? I thought not. So lets move away from keeping it on AF Automatic.
Spot
The spot selected for focus is usually dead in the center. This is great if you’re using AF-S to set focus with a half depressed shutter button and then recomposing the image. You just may want to make sure you use a slightly more closed aperture for this technique. Obviously, spot also works great for taking images where your subject is in the center.
Zone
Here’s where you start bossing your camera around rather than letting it decide for you. In zone focus area, you can select which side of the frame the camera will pick focus from: left, middle, or right. It’ll still do half the work in picking the specific point of focus, but at least you’ll know it was pointed in the right direction. I use this AF Area when photographing toddlers or subjects that don’t allow me enough time to use Local focus area.
Local
Local allows you to pick the specific point where the camera will focus. I have 19 focus points in my professional level Sony a77 SLT. I had only had 9 in my entry level Sony a200. Using a joy-stick, I toggle between the focus points and tell my camera where I want it to focus: for most portrait situations this is the subject’s leading eye. I would not use this with subjects that don’t give you a lot of time to toggle focus points: namely children, or cars, or animals.
Further Resources for Nailing Focus
This is the first post in a series about nailing focus and goes into a bit more depth than I have written here.
If you’re interested in getting really precise with learning focus, there’s a great ebook called Tack Sharp: A Step by Step Guide to Nailing Focus. This is affiliate link for a product that goes into further depth on this subject. If you have problems with focus, feel free to invest.
01
2013Free Beginner Photography Class Final Project
For the remainder of the year, I want you to pick a project or subject that sort of encapsulates your mission statement or gets you all excited. Then we’re going to compose a photo essay of 10-15 images around our subject. You can use pictures you’ve previously taken or you can do a brand new series. Use your big DSLR or use your phone camera. It’s all your choice.
When you post your images to the Flickr Group, you’ll simply give a brief description of what you wanted to accomplish and we’ll give critique on your work based on that statement.
Here are some ideas for final projects based on things I’ve noticed you guys capturing:
- My town: your view of your world.
- Never lose hope: on a transition of unwanted/broken things into beauty
- Tender Girlhood: on the innocent musings of your little girl
- I’m glad they haven’t broken a bone: on the incredible feats of your little guys
- Running Behind my Husband: on your view from behind your running buddy.
- Motherhood: These are my days. The Glorious and mundane intermingled.
I’m going to jump into this final project with ya’ll. That last topic is mine (though you’re welcome to steal it!). My vision is a series of both self-portraits and portraits of my surroundings and surrounding people all in black and white. I’m going for raw emotion here. It could get a little crazy… but at the very least, I will start appearing in my family images. Woohoo!
Gratitude and Upcoming Class Work
I’m so thankful for the folks who have stayed the course. Things slowed way down in the Flickr Group over the summer. I really struggled to keep writing because I wasn’t seeing your work and comments on this series of posts were few and far between. A couple of you (you know who you are) kept me going with your enthusiasm, emails/FB messages, and encouragement. Thank you!
That said, I’m going to give this class a break for the month of October. It’ll be a chance for you all to catch up on work from the summer, and begin work on the final assignment. It’ll also give me some space to write, photograph, and soak in my 31 Days to See Beauty in Your Mess series.
Class will jump back into session in November with a bit of basic information on the types and uses of editing software. Thank you for your grace in both enjoying this class and waiting through this October season of growth for me. I’ll see ya’ll in November when hopefully the Flickr Group will be bursting with goodness from all of you once again and I’ll start right off by sharing your images in this space.
I can’t wait to see your growth and your vision for the art you were made to create.
27
2013Photographers are a lot like parents: we pretend we don’t have favorites when in reality each season has it’s own favorite session (or child if you’re a parent).
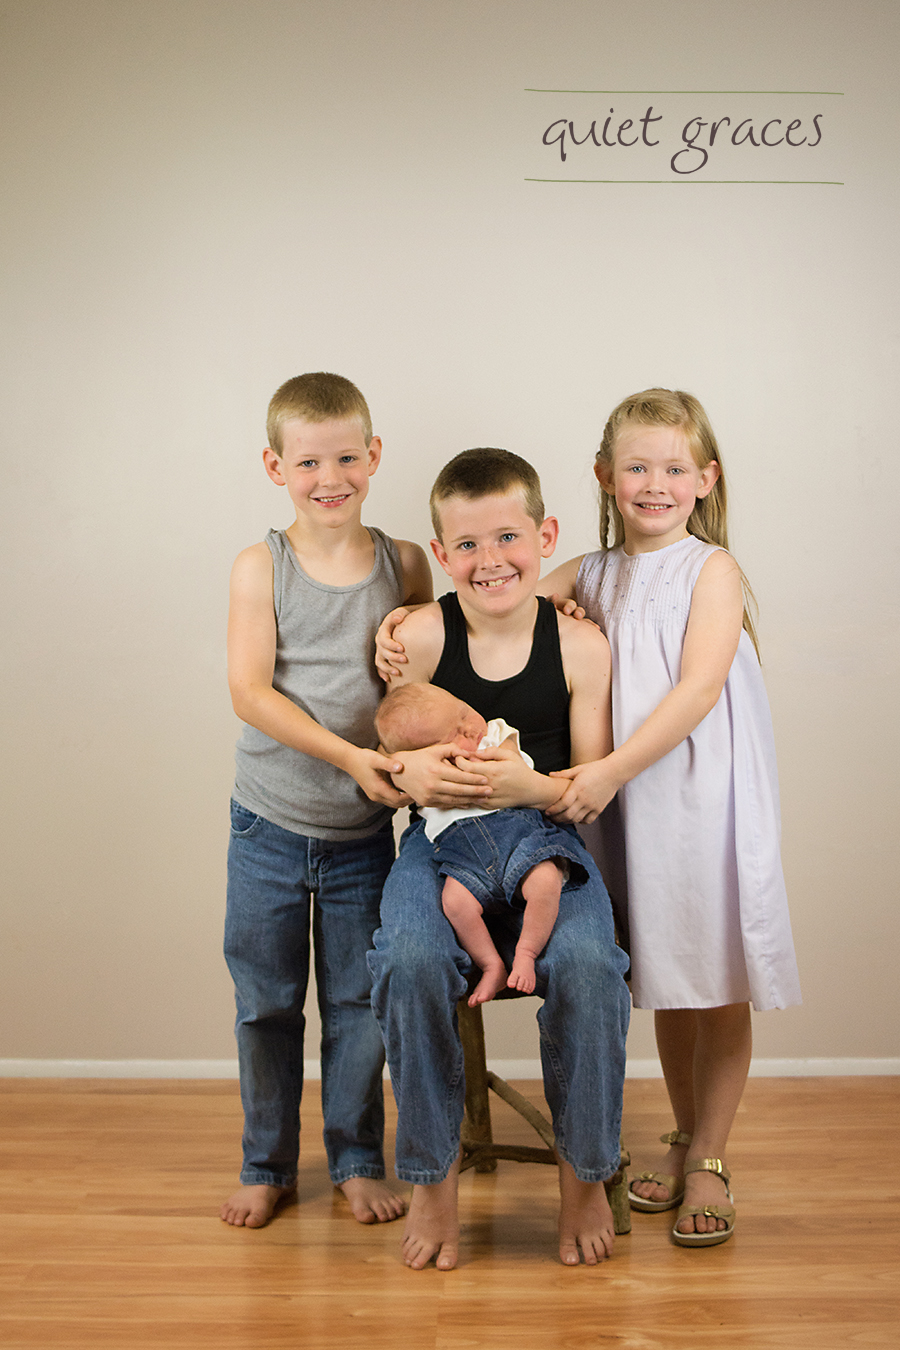
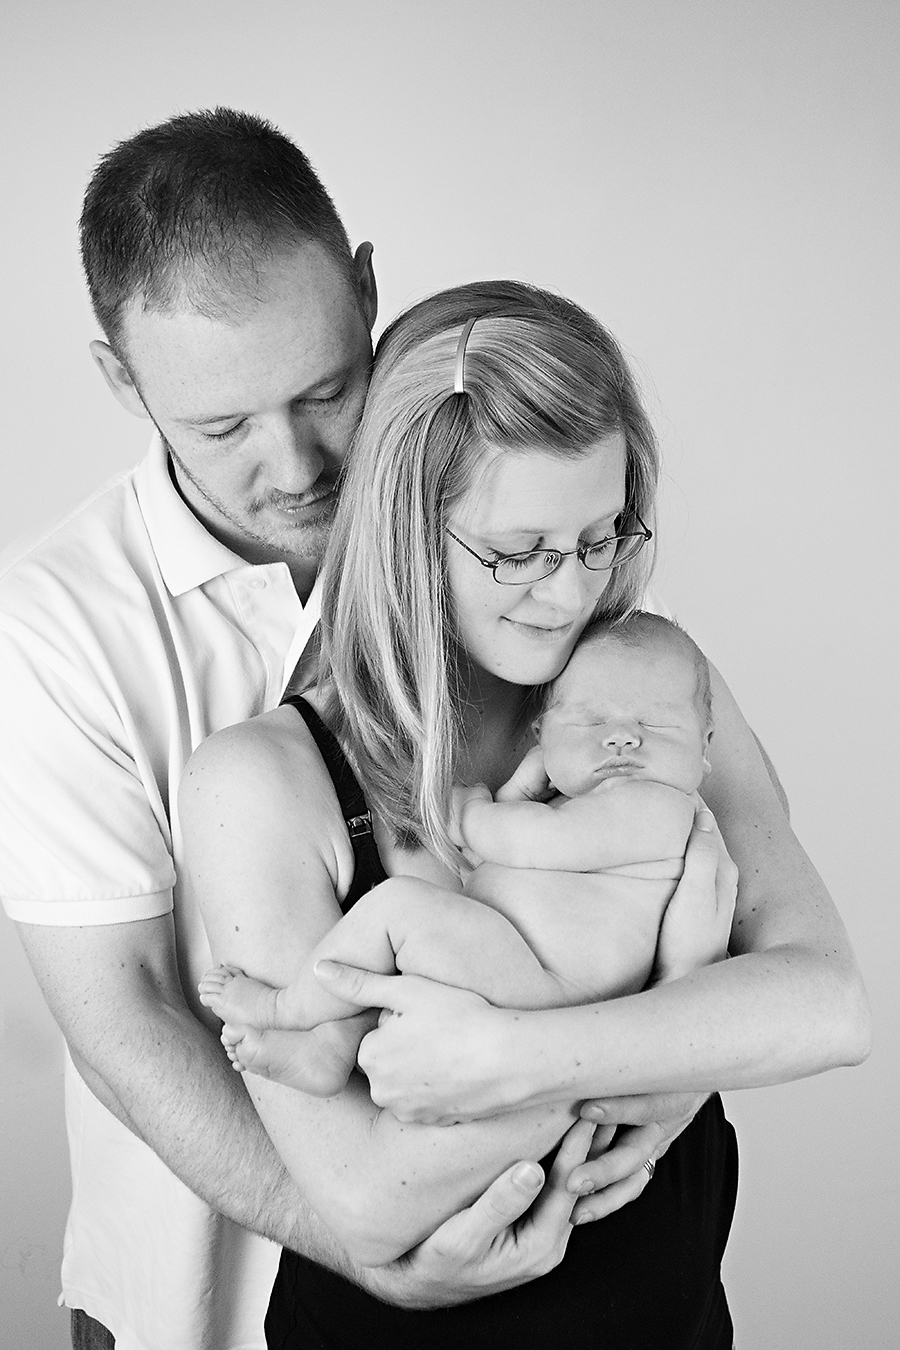
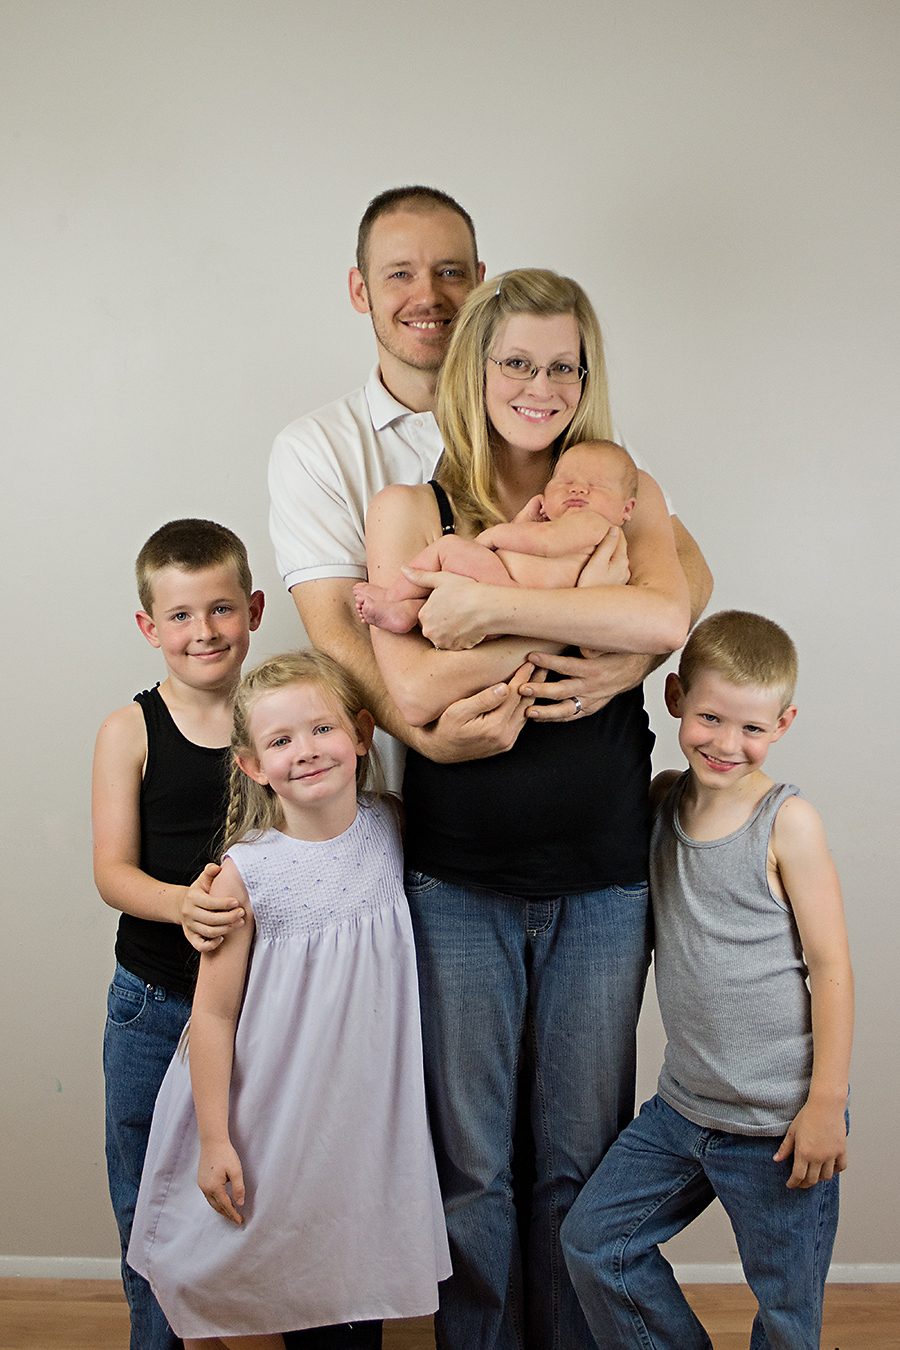
This is my favorite Taylors SC Newborn Photography session of 2013 so far.
I’m not sure if another session from this year will be able to top it (though if you’re the competitive type, please book me and try to top it!).
Right before this session, I was able attend a newborn posing workshop that totally changed my perspective on posing and editing. I left changed and empowered with just a few simple tools that were game changers for me. I had a vision for where I wanted my photography to go and then I booked this session.
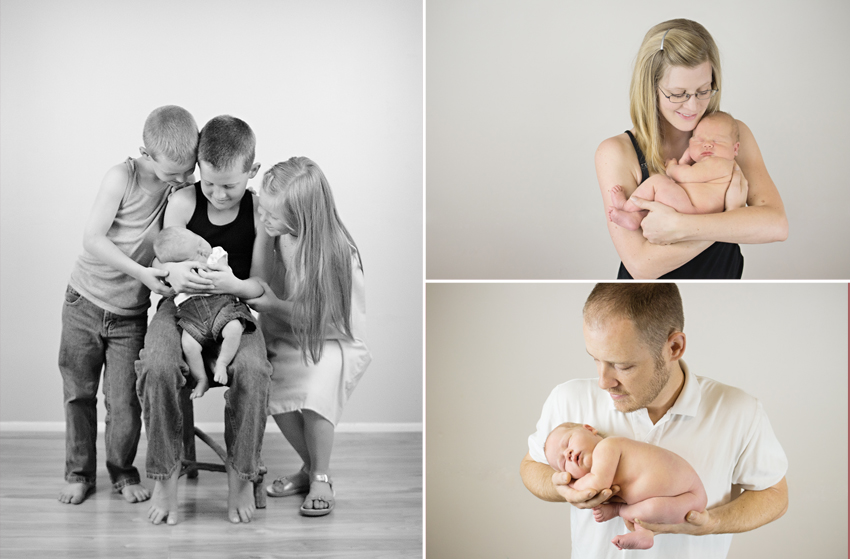
I also had the privilege of working with siblings who were older than my typical 2-3 year old siblings. This meant they could follow directions well for the elusive sibling shot. So exciting!
Chelsea is a dear friend and mentor (though I’m not sure she sees herself as that) with three older children. I adore her.
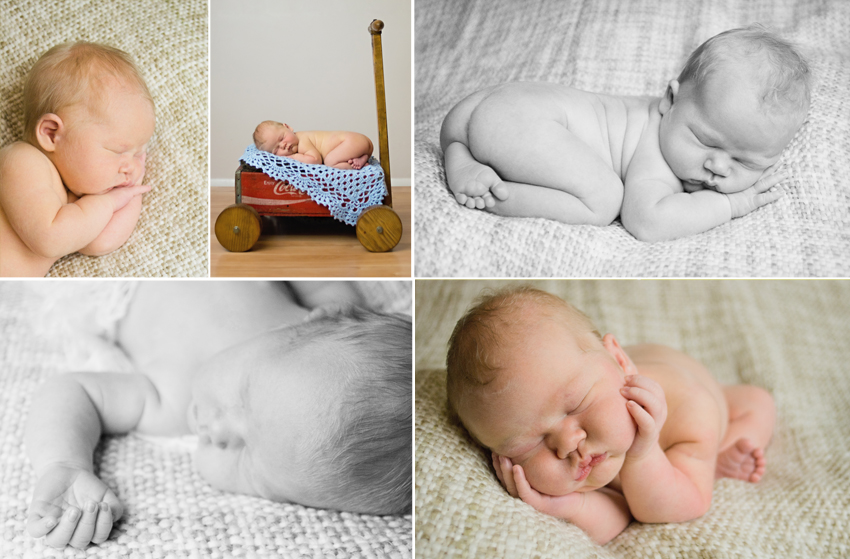
Baby Elliot was a sort of welcome surprise. And folks, he had rolls. I have never seen such a chunky adorable baby. He was just 6 days old and had the roundest pot belly and rolls on his legs and arms. He was nearly 10 pounds at birth! But Elliot was also one of the curliest and sleepiest babies I’ve ever had. He was such a joy to photograph.
While I was posting a few sneak peaks on Facebook, Chelsea wrote me these sweet words.
“Last night was a rough night and the morning has continued that pattern. But then I saw the latest picture and it just made everything better. I told you that your talent is a blessing. Thank you!” ~Chelsea
Folks, I nearly cried! I needed this affirmation so much during the season surrounding this session. Here’s the image that I posted that morning.
Okay… prepare yourself for the explosion of photos to follow. It’s too hard to pick just a few favorites from this session!
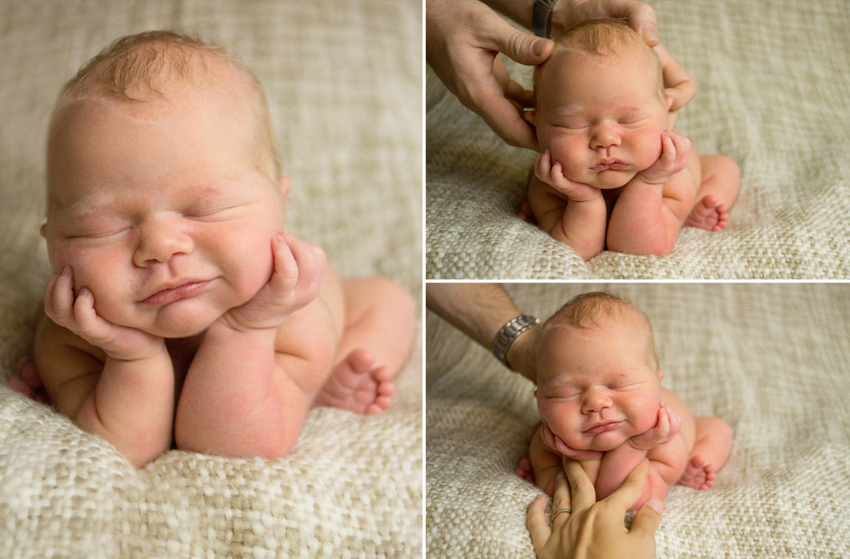
Just a visual reminder that this pose should always be completed in Photoshop.
As you can see, Dad’s or my hands never left Elliot unsupported.
And as another note: not all babies find this position comfortable. Elliot simply loved it as you can see by his smile!
