09
2013I’m always so honored when a repeat client books a second organic newborn photography Greenville SC session!
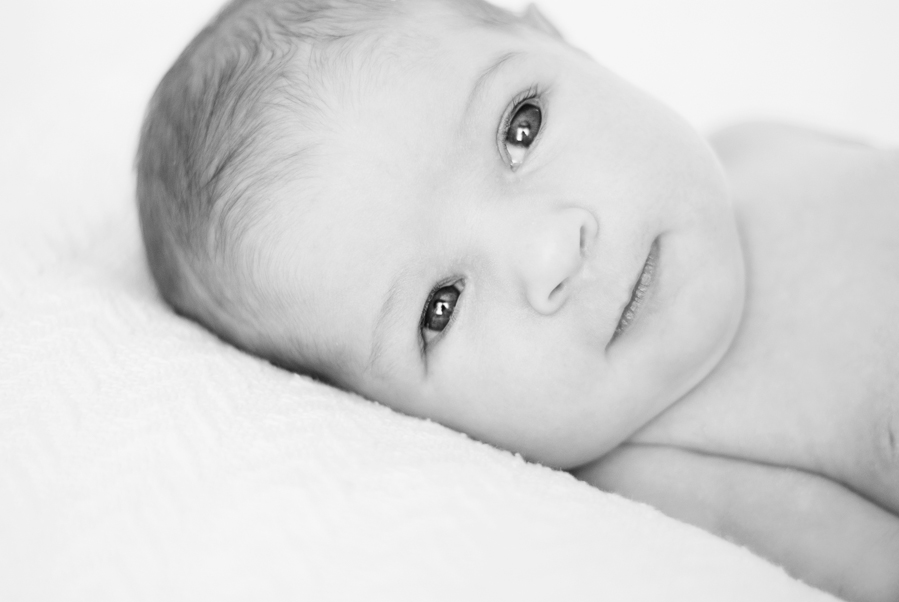
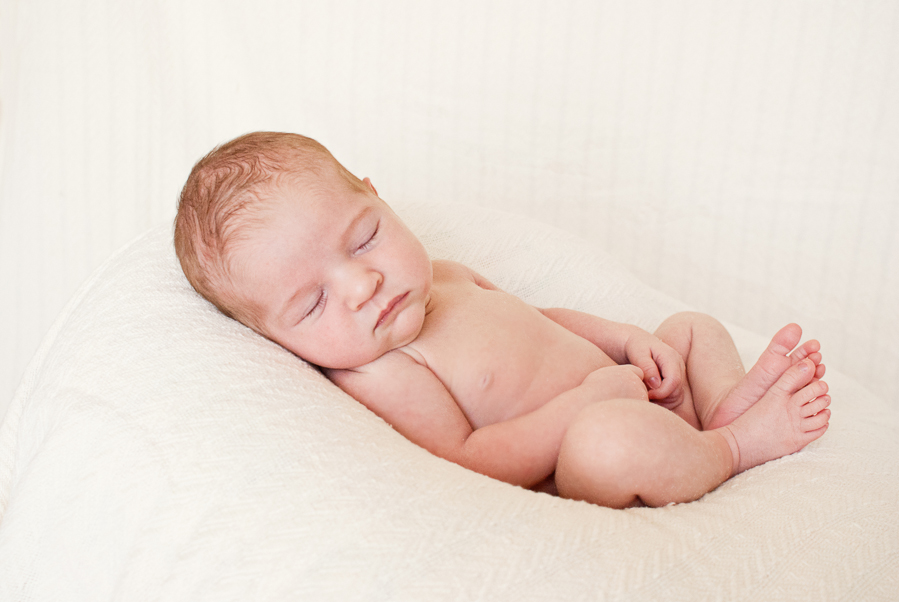
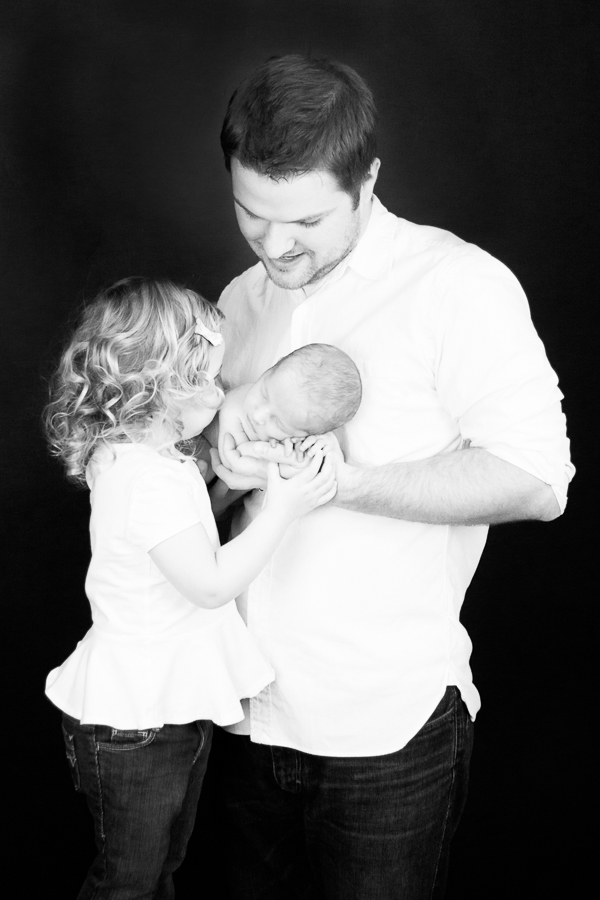
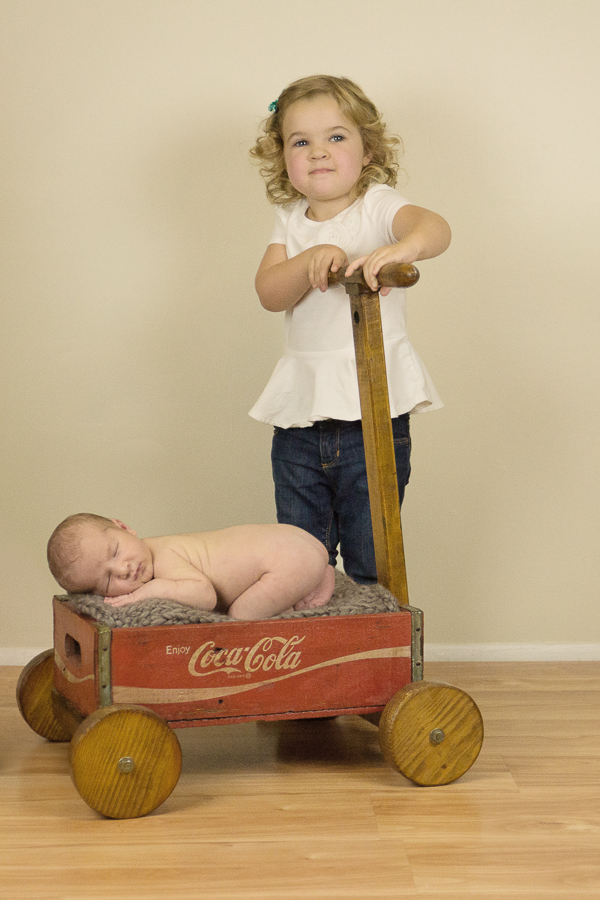
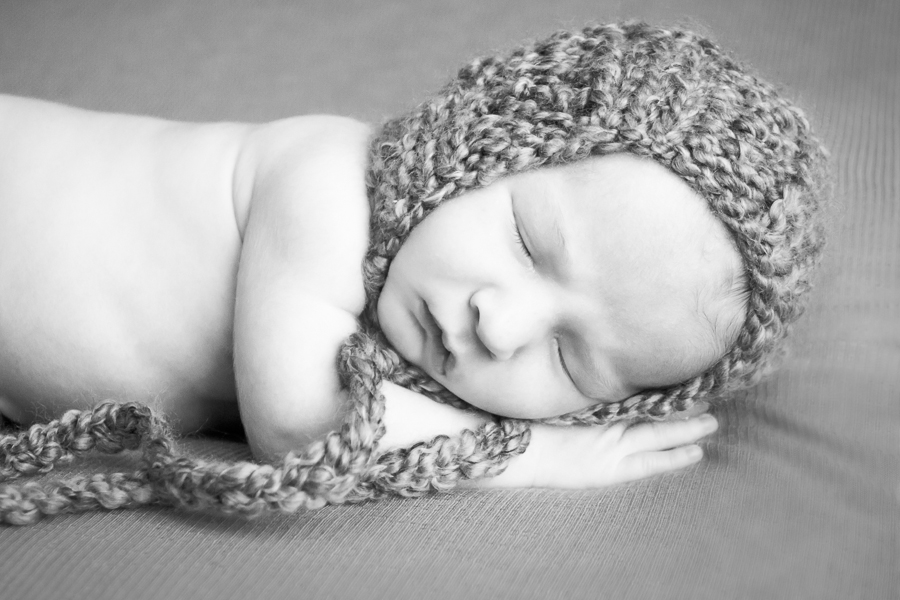
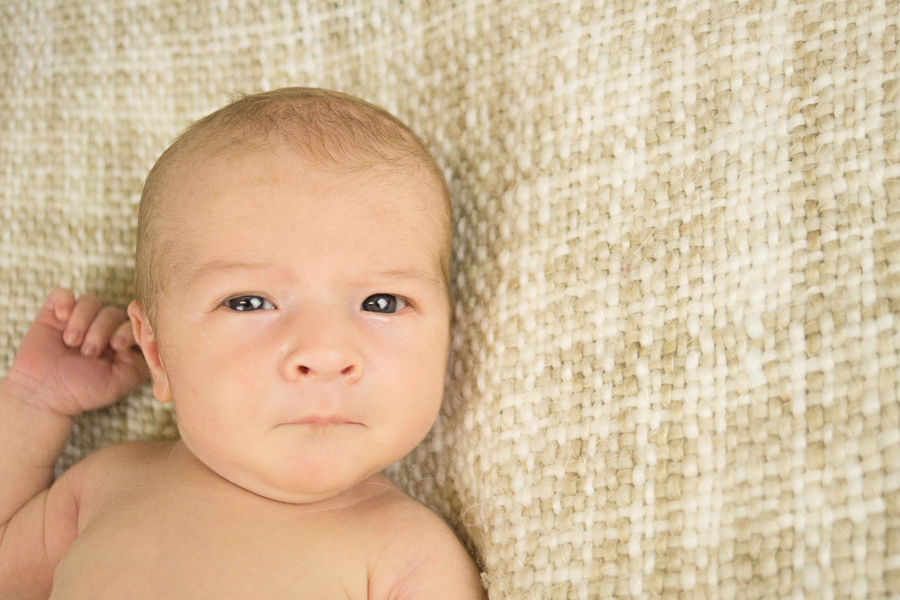
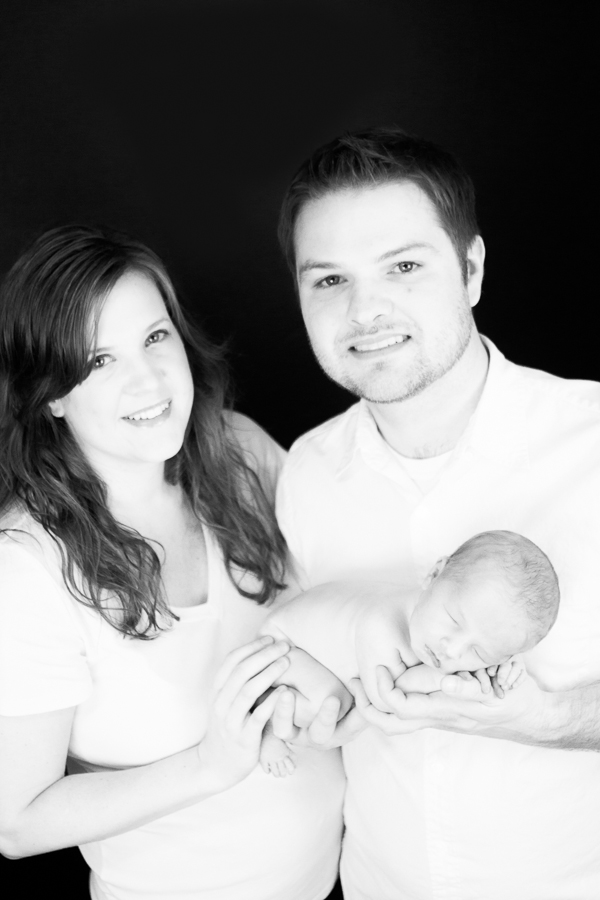
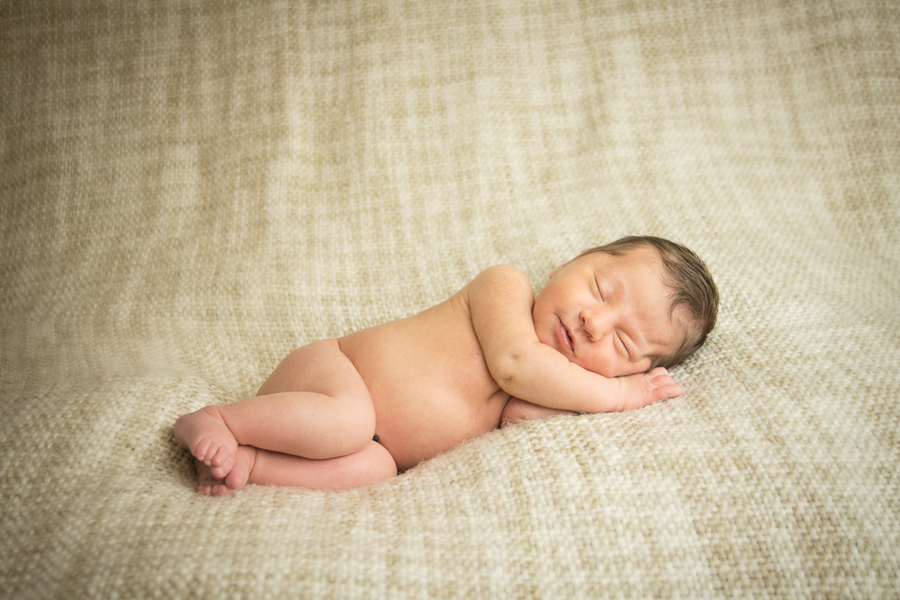
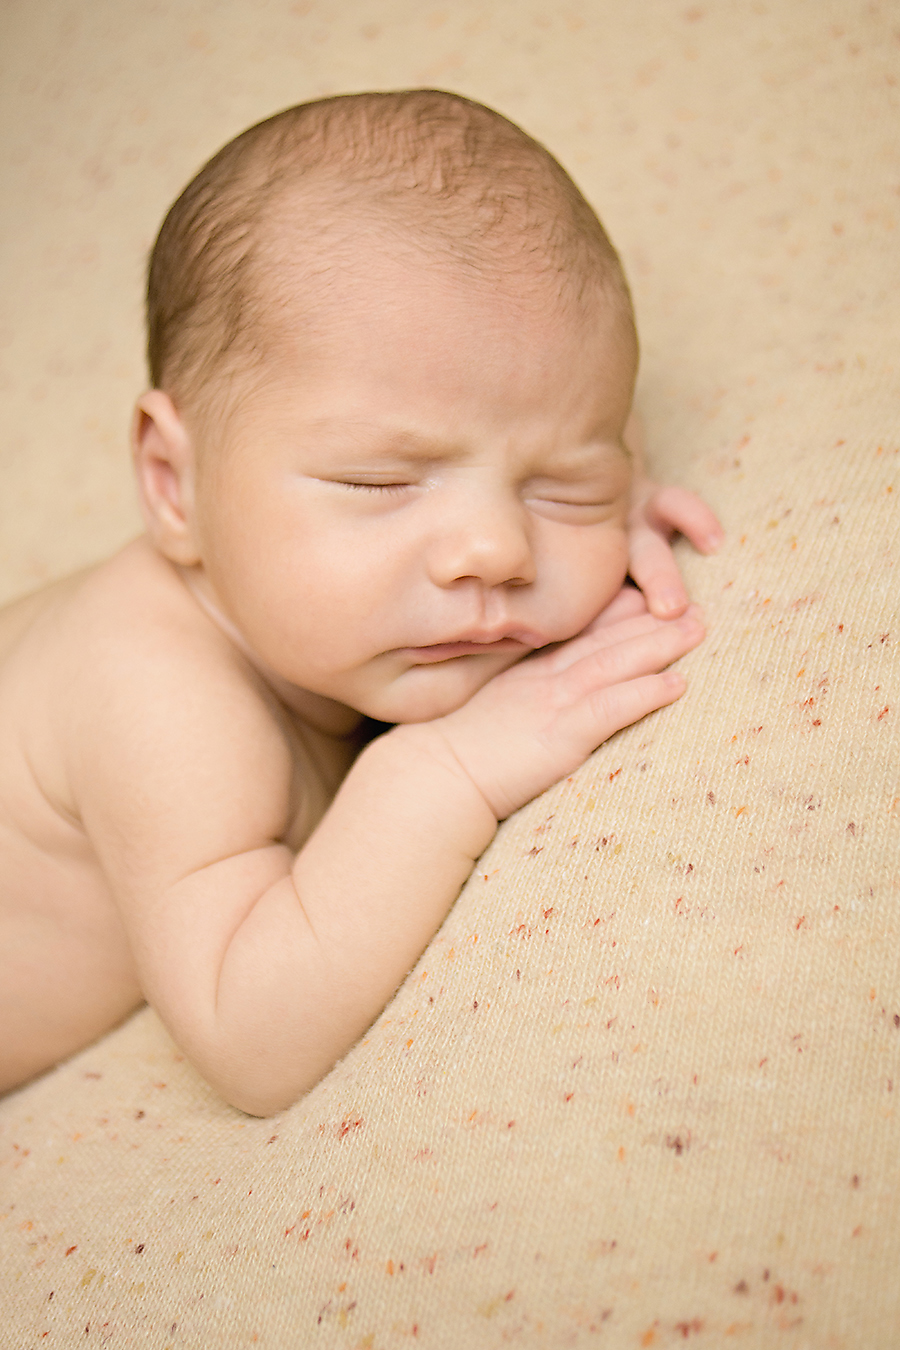
Meet Ryan: my 5th newborn client ever way back in 2011. She was so sleepy and perfect for her sessions. Baby brother Ford followed in her footsteps. There’s something so beautiful about the Allen family’s calmness. Their lack of anxiety lets their babies sleep so soundly.
Ryan has grown up to be so beautiful with her head full of curls!
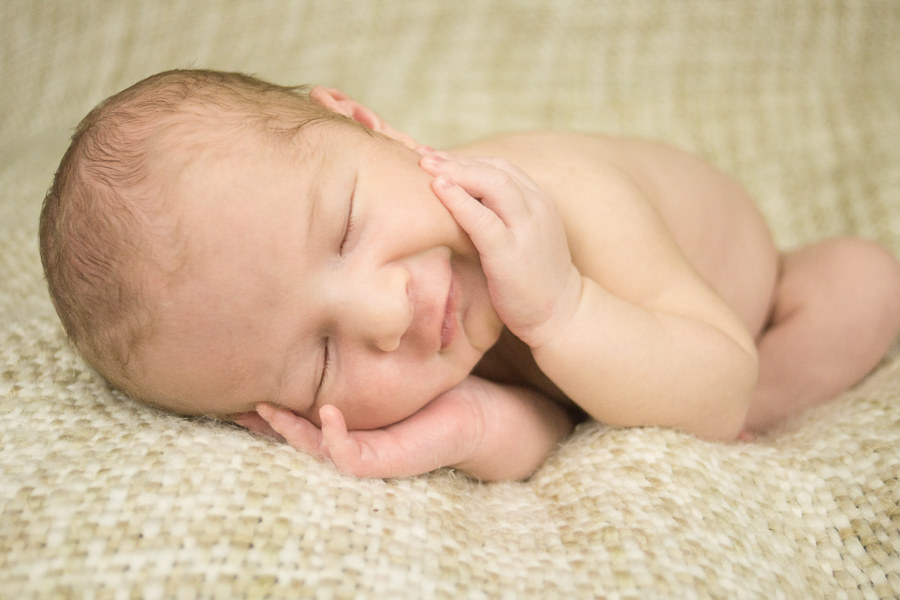
Ford flashed me this show stopper of a smile. He was such an adorable little charmer.
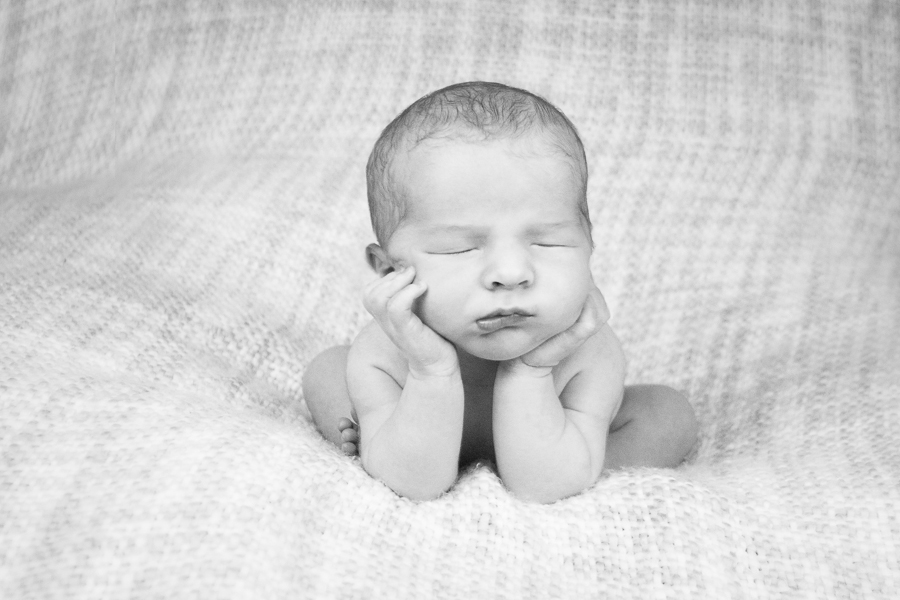
At 15 days old, For was a few days over the best age range for the sleepiest curliest images, but I never would have known. He was even able to do this gorgeous head in hands composite.
I am so blessed to have laid back and kind clients who both appreciate my imagery and respect my primary role as mommy. Thank you, Allens, for choosing me again. I was enjoyed snuggling little Ford so much.
05
2013So you’re thinking of hiring the right Greenville SC Newborn Photographer?
First, congratulations on your baby! It’s a crazy and exciting season filled with anticipation and worry. Relax. Take a deep breath.
There are so many newborn photographers in the area. How do you choose the right one to capture those precious first days? More importantly, how do you choose a newborn photographer who you can trust with your precious tiny baby? Here’s a helpful set of questions for your newborn photography search.
7 Things to Ask your Newborn Photographer
- Do you use composites?

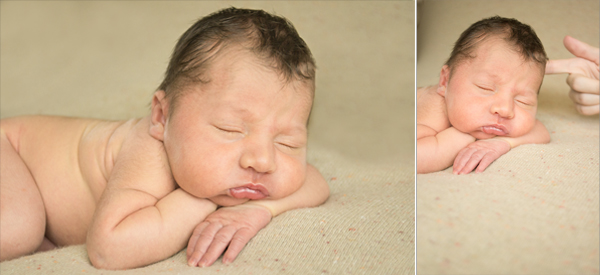
The reason some newborn poses look impossible fore a baby to maintain on his/her own is that that they are! Most of these images are trickery of the eye created in Photoshop or a similar program by a technique called a composite.Any pose where the newborn’s head is raised in a vertical, or where the baby appears to be hanging, or sitting should be created as a composite image. Additionally, anytime a newborn is placed in a prop or held by a younger sibling, an adult should be within arms length of your baby.The pair of images above show how one composite is created. A baby should never be in one of these positions without support. Some photographers choose not to shoot composite images preferring more natural posing. However, if you see an image that looks impossible in the photographers portfolio, always ask about their composite practices and spotting practices.
- Do you have a Federal Tax ID and a Business Licence?
If your photographer isn’t serious enough to obtain the necessary legal paperwork to pursue a legitimate business, the you probably shouldn’t hire him/her. Hobby photography has it’s place and everyone starts somewhere, but if you’re exchanging goods/services for money make sure they’re running a legal business.Integrity in the small stuff will indicate integrity in their dealing with you.
- Do you have insurance?An insured photographer is one who is willing to take responsibility for possible errors. You wouldn’t let an uninsured doctor/midwife deliver your baby so why would you let an uninsured photographer pose your baby?
- What training do you have in newborn photography?
Newborn photography requires a special set of skills beyond knowing how to use a camera. Newborn photographers should be equipped to soothe your newborn, pose babies safely, recognize and relieve poor circulation due to posing, and taught when to give up a pose. Your baby may cry out softly while settling into a pose, but should never cry continuously during his/her newborn session.There are many forms of training including mentoring, video workshops, and in-person workshops. Your photographer should have some type of specialized training and inspire your confidence. A mom who isn’t anxious about her photographers’s skills, allows her newborn to rest making the photographer’s job easier.
- How warm do you keep your studio/shooting area?Newborns can loose body heat very rapidly when unclothed
. Their bodies are used to a toasty 98.6 degrees and they have not learned to regulate their body temperatures well.A newborn photographer should have a studio space warm enough to keep baby comfortable: usually between 80 and 85 degrees. This means that mom, dad, siblings, and the photographer will likely be sweating by the end of the session for the baby to be warm enough.
- Are you vaccinated properly and what is your sick plan?
Babies have extremely low immune systems. Whether traveling to your house or you heading to their studio, your photographer should have at the very least an up to date TDaP booster shot to protect your baby.Additionally, they should have a sick plan in place. What happens if they’re sick or their child is sick, even if it’s just a runny nose or a tickle in their throat? Newborn photos are time sensitive so the photographer should have a plan for both rescheduling and referring you painlessly to another photographer if she is not going to be well enough to shoot during that first 20 days of your baby’s life.
- Can I talk to a past client?
If you’re still nervous about the newborn photography experience, ask to talk to a past client. You’ll get to hear the behind the scenes stories and feel reassured that the photographer is portraying him/herself accurately. As a bonus, if your photographer has a referral program, both of you could end up with referral credits.
03
2013I love black and white. One day I’m going to offer black and white film children sessions (if that sounds like a dream come true, contact me now!). Maybe next year I’ll whip out the old film camera and document my children’s lives in film. Sounds like I might have a project in the making…..
When I switched to digital, I used to get so upset about the black and white conversion. It was dull and ugly and I only knew the one way to do it. I really hated it.
Fortunately, hating my black and whites motivated me to learn to do black and white conversions in a number of ways. Today I’m going to share my favorite method of black and white conversion that I do manually in PSE and then share a small lists of black and white actions/presets that make my soul sing!
As a side note: I’ve been doing most of my black and whites in Lightroom recently. Also, before writing this post I was able to upgrade to Photoshop Elements 12. Woohooo! Ahem… I’m sorry that things look completely different that the last few editing posts, but this will help those with the newer software and I believe it looks a bit more like the Full Photoshop CS interface for those of you using that program.
Converting to Black and White Using Gradient Map
(Applicable to Both PSE and PS)
I learned how to convert to black and white with gradient map over at Everyday Elements (I’m telling you… she’s a goldmine of knowledge). Her take on this conversion is right here. Mine is below.
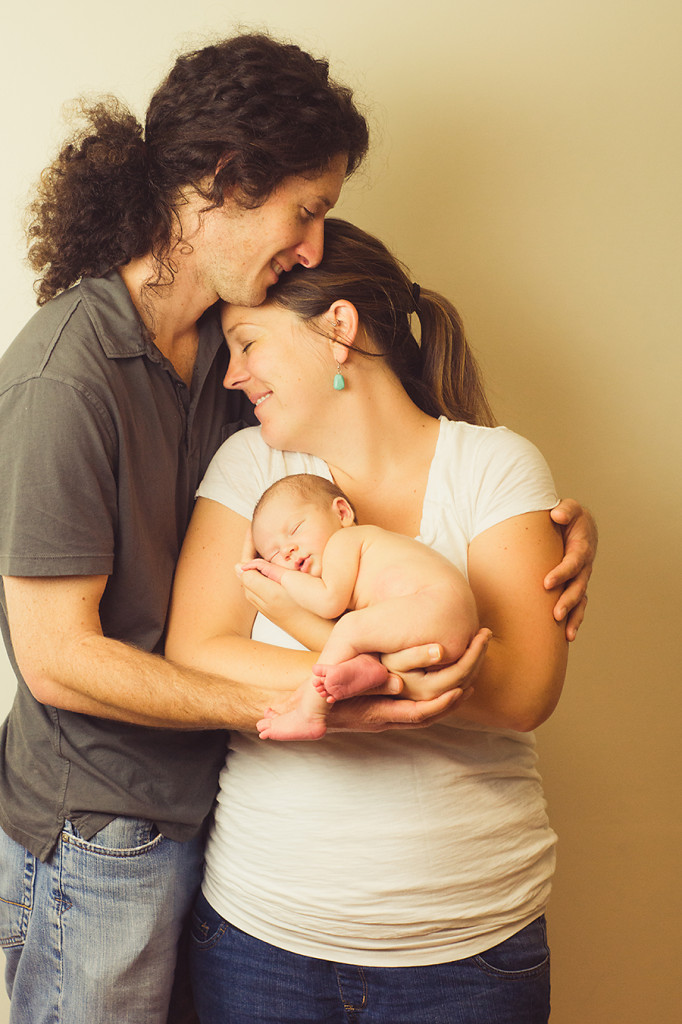
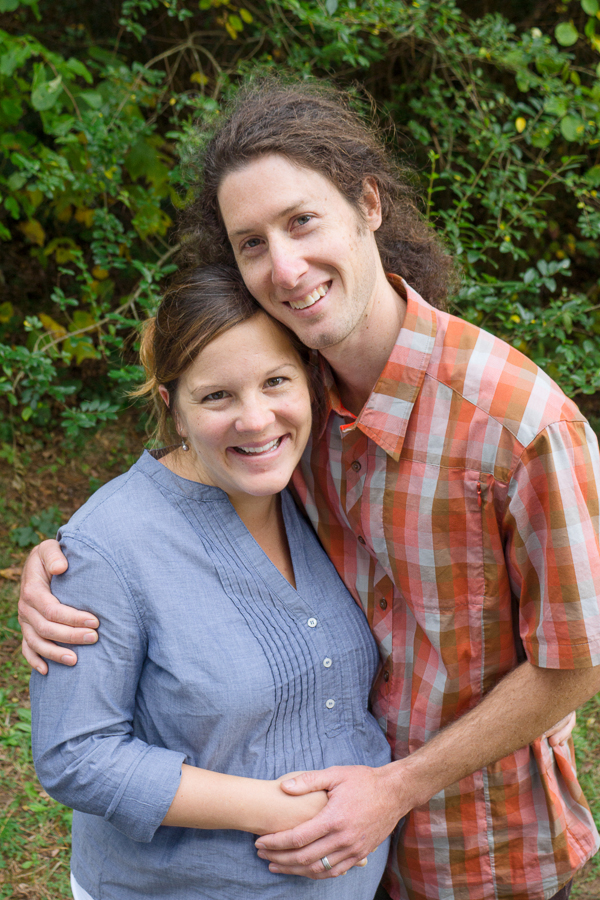
Here’s my starting color edit.
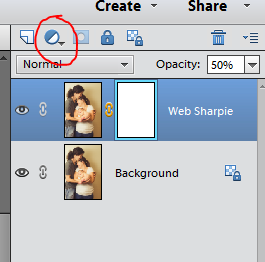
I click the Layers Palette in PSE12.
Then click the Layers Palette Half Moon Button (PSE doesn’t come with a manual… I’m totally making these names up as I go) and select Gradient Map.
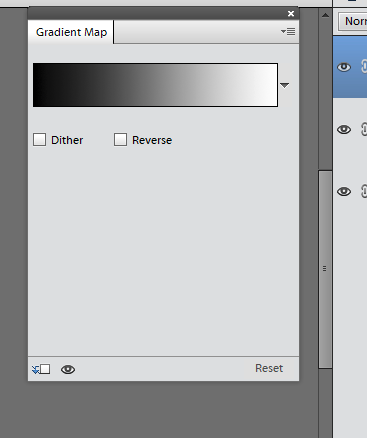
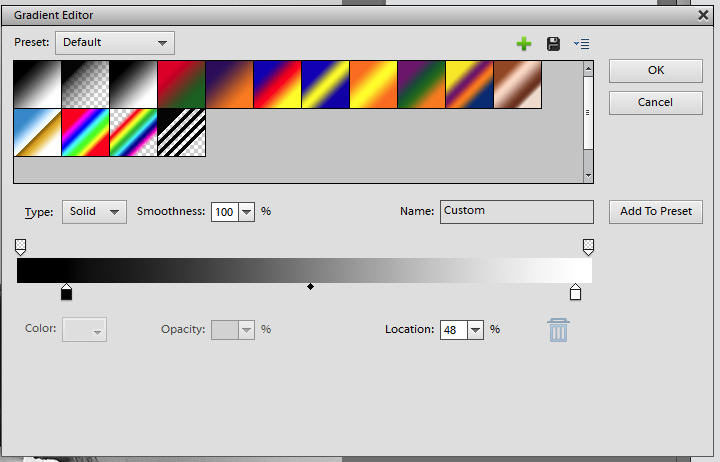
The Gradient Map will pop up. Your image could look mighty funky at this point depending on the selected gradient. Don’t worry! Double click the black and white bar(or whatever color you have showing up there) and the Gradient Map Editor will open.
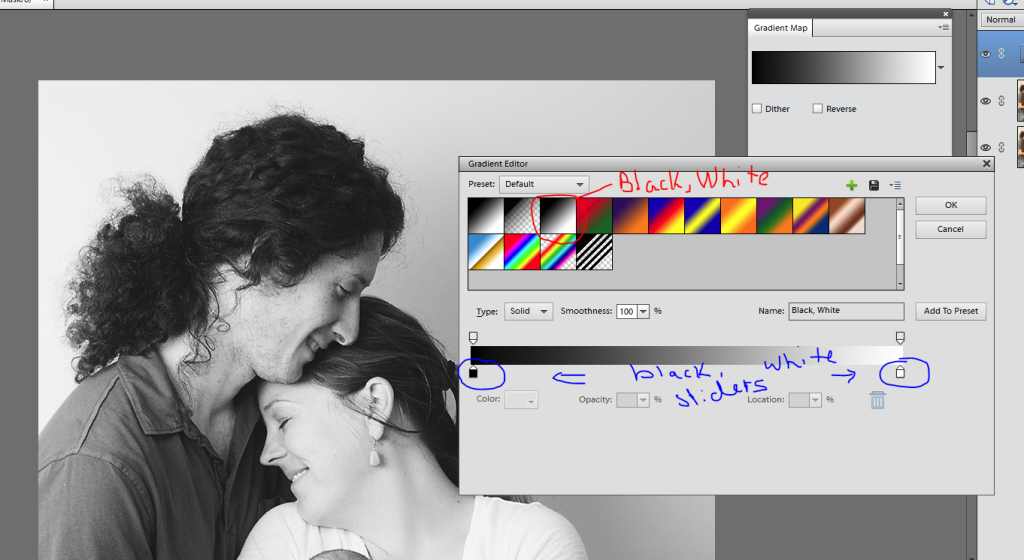
Select “Black, White”. As you can see below, at this point I have an ordinary black and white conversion. It’s lacking the depth that I love so I’m going to play with the black, white, and midtone sliders (midtone isn’t visible until you start moving the black/white slider).
Move things around til you get the richness you want. Weird fact: one you have a midtone slider showing if you drag it toward black you midtones get lighter. If you drag it toward white they get darker. For some reason that seams backward in my head…
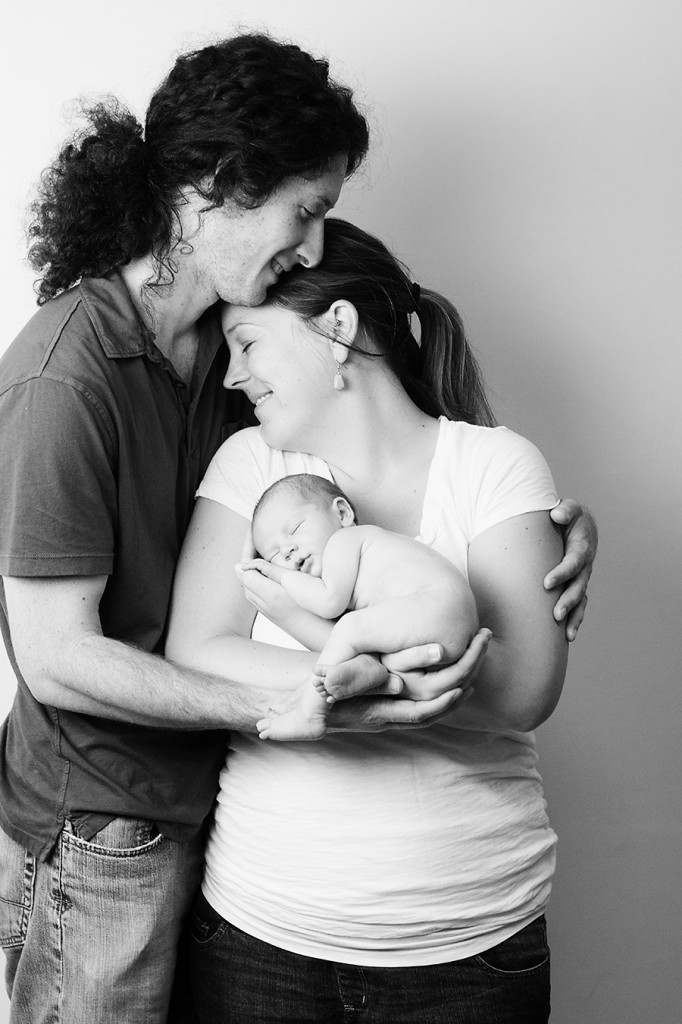
The following are my final settings. I moved me black slider in to darken Abel’s hair, moved my white slider in just a bit to darken the super bright white of Jenn’s shirt, and then moved my midtones slider over toward the black side to lighten up the skin tones just a tad. You can see the midtone slider below now 🙂
Tada! Beautiful black and white made super simple.
Some Favorite Black and White Actions/Presets
I love simplifying my editing workflow. Actions (PSE/PS) and Presets (Lightroom) make conversions simpler. I’ll do a full actions/preset post as the new year begins, but here are my favorite free black and white actions/presets.
Actions
Pioneer Woman’s Black and White Beauty in this Set
Pure Actions Free Black and White Batch (a basic Gradient Map conversion that I just taught you) and Baby Max Black and White.
Presets
34 Black and White Film Presets for Lightroom. If you can’t find a winner here, I’m not sure you will 🙂 I used to shoot Illford Delta 400… so that might be my favorite. But I like grainy images 🙂 But Illford HP5 (which my wedding was shot in) Curve is also a favorite.
12 Kodak Black and White Presets. If the above set didn’t meet your need… this will fill in.
02
2013{Just a reminder that today is the last day to order Christmas Ornaments! Click here to Order Now!}
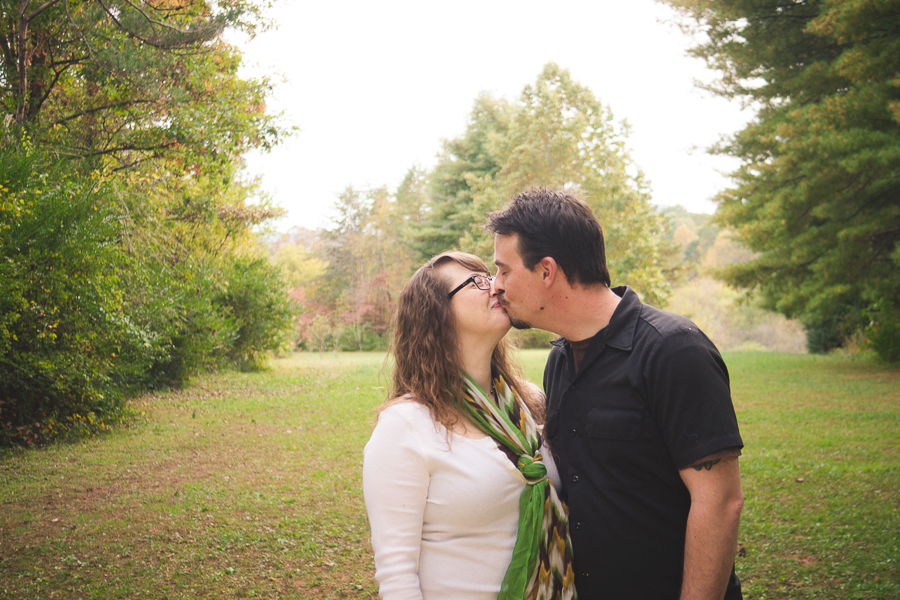
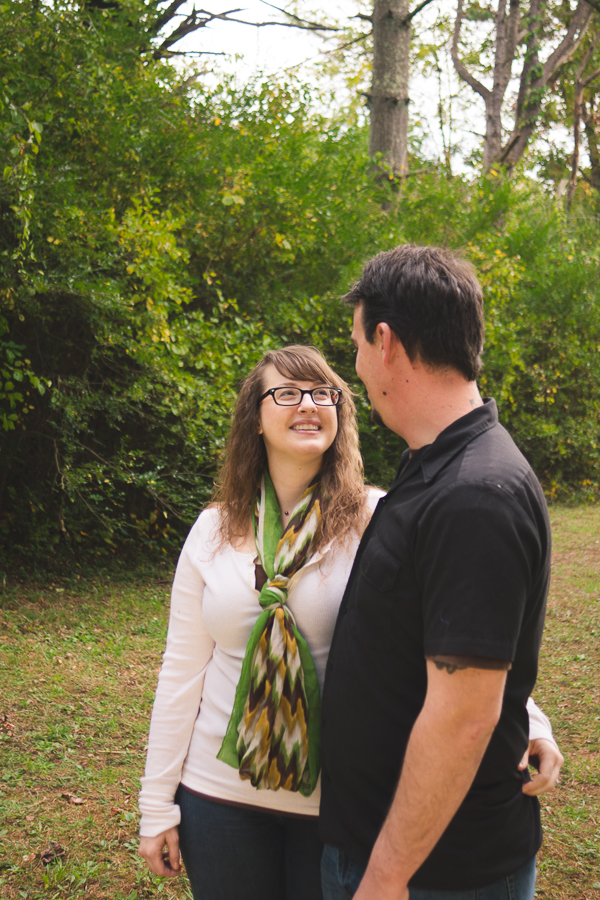
Jenn contacted me about three days after her due date and asked if I’d be willing to come up to Asheville and photograph her family all together.
Jenn was hoping that she would have a newborn to hold, but baby Henry made her family wait….
and wait…
and wait.
In fact, he was still hanging out all warm and cozy at the time of our session.
Jenn was my college suite-mate. She’s pretty much hysterical. Random, hilarious, but also one of those rare gems that I can still sit down with today and dive into heart matters within 10 minutes.
Her husband Abel was one of 5 others whom I practically lived with during a part of our Outdoor Leadership program called Immersion Semester. For nearly a full week on our first backpacking trip, Abel or Jon lifted my 60lb pack onto my back multiple times a day because I simply wasn’t strong enough to lift it.
All of Abel’s immediate family except for him and a sister, passed away in a car accident long before I met either of these two. The last Odom family portrait before the accident is featured in a huge print in their den.
To say that Abel and Jenn understand the value of portrait art is an understatement. To be commissioned to make portrait art for them was likely one of the highest honors I’ve ever received. So I met the Conley family (who are just as quirky as Jenn!) in Asheville and had the most fun ever playing with the kids and convincing the adults to get into the pictures.
Fun Family Reunion Photography Greenville, SC
Jenn and Abel, I love you dearly. Thank you for trusting me with your memories.
26
2013This one is going to be a super long post. You’ll find that you prefer either levels or curves. That’s okay, but it’s nice to know how to use both. Personally, I’m a level’s girl, but I do like to use curves on newborns 🙂
Definitions
Histograms are Magic
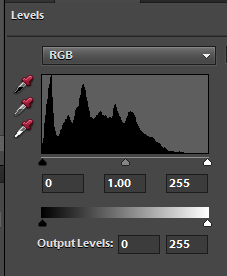
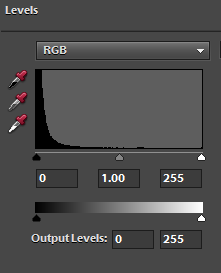
I haven’t really talked about histograms during the course of this class because I feel like it’s an intermediate topic. I’m going to touch on it briefly here because both levels and curves are changing the histogram from your original image. A histogram is a chart showing you the relative tone quality of your pixels. The left of a histogram chart records dark pixels while the right of the chart records light pixels. You’ll read all over the web that a histogram with a gentle bell curve should produce the perfect exposure. Honestly, that’s just not true. Ready for a Quick Case Study?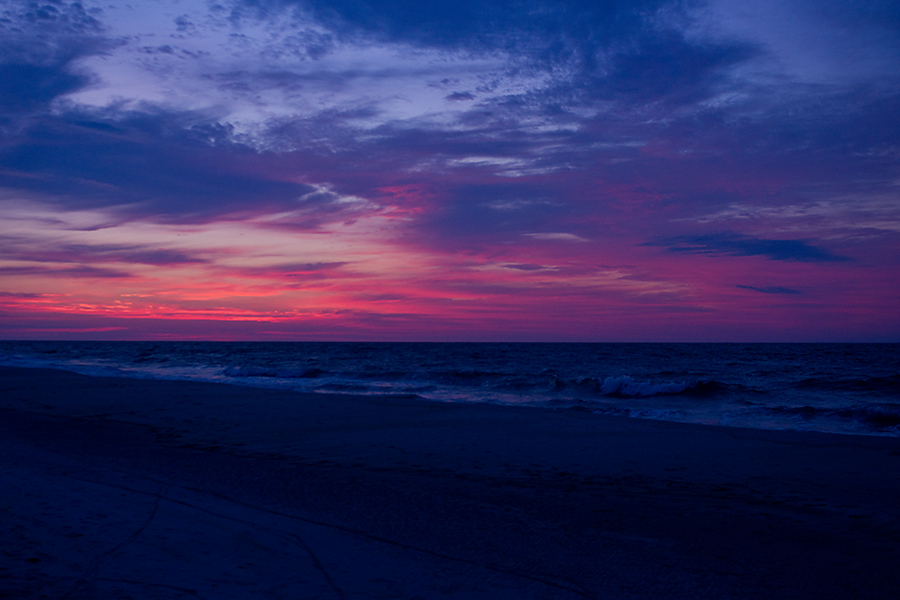
This image is pretty close to the ideal bell curve idea except for that spike in the dark tones likely caused by the dark beach/ocean. Is this a great exposure? Yes, for this image.
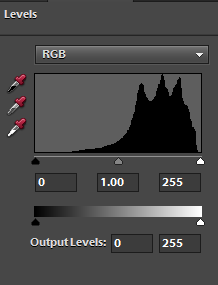
There’s a considerable amount of light tones in this image. Critics would gasp at this poor histogram if they saw it without the image, but I think the image is well exposed and edited.
This image by our class member Amber has no curve at all in the histogram. It’s a steep rise into the darks. Is this okay? Yes. I think it’s slightly underexposed, but not be more than -2/3 stops.
Now we can access the histogram through levels or curves, but it’s way more useful when we’re able to look at it while creating the image. Most DSLRs have the capability to show the histogram in the viewfinder, so jump into your manual and find out how. However, even if you choose not to use a histogram while shooting, you’ll benefit from knowing what a histogram should look like while you’re editing in levels and/or curves.
Levels
Levels is a smarter and better way to adjust for small exposure difficulties and brighten an image than the Brightness/Contrast function. Levels can fix exposure, assist in correcting white balance, and a host of other things. Here I’m going to teach you only the first two. If you want to know more about the power of levels: Browse through this post at Everyday Elements.
Curves
Curves is a little more difficult for me to accurately define. Basically, it’s extremely similar to levels, but it deals a bit more with contrast than brightness. Curves can be used to fix exposure, change white balance, and alter color tones. A much better summary of what curves does can be found here.
Editing with Levels in Photoshop Elements
I’ll keep working on the same image throughout this editing series for the sake of consistency. It’s a pretty basic image that anyone could have taken.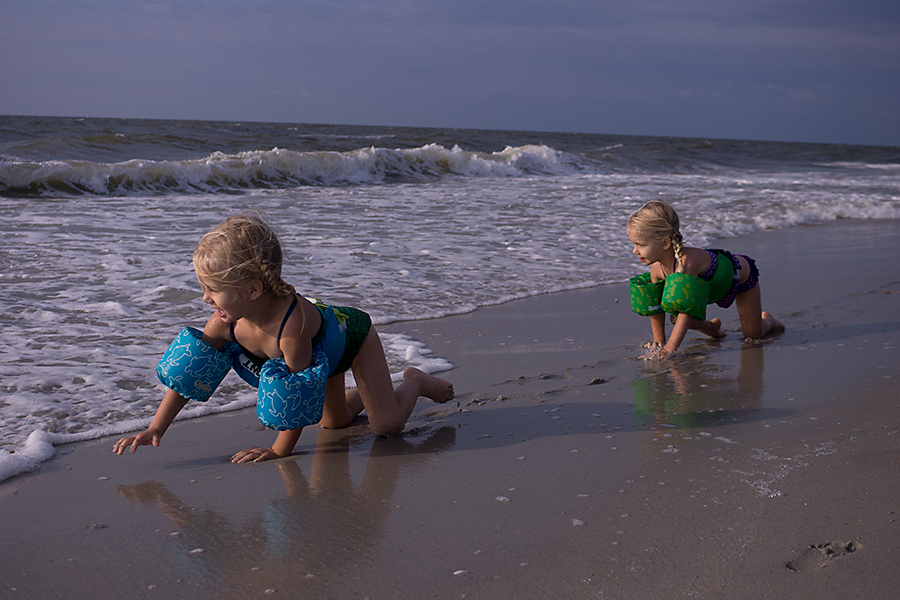
To open a Levels Adjustment Layer in PSE, You’ll click the half moon circle and then select levels.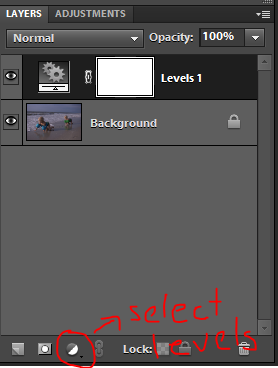 Again, depending on how your PSE interface is set up, you’ll either click your Adjustments tab or an adjustment interface will pop up.
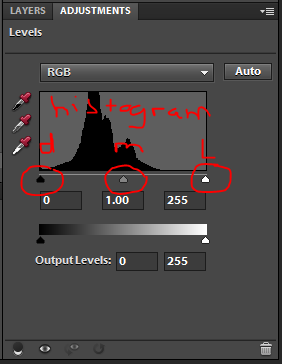 Do you see those little triangles. Those are the dark, mid, and light tones sliders. This is where a great deal of work is done in Levels. For this image, I can see by the histogram that there are not any highlights in the image. So first, I’ll slide my white triangle into the point where the histogram begins to rise. I still think this image is a little dark and levels is more effective at bringing in brightness evenly than the brightness/contrast layer. So I slide my midtone triangle to the left to make the midtones brighter.
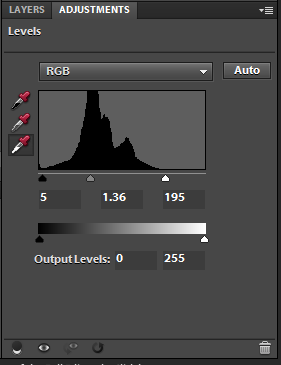 Here is my resulting image.
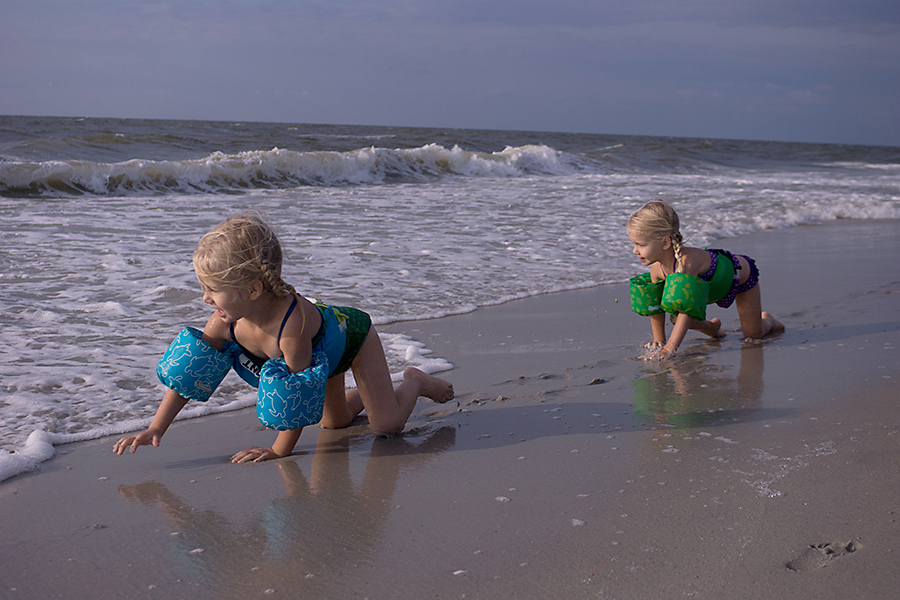 Now levels can also be used to fix white balance issues. If you have an image that is too warm or blue or has strange color casts, you can click one of the corresponding eye droppers. There’s a black, gray (18% gray), and white eye dropper along the left of the levels box.
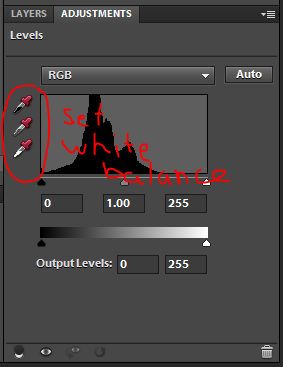 You select the one that you have in your image. For this image, I knew that the white foam highlights should be pure white. Your image may have a black color. A good place for gray is in the whites of the eye, but you’ll have to click in a few places and use undo (Ctrl/Command plus Z) to find the best spot.
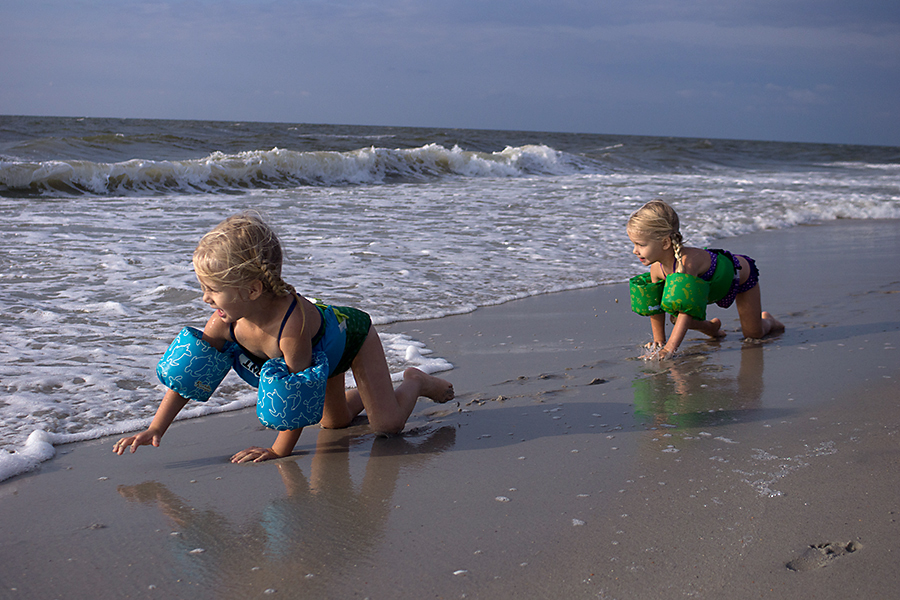
Here’s my image after correcting the white balance.
Editing Curves in Photoshop Elements
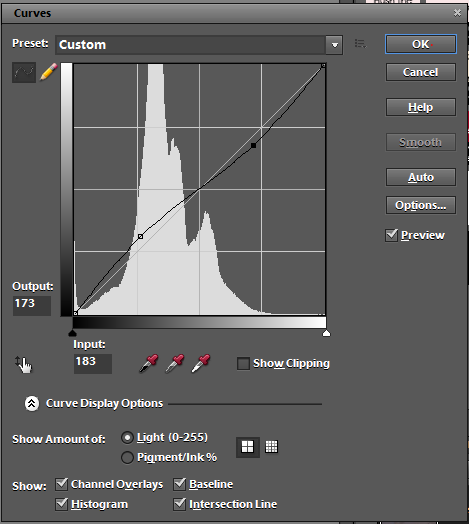
PSE does not have native access to curves. But that can be overcome through an action which you install into your effects palette. I’m sure there are lots of free curves actions out there, but the one I use is Everyday Elements Curves. Here is how to install an action in older versions of PSE (which I’ll link to repeatedly in the future). Here’s my Curves action in my Effects panel.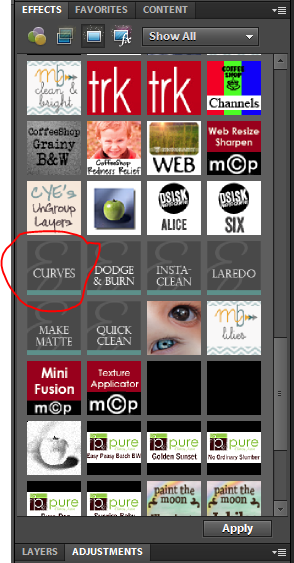 When I click it, the curves function box pops up like this.
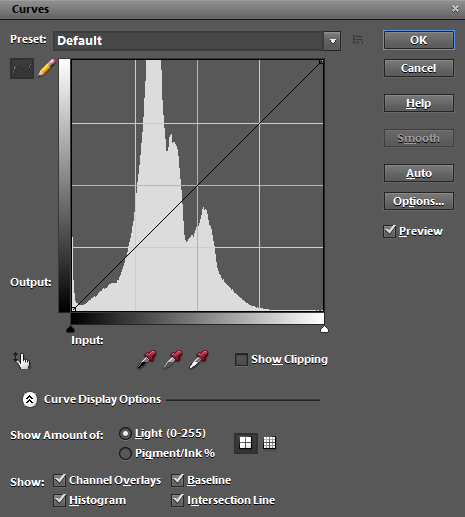 Like levels the curves box is representing from left to right: dark, mid, and light tones. Clicking on the curve and moving it upward will result in brightening the corresponding section while moving it downward darkens the image. Most people use Curves to create what they call a contrast “pop” but applying a slight S-Curve to the image. Here’s what that would look like.
Here’s the resulting image. This would likely look great on any well-exposed image with a good range of tones… but this image is missing lots of dark or light tones.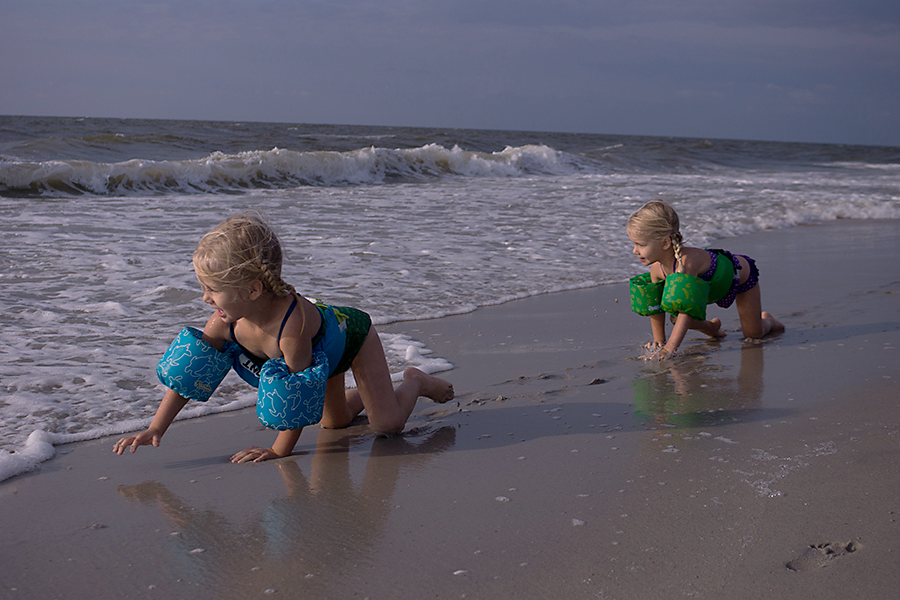 However, what this image needs most is the mid tones brightened. So I brought my the mid tone section of my curve up towards brighter significantly.
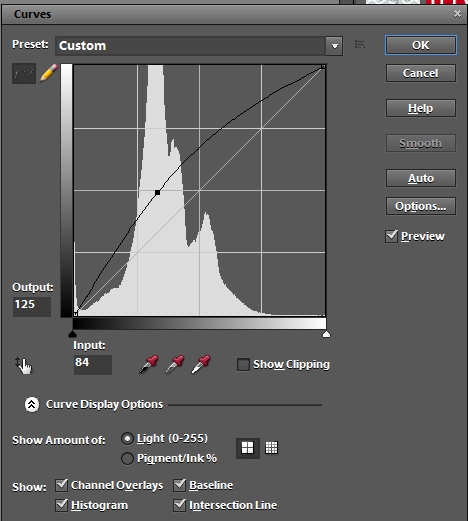
As a side note: to adjust white balance in curves, you use the eyedroppers in the same way that you used them in levels 😉
