19
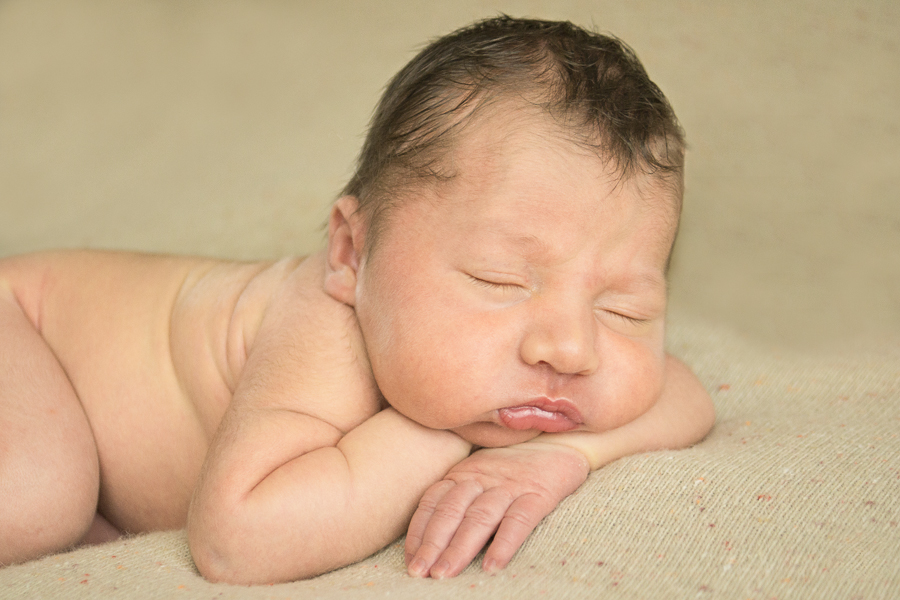
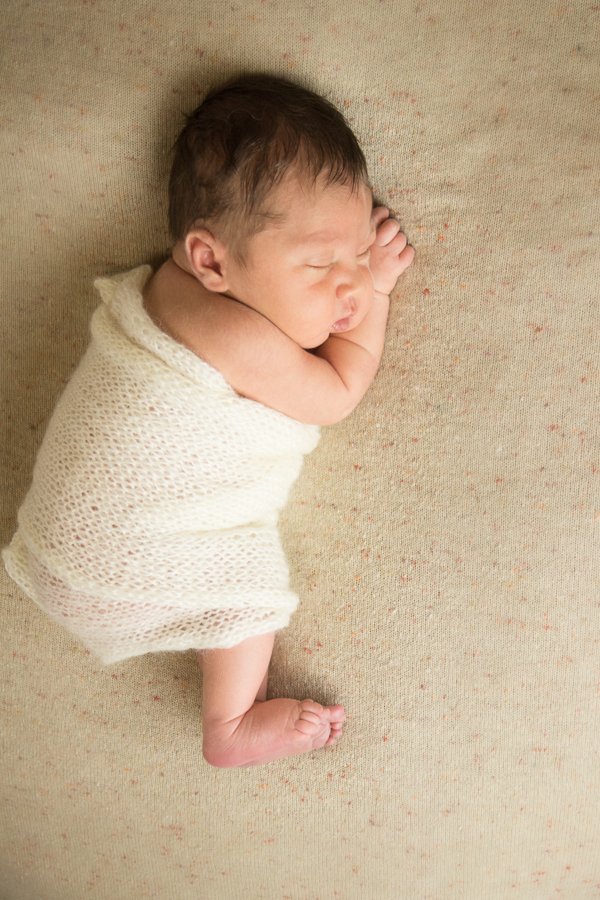
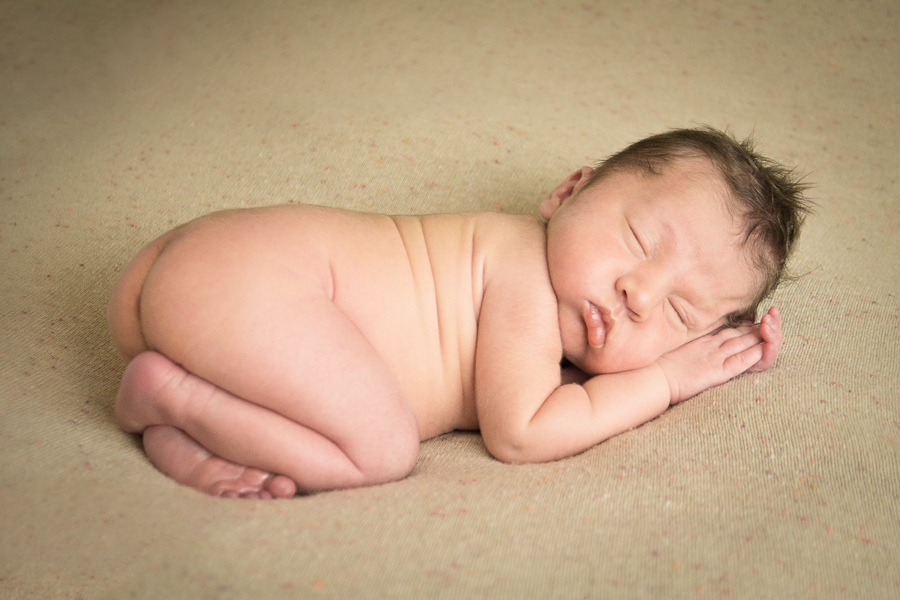
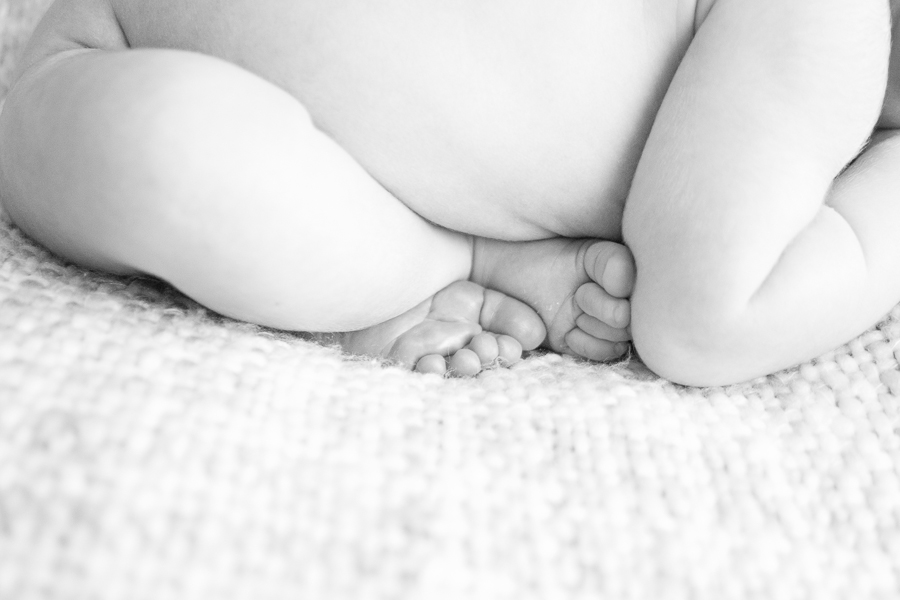
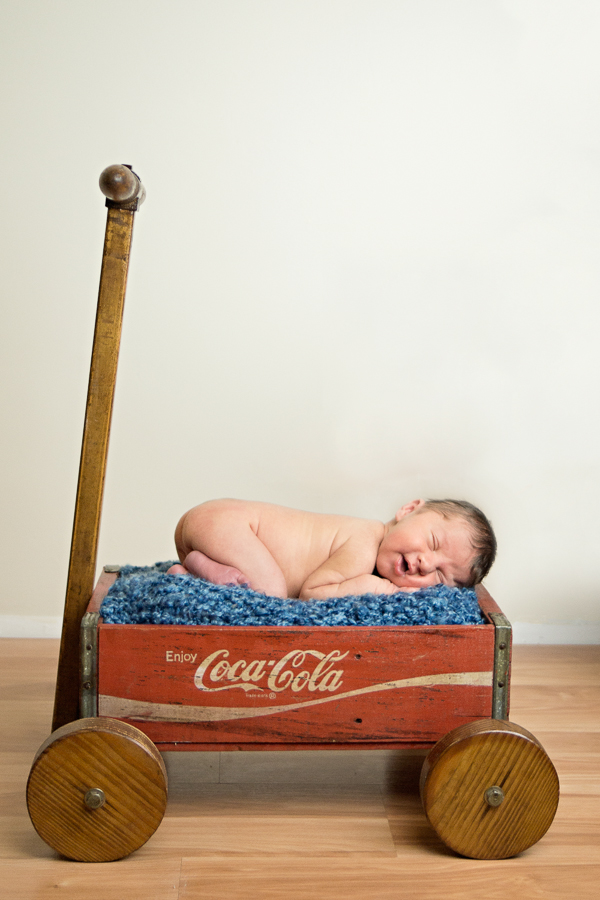
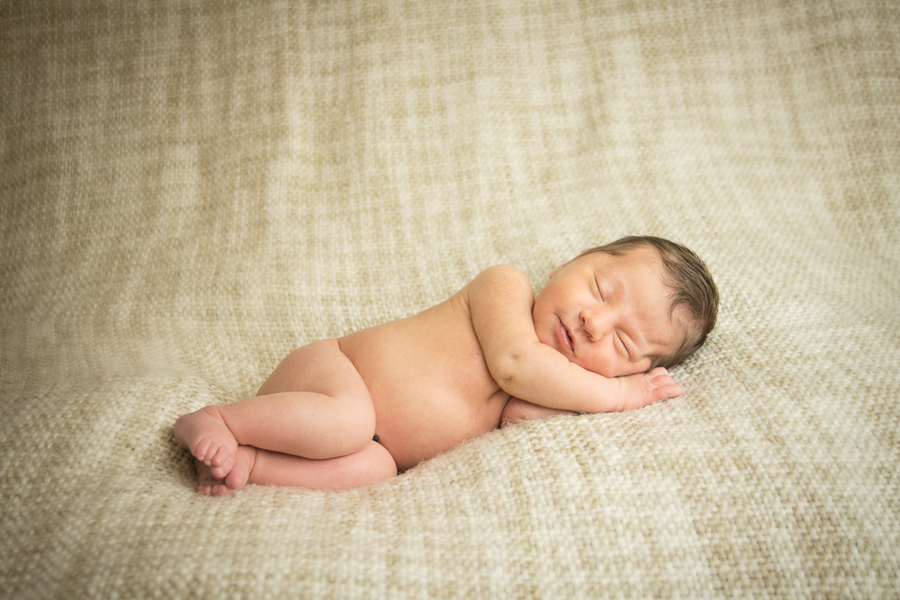
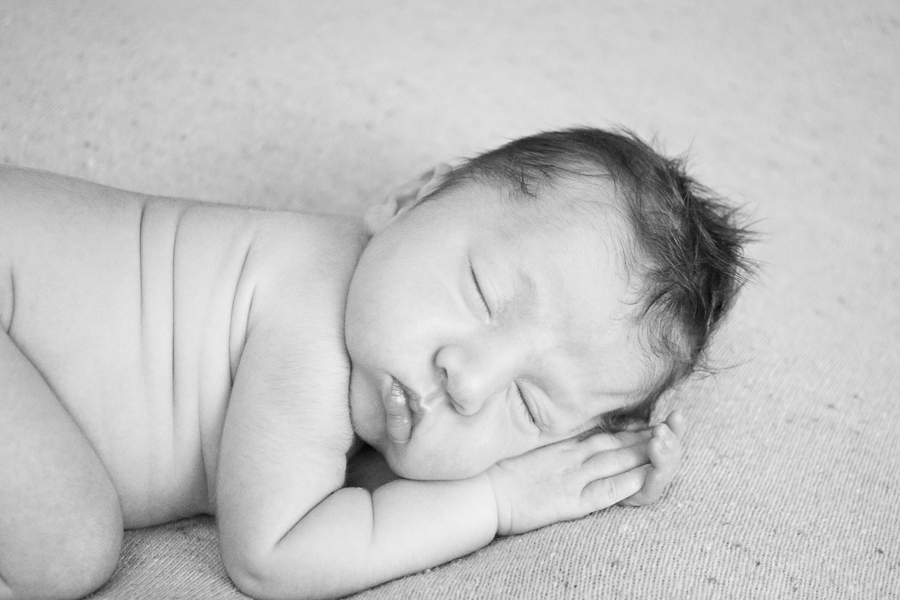
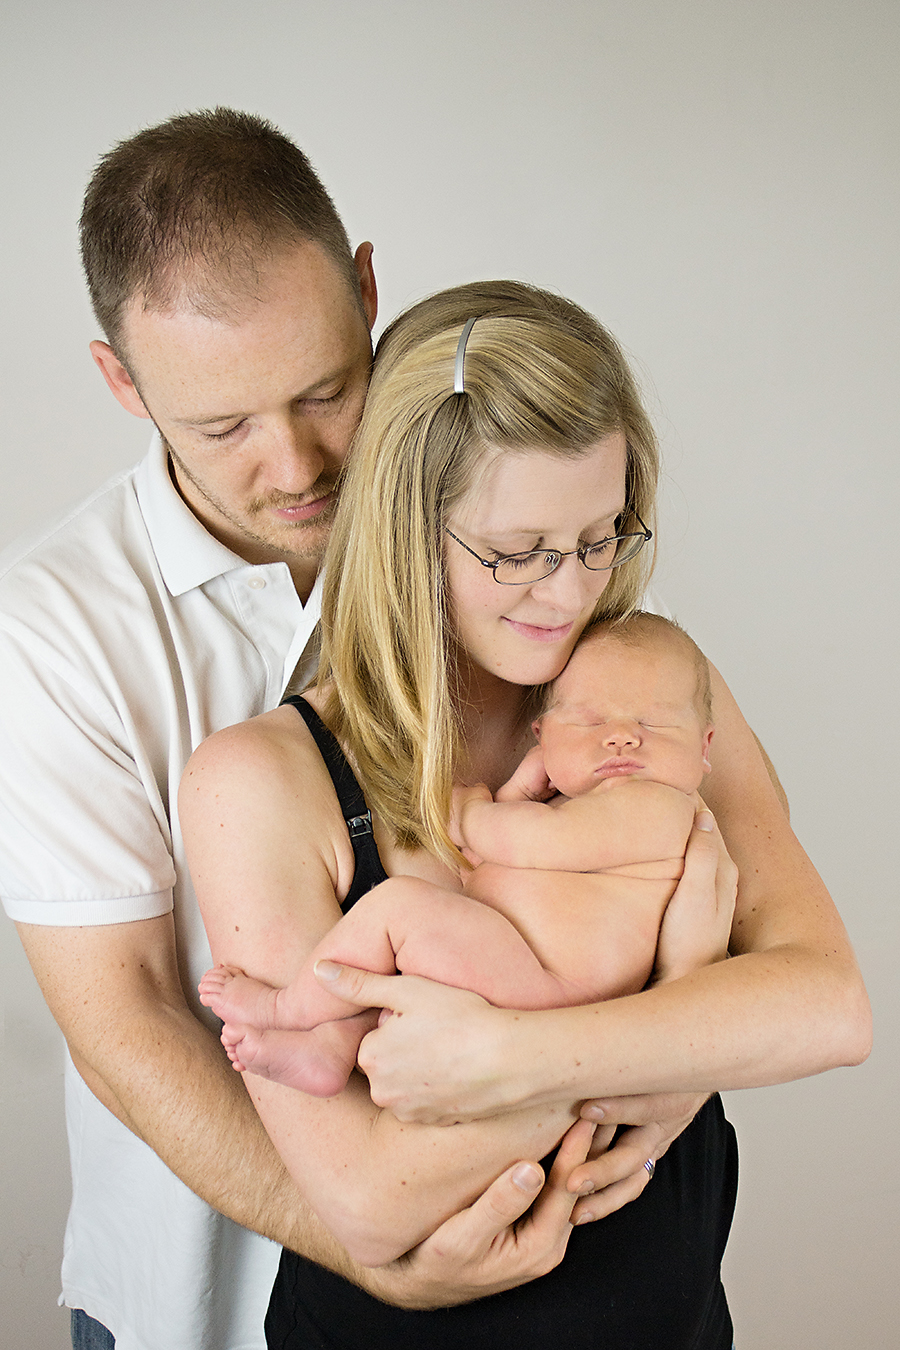
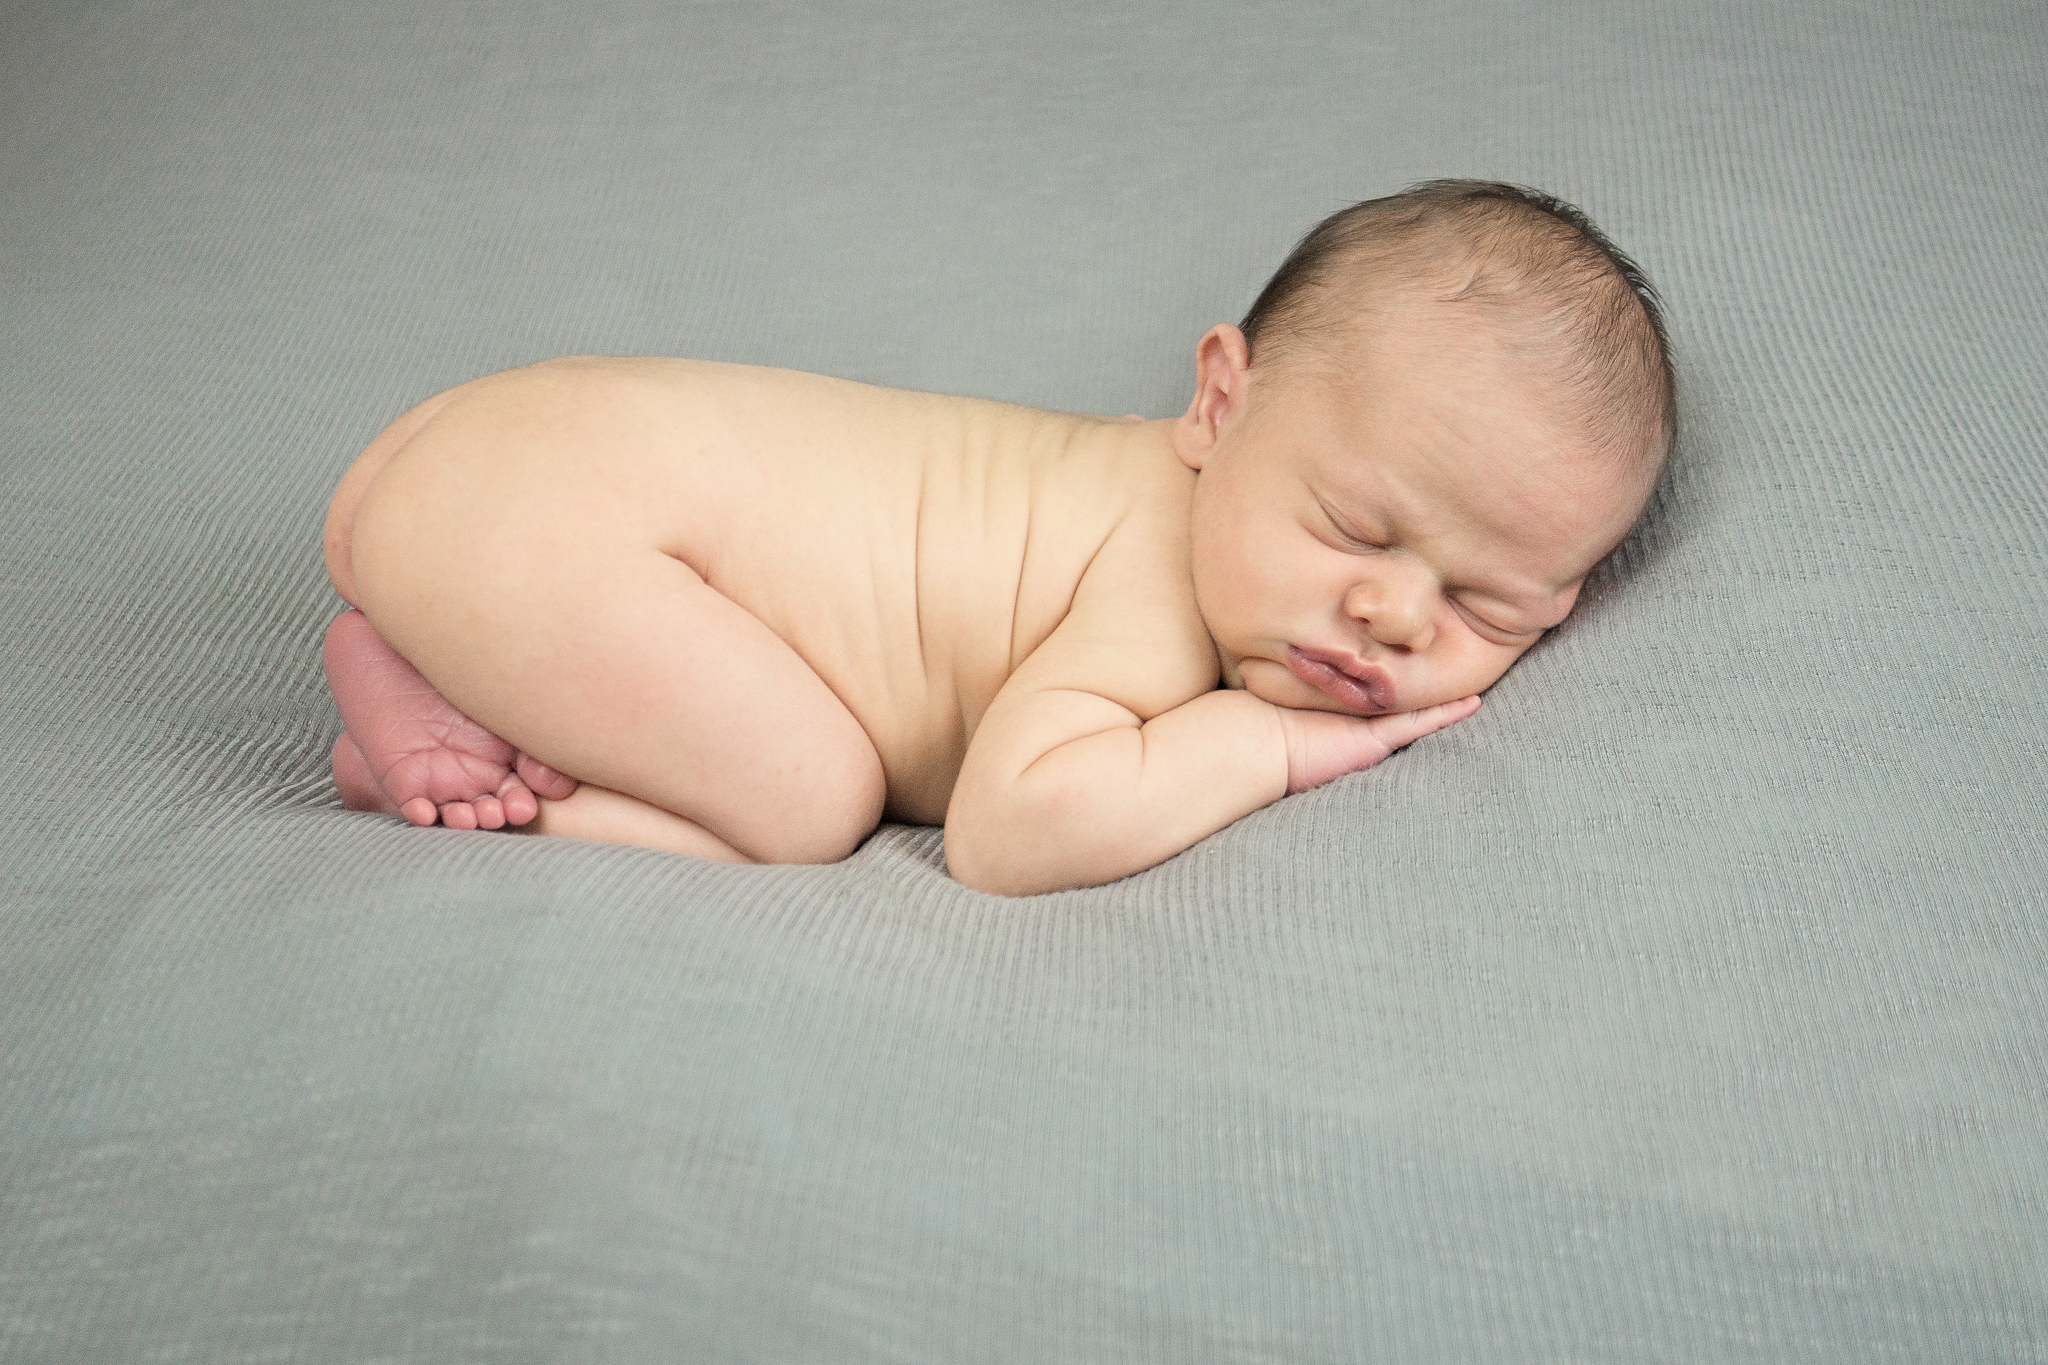
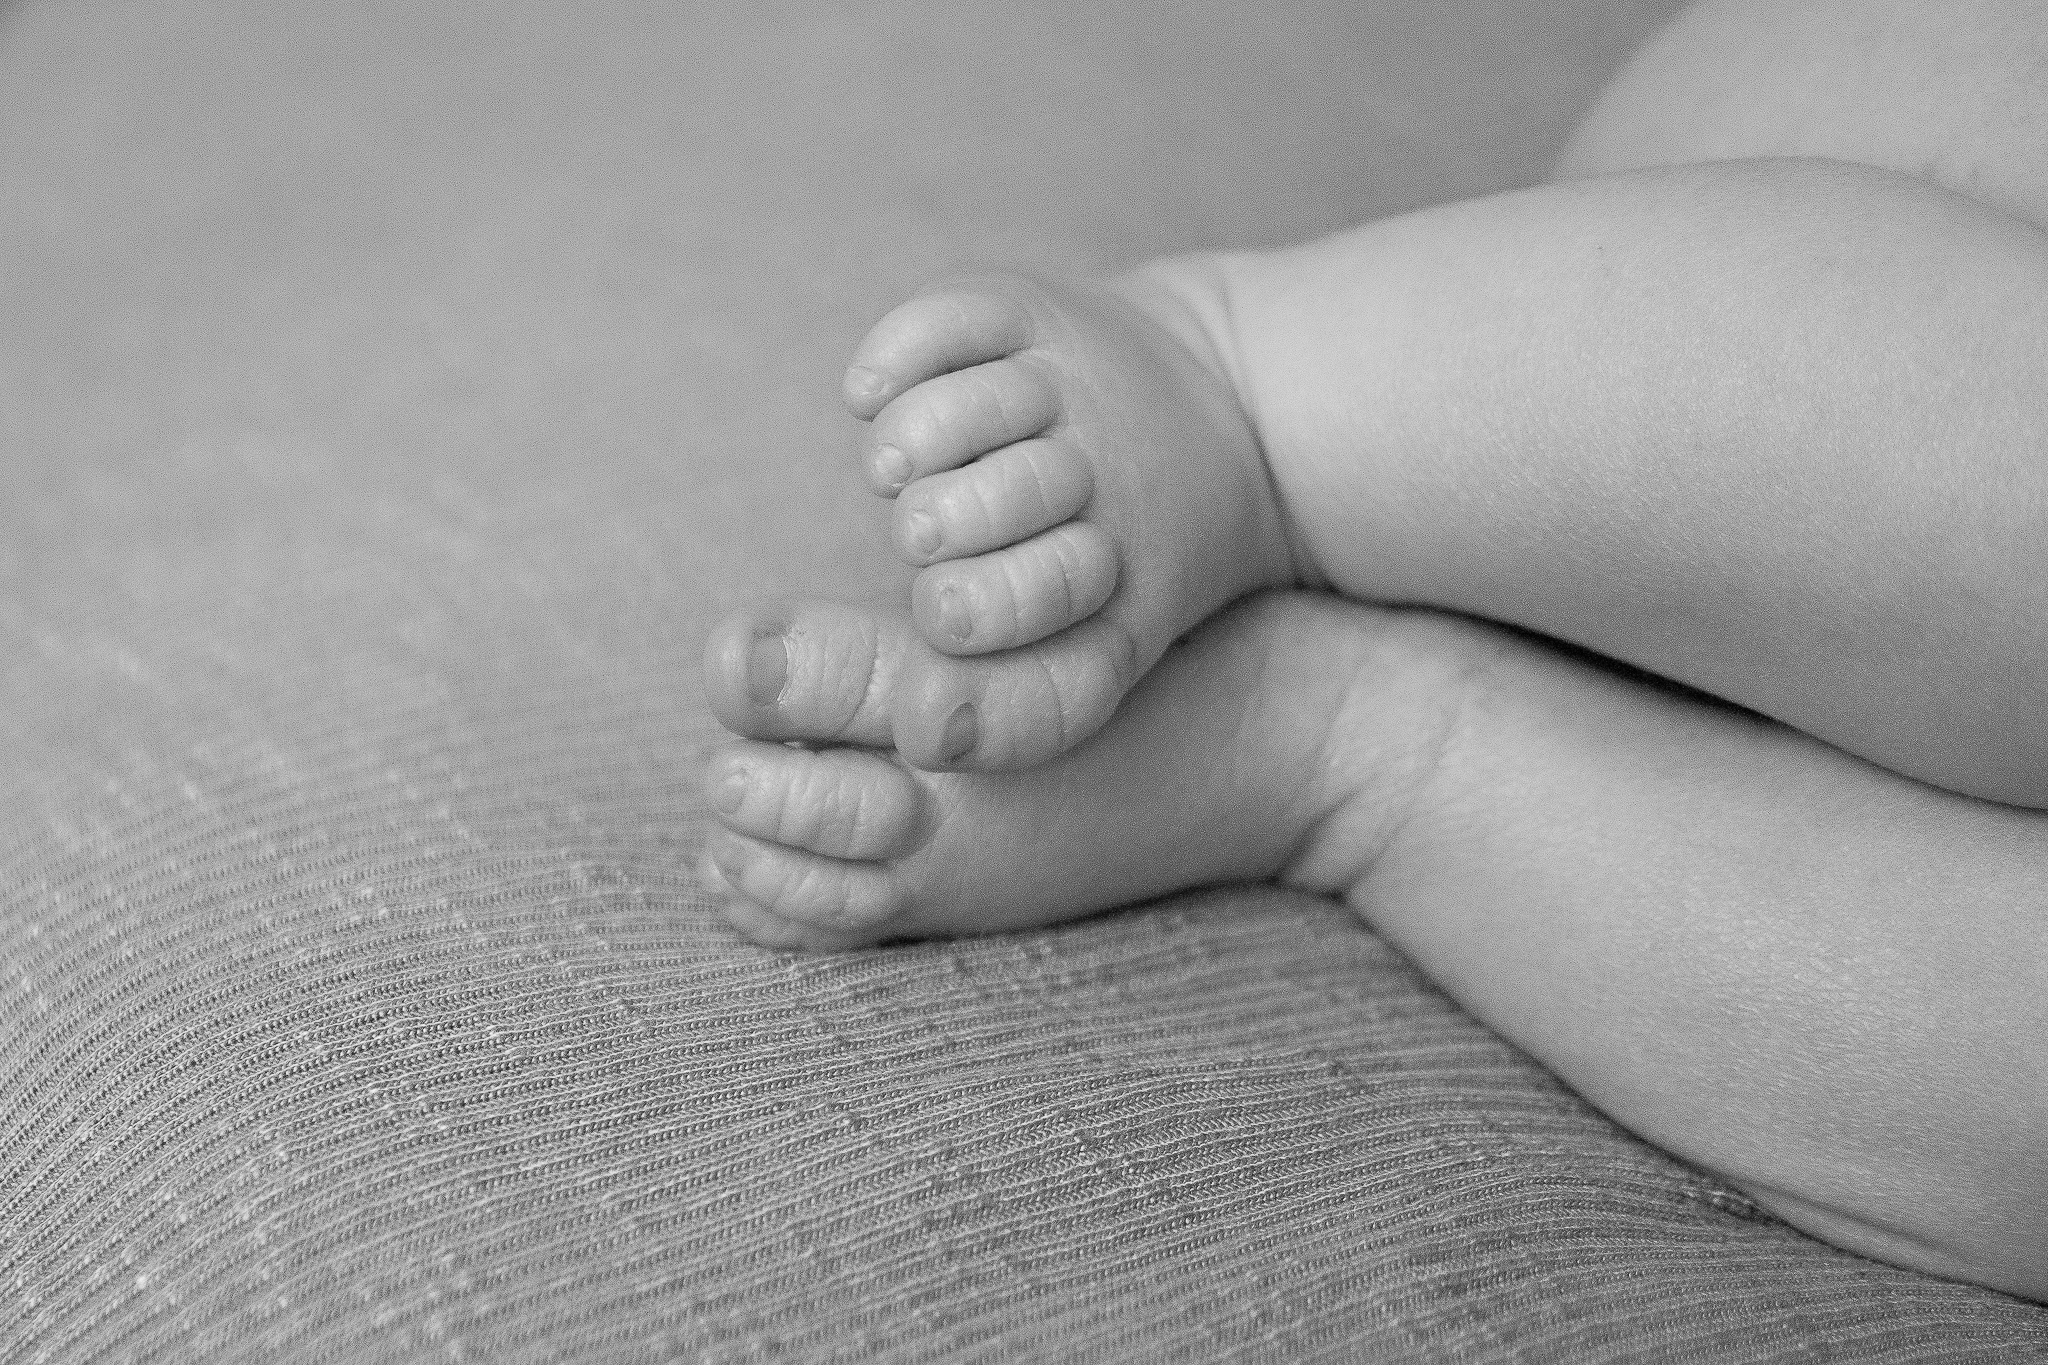
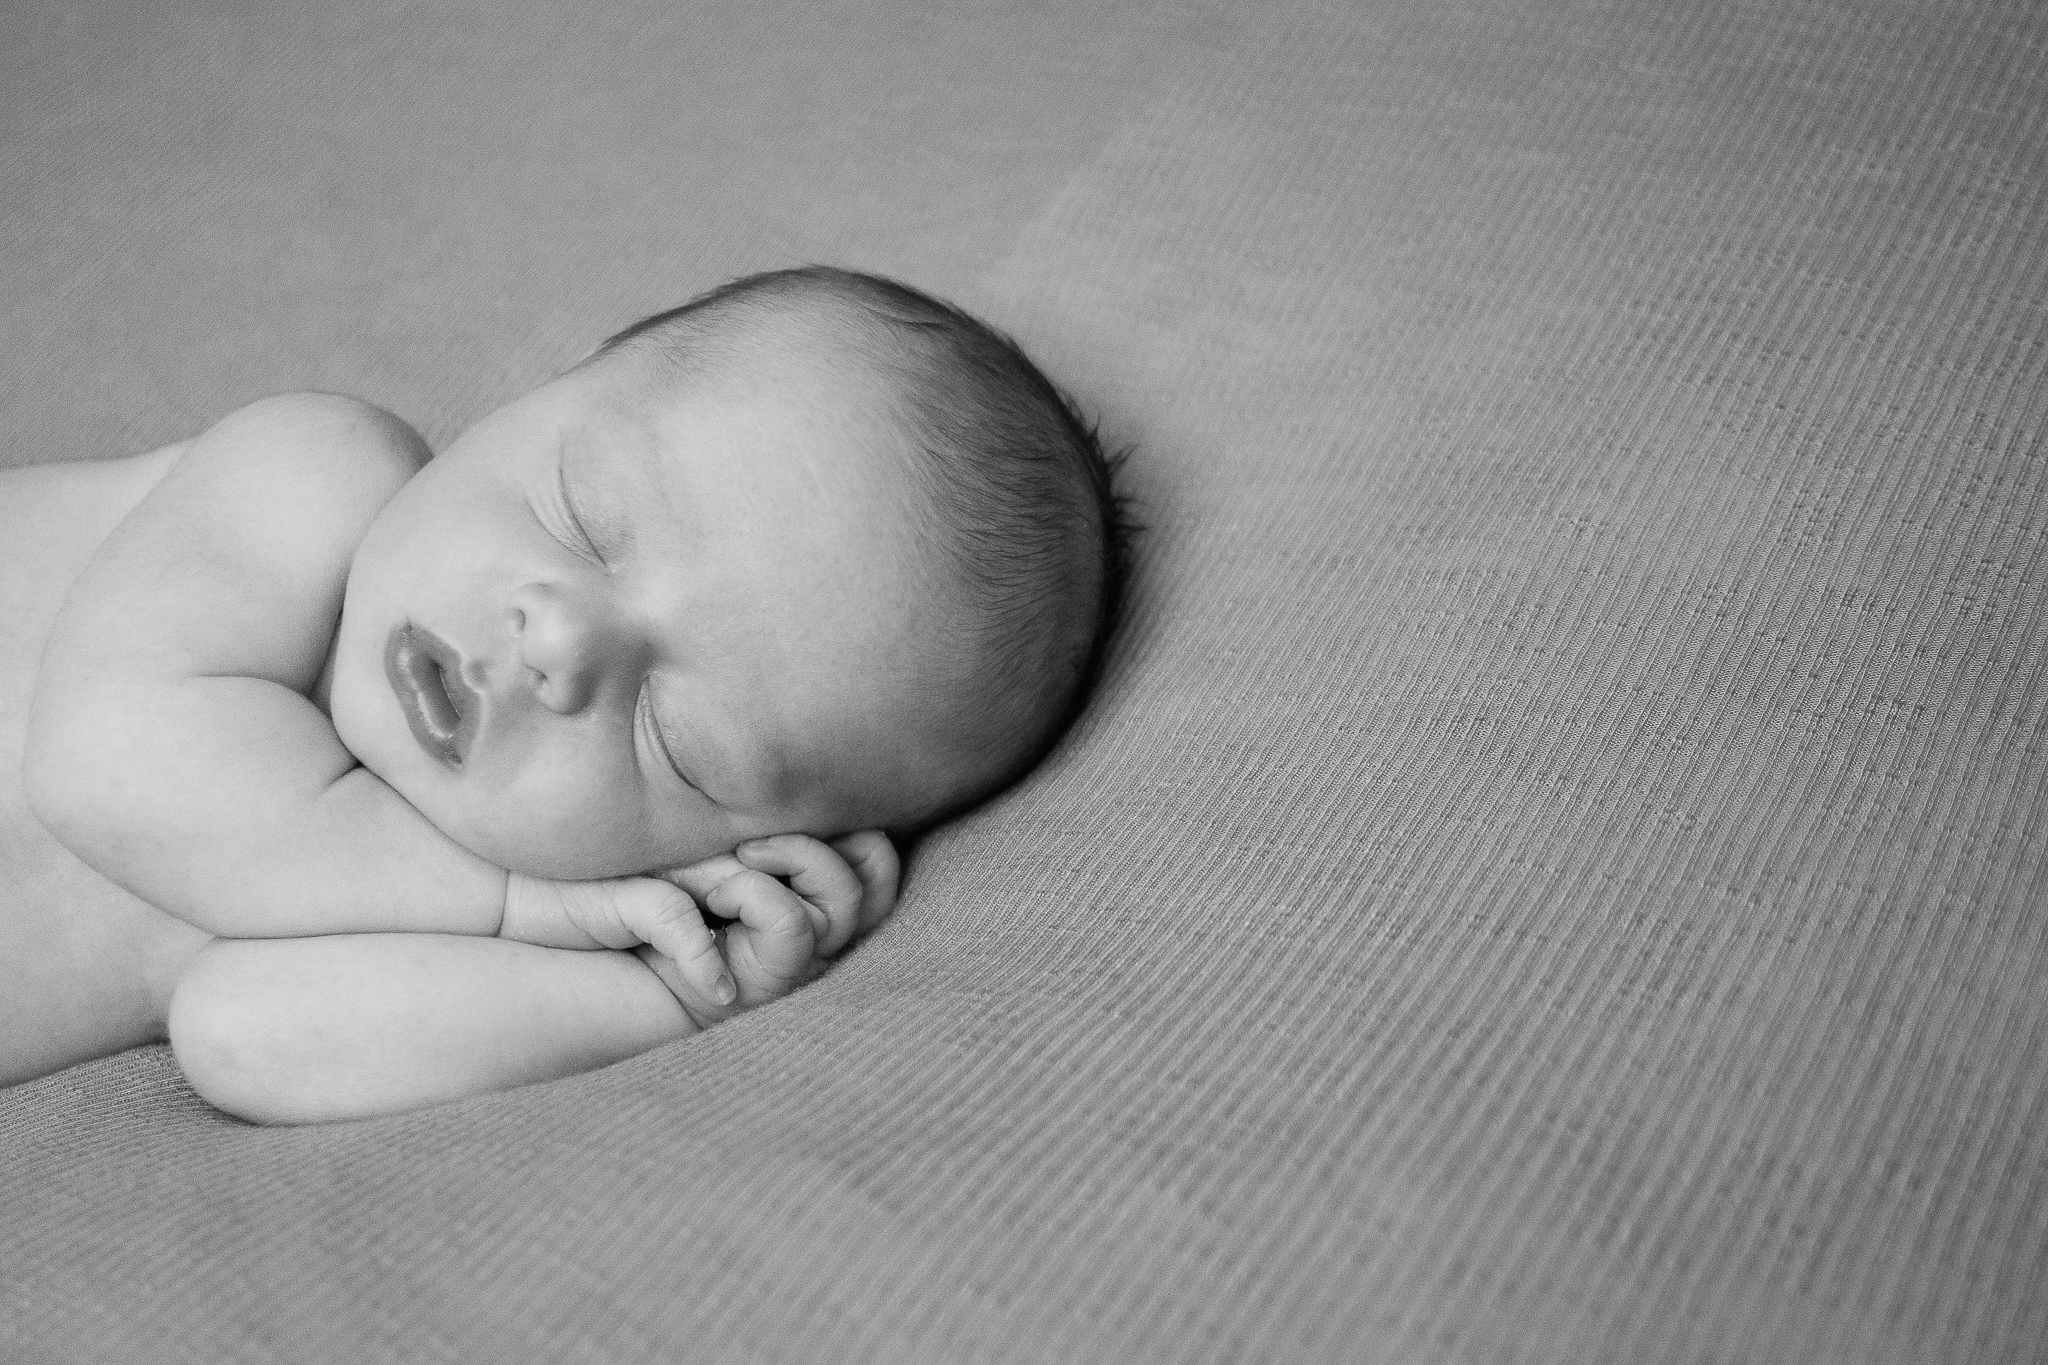
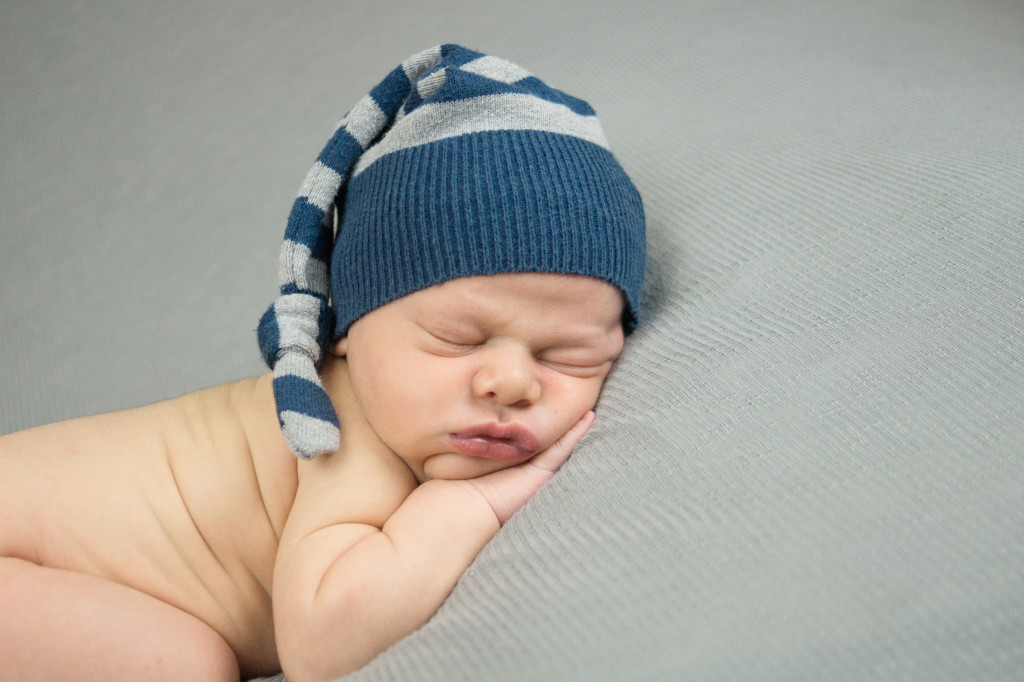
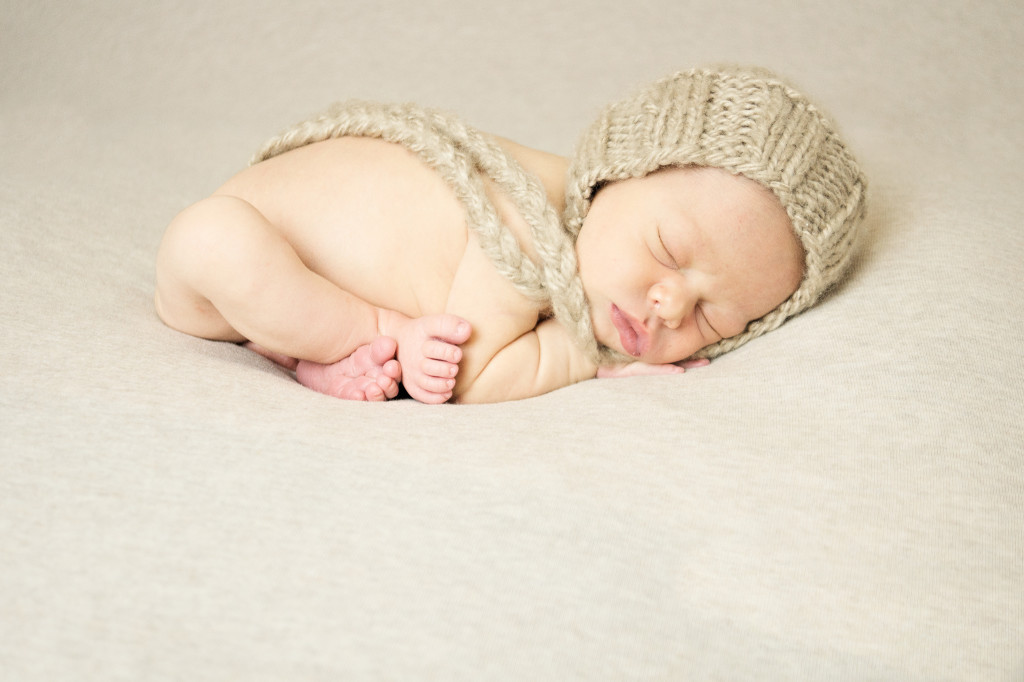
2013I really love these Organic Sleepy Newborn Pictures Greenville SC of Logan.
Logan’s mom and dad made a very hard choice in a culture where children are often not considered gifts. Logan was a surprise pregnancy in a teenage romance.
So when Rachel, one of my beloved childcare providers, asked if I would photograph Logan as a gift from the two of us, I said I would love to honor their decision in this way.
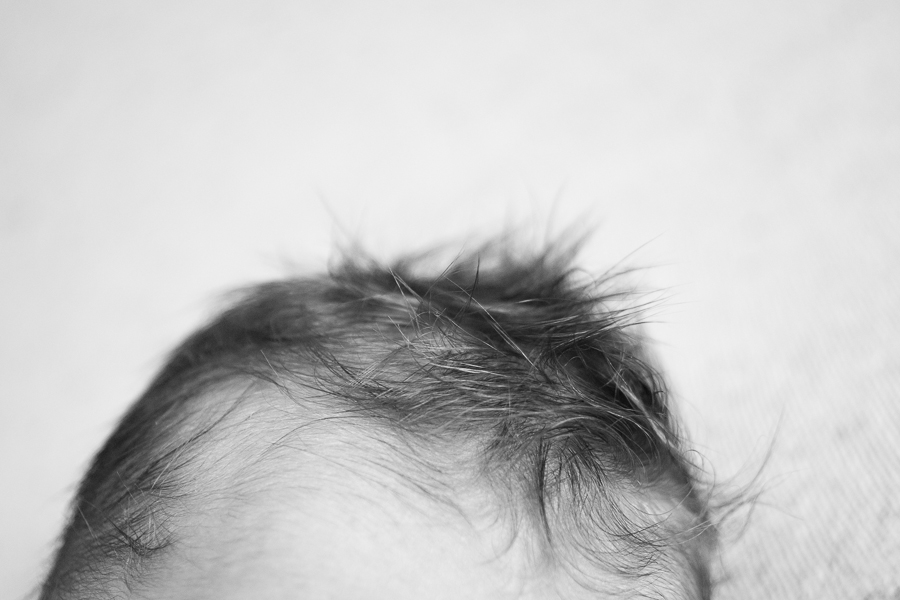
Logan never made a single peep the whole session and was super curly and sweet. But, oh the glory of his hair. So soft and gorgeous.
I was so blessed to capture this little miracle. And can you believe these two smiles he flashed? Adorable!
17
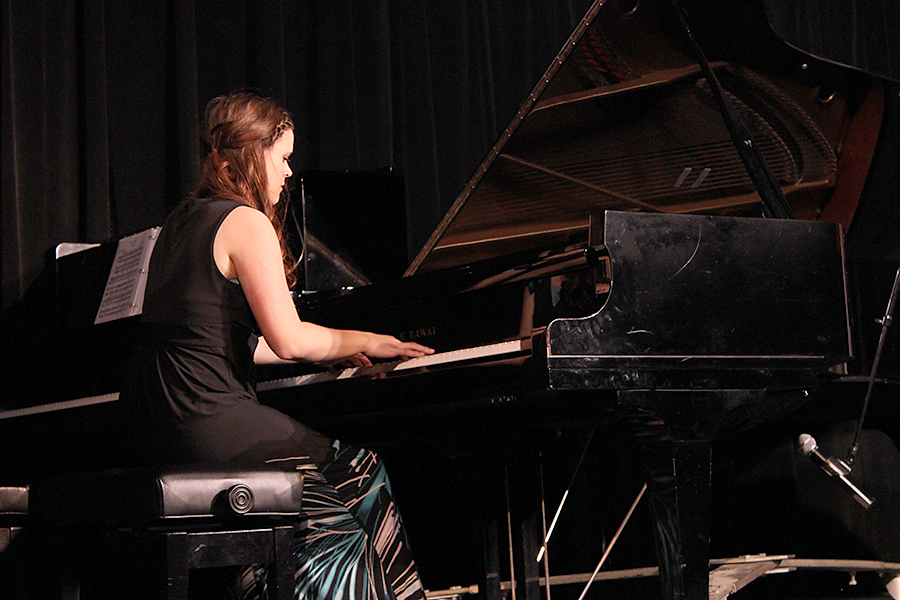
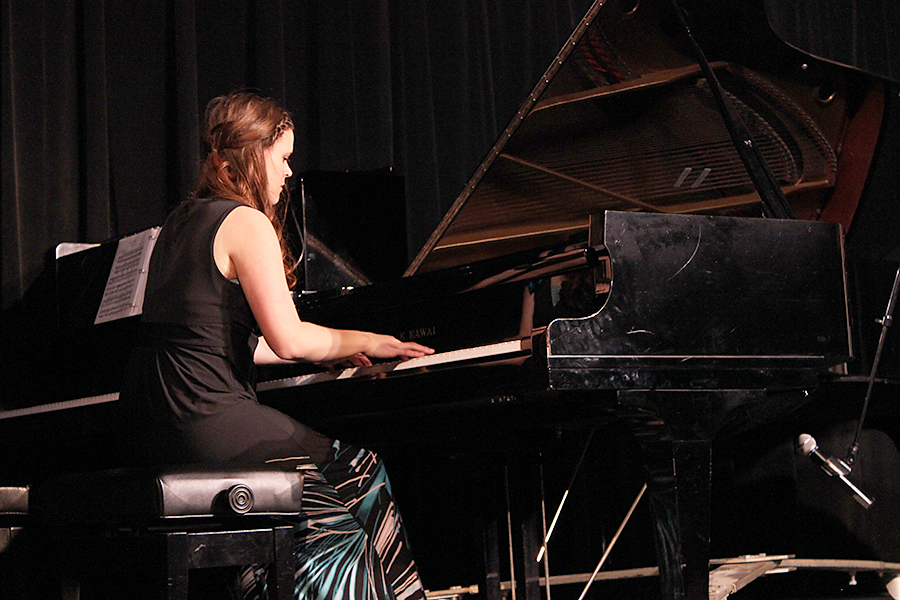
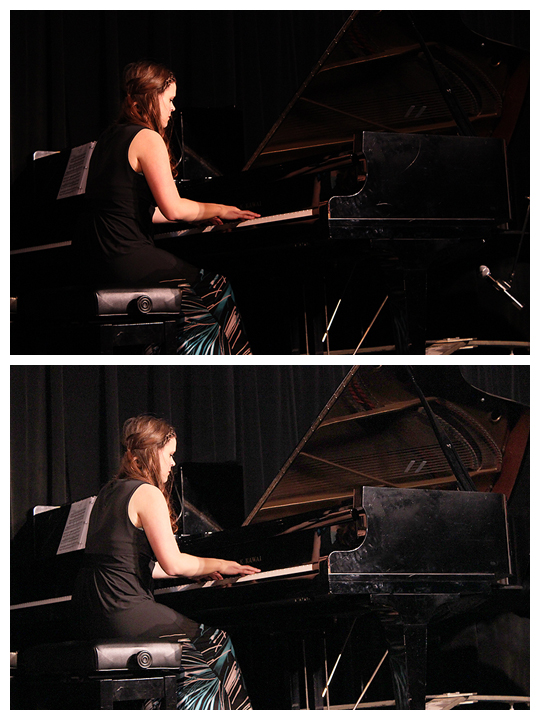
2013Amber took this image of her sister for our Rule of Thirds assignment. She did an excellent job capturing the scene, but exposing for her sister (as she should have) produced a very dark image because of the setting. I asked Amber if I could borrow her image and tweak it just a bit.
So here is a quick tutorial for how I would edit this image in PSE 9.
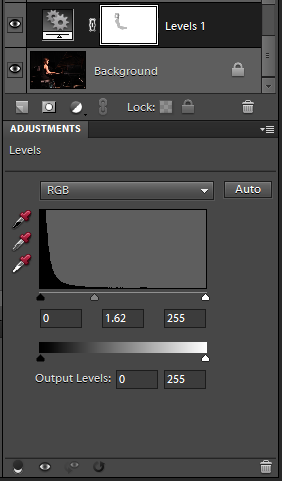
- Opened a Levels layer. I grabbed the midtones slider and pulled it over toward the left. This makes the midtones begin earlier, brightening the whole image. Then, I used a soft black brush at 27% opacity to remove some of the brightness on her skin while I had the levels layer mask selected.


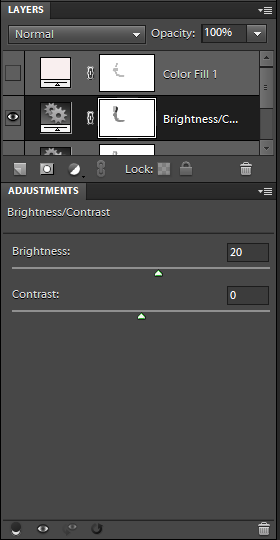
- Opened a Brightness/Contrast layer and adjusted the brightness to taste. I also brushed some of this extra brightness off her skin.


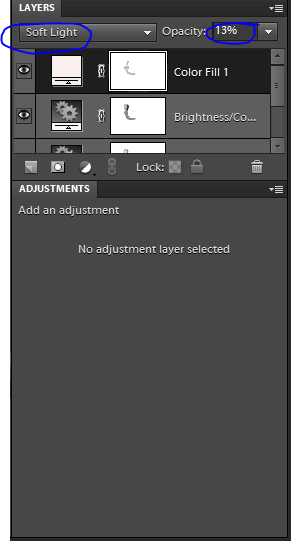
- Opened a Solid Color layer. Selected a pale rose color (#f9efef). Changed Layer Setting from Normal to Soft Light. Reduced Layer Opacity to 13% and brushed some of the color off her skin. This layer would be totally optional. And if you chose to use it you could pick any color you wanted. I just liked the extra touch of rosy/pink 🙂


- Finally I cleaned up the piano a bit and removed the microphone, just because I could with the Spot Healing Brush.

Here’s your side by side before and after.
Which do you like better? How would you want to edit this differently?
16
2013Last week I wrote about some of the things you should ask a newborn photographer before hiring. These are sort of bare minimum guidelines for hiring a legitimate business who cares for you and your baby.
However, I don’t believe that newborn photographers are a one size fits all bunch. Different people prefer different styles or emphasis on their portrait art.
Maybe you have not done a lot of thinking about what you’d like in a newborn photographer. That’s okay, because I’ve done a lot of thinking about you. So if you like the imagery you’ve seen on my site and the following list sounds like you, then we’re likely to make a fantastic pair.
You are Concerned with your Newborn’s Safety
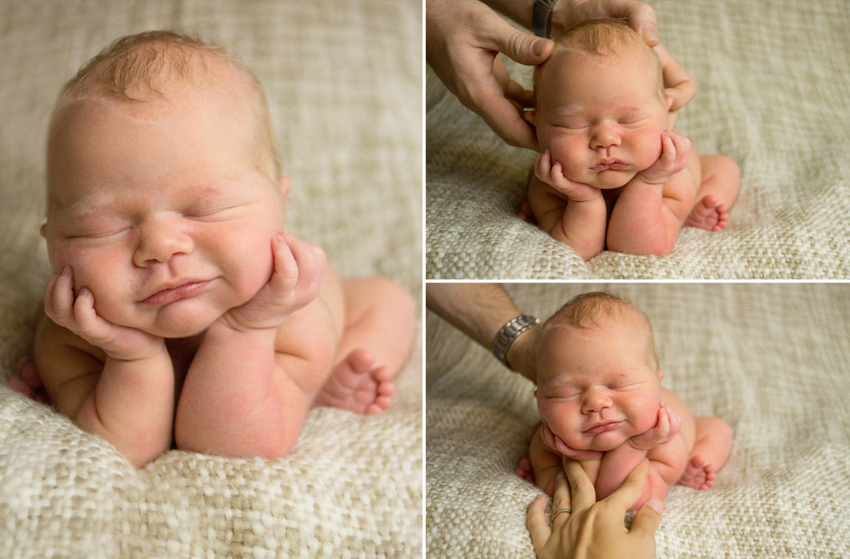
Just how do those babies hold those impossible poses?
Hint: it’s all Photoshop magic! I am super cautious and prefer to never put a baby at risk. If I think a newborn might startle out of a pose or prop, I will have mom or dad hold their hand very close to the baby and remove their hand from the image in Photoshop.
You Value High Levels of Service
You want to meet the person who is going to hold your baby just days old. You like having all your questions answered. You’d love some guidance on the products that would best meet your needs. You’d like your chosen products hand delivered.
You ReallyLike to Laugh
You (or your spouse) could be nominated most likely to photo bomb your own image.
I really love clients who have a great sense of humor! Your sense of humor puts everyone (including your newborn) at ease. It also gives you the perspective to laugh when your newborn makes it necessary for you to change your shirt or pants… ahem..
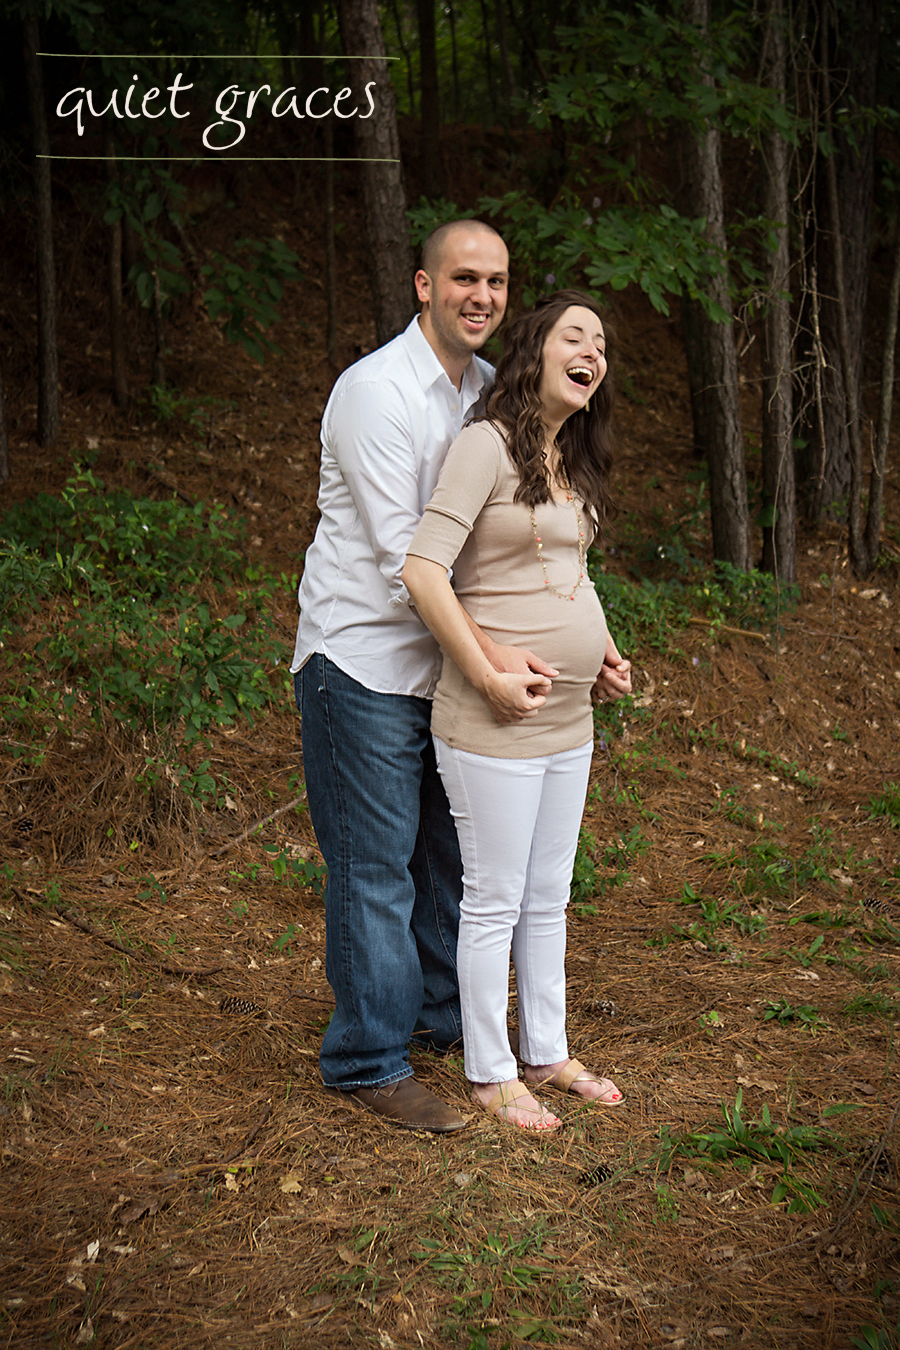
You Want to Be in Your Images
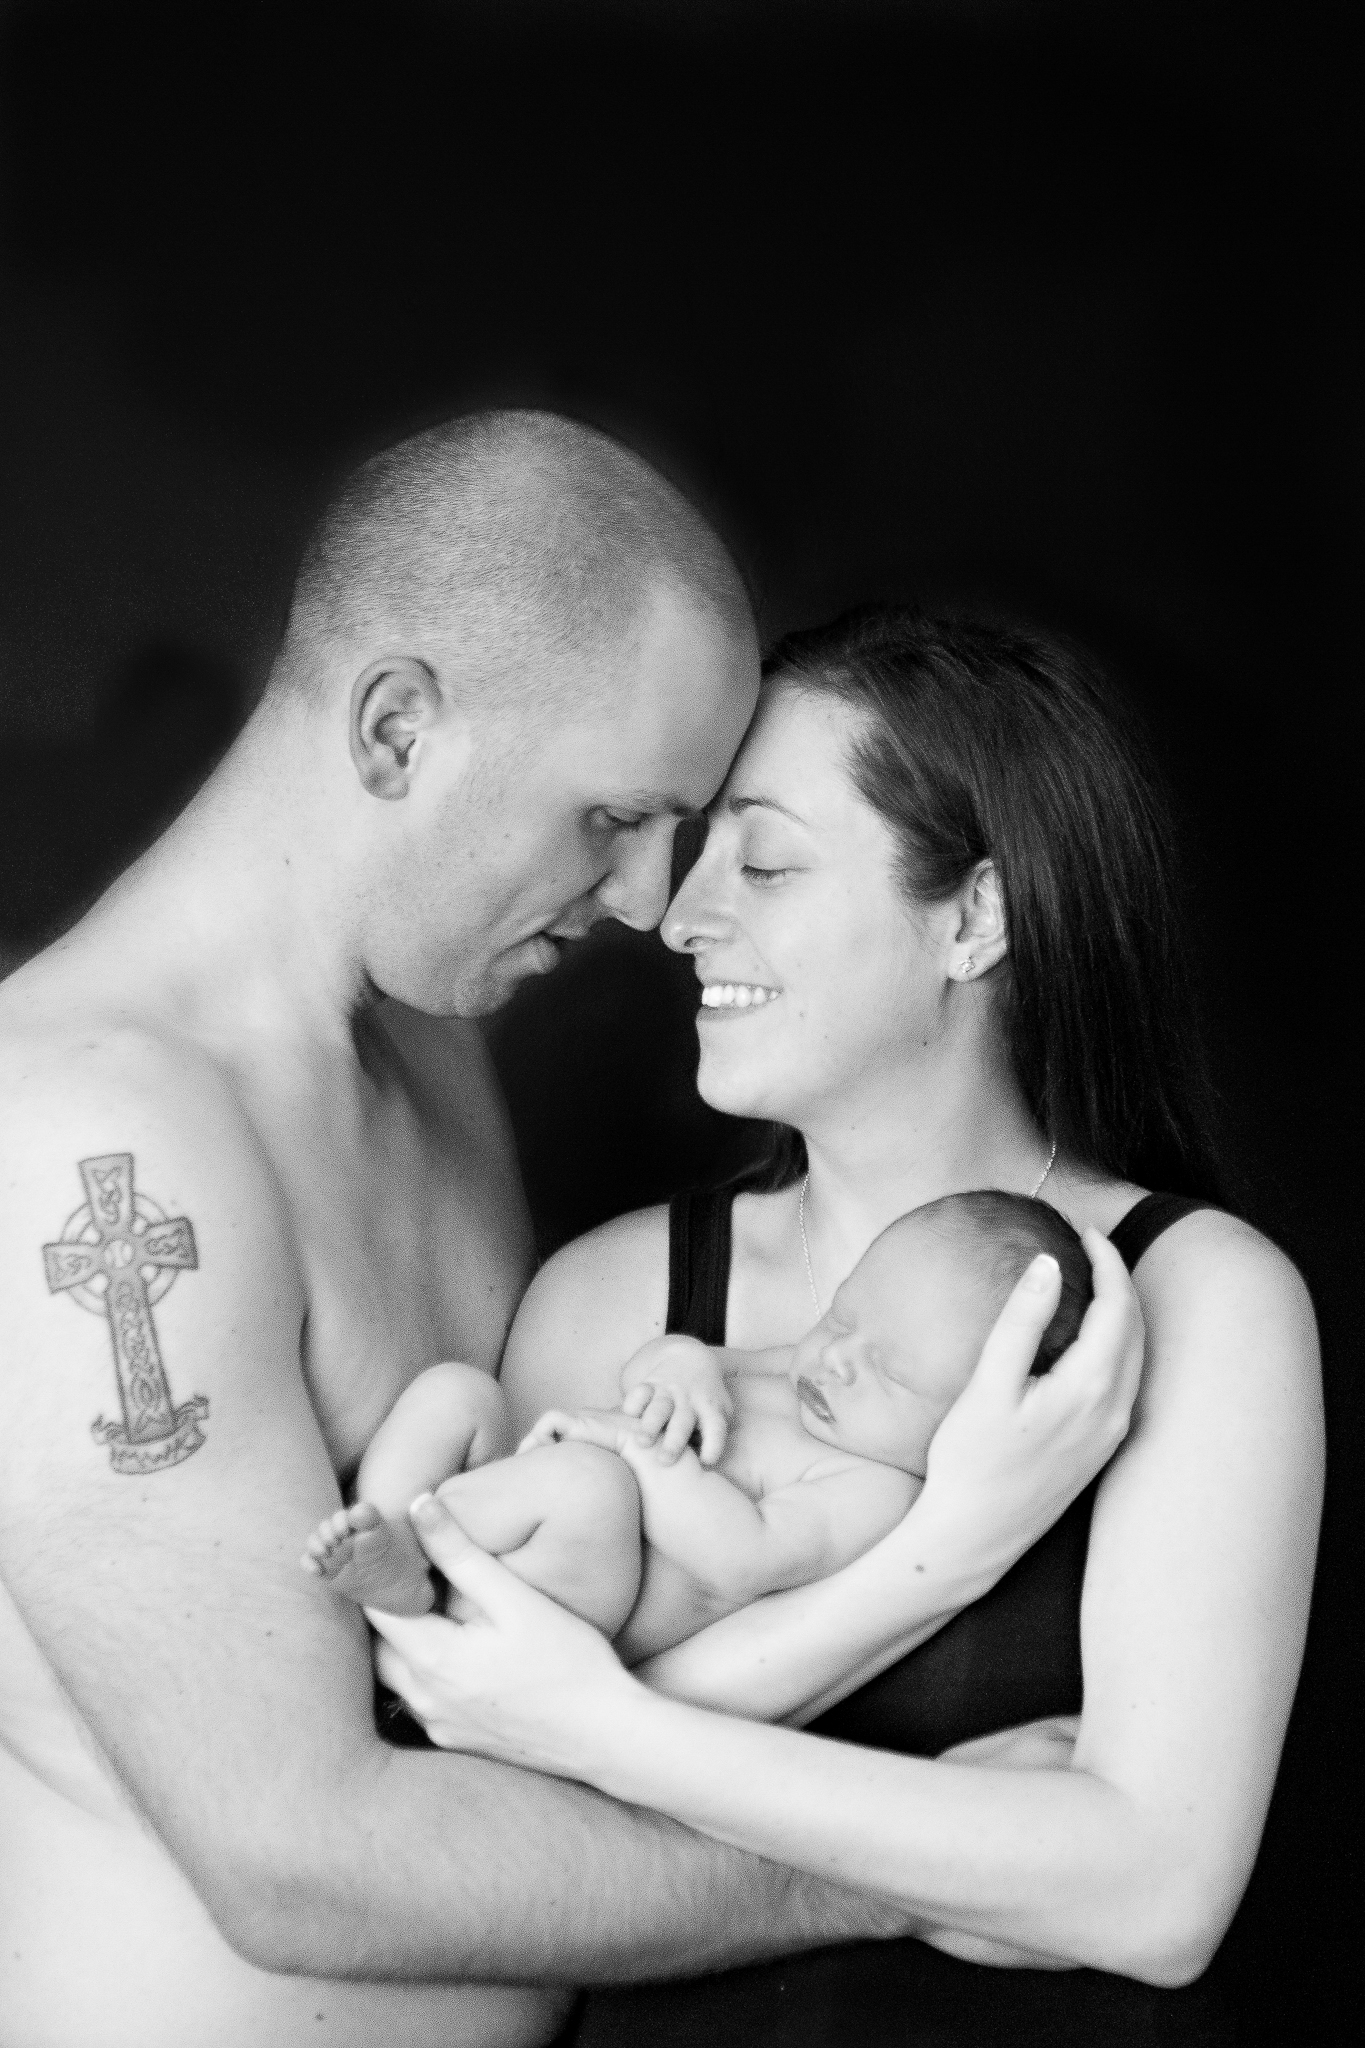
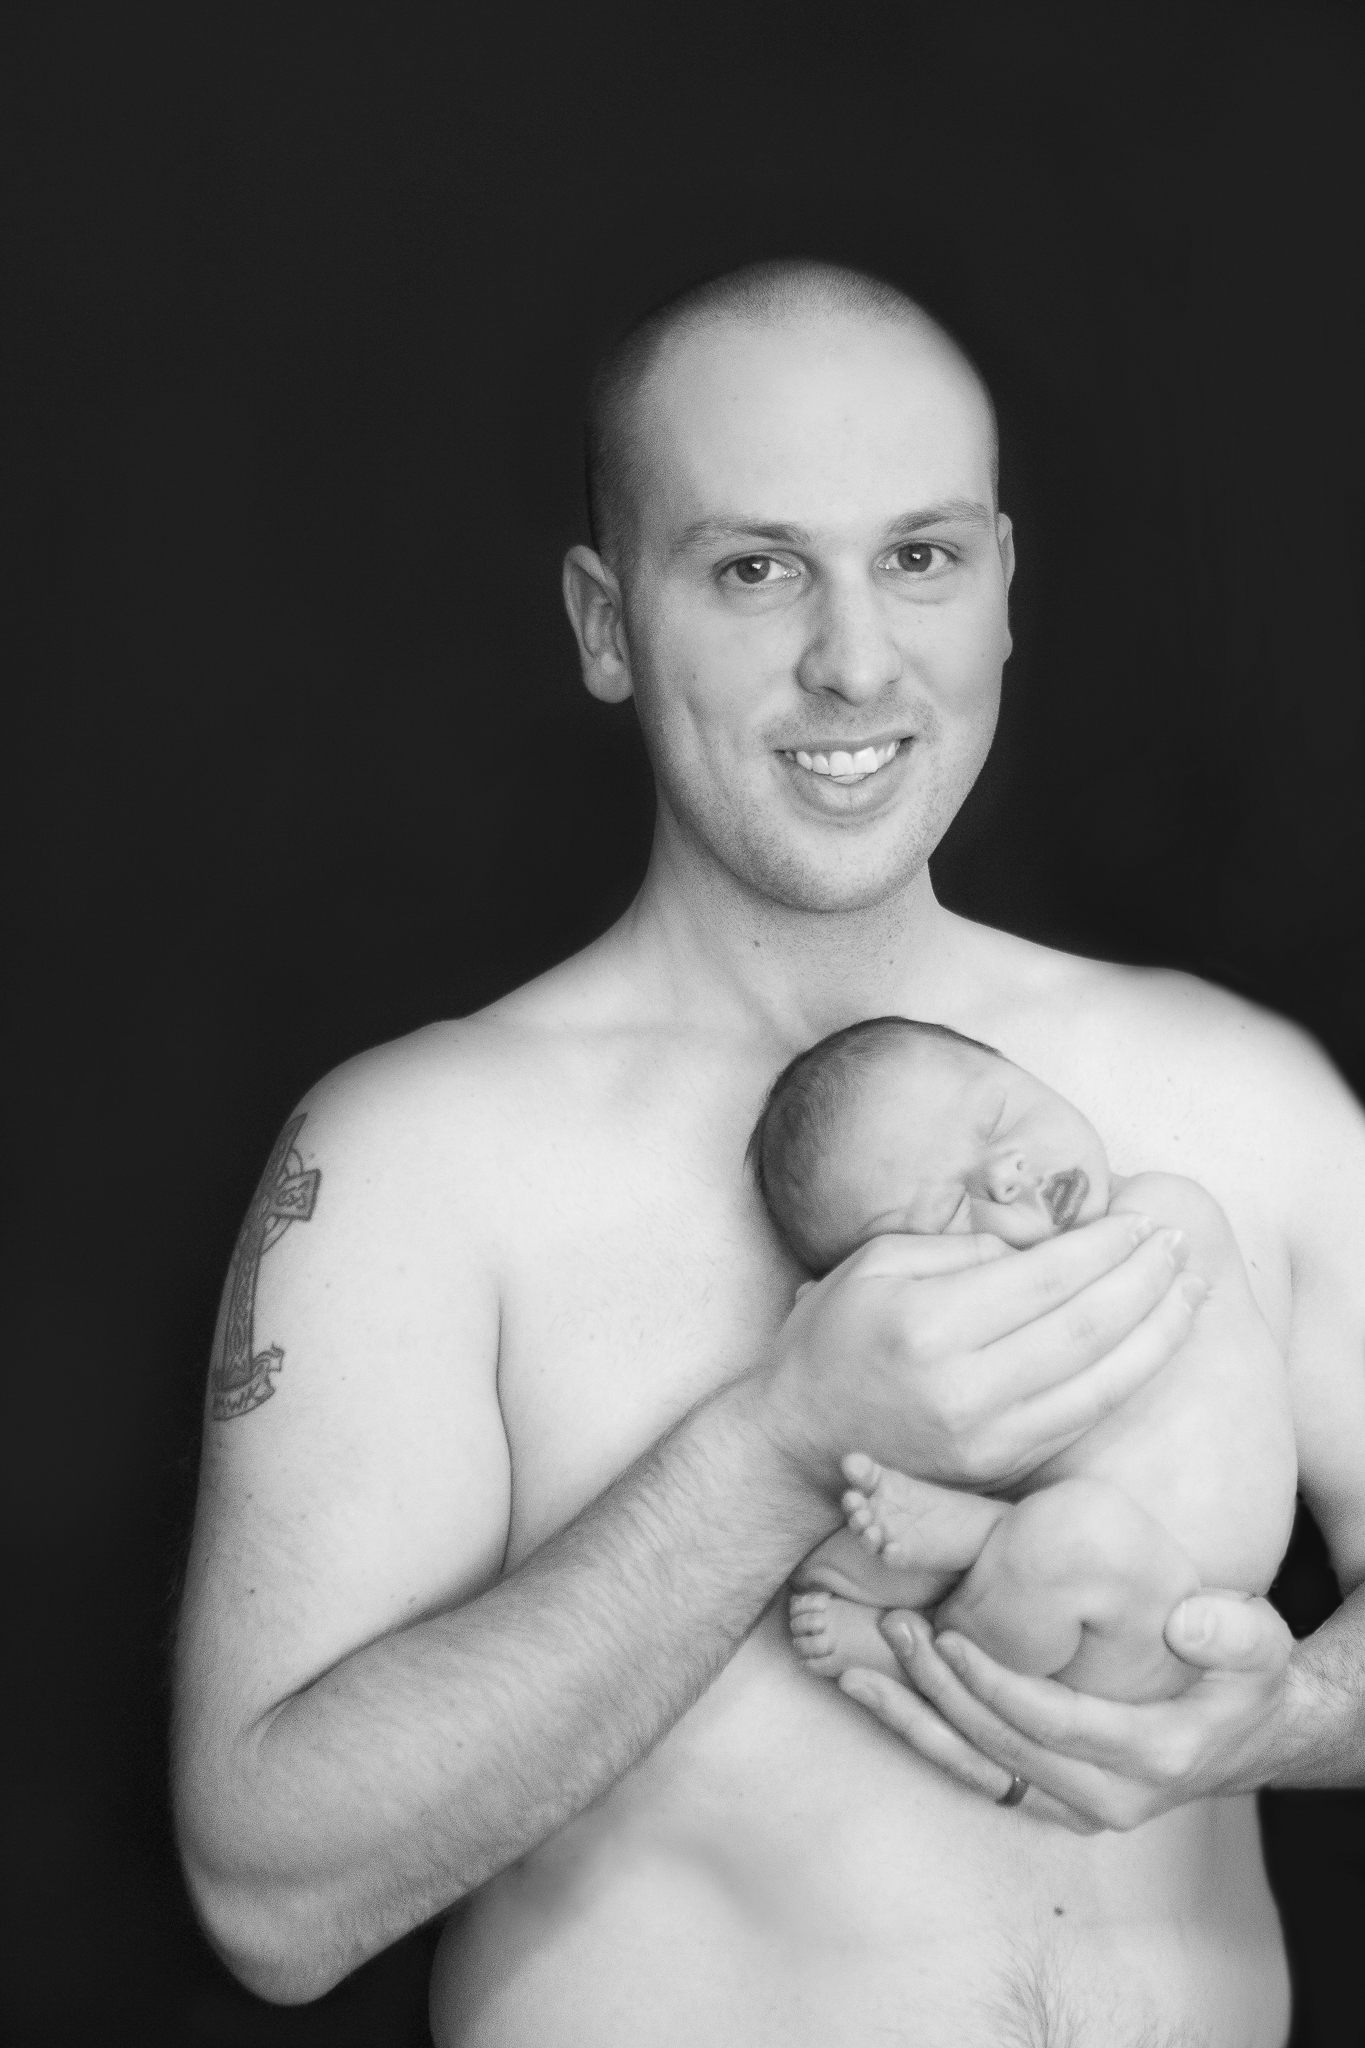
If I could photograph one thing forever it would be the brand new love parents have for their newborns. I love capturing all those emotions: all the joy, apprehension, hope, and dreams of those first days as a family. I know these are images your children will cherish, but also images that will remind you on the hard days how it’s worth it to keep going.
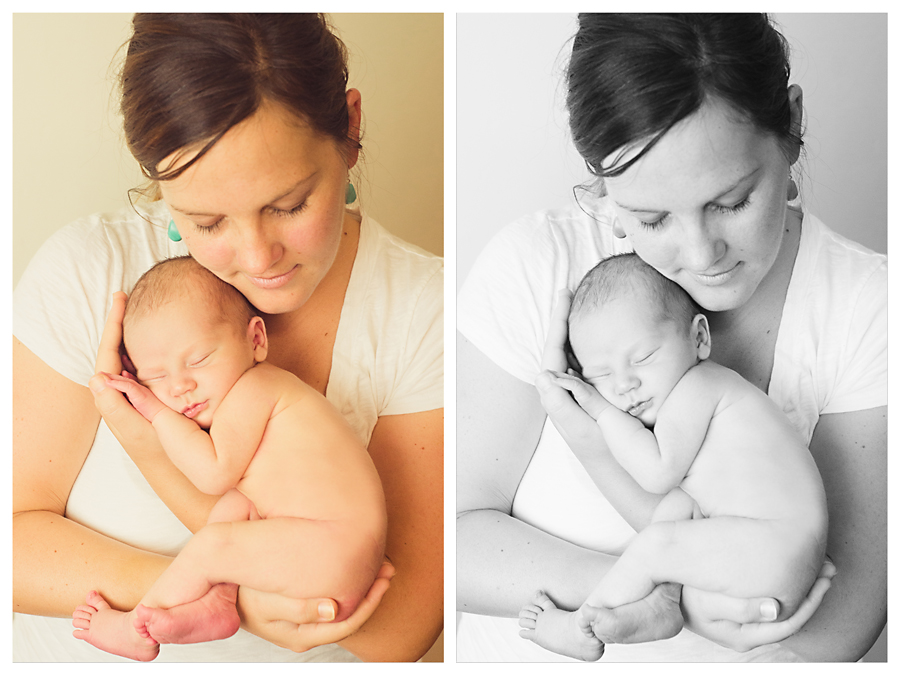
I also know how risky it feels to be in an image just days after the birth of your child. I strive to make sure that we choose the most flattering angles for this sensitive postpartum period.
But remember, the focus will be on your tiny baby that will only fit in your arms this way for a few weeks.
You Prefer Timeless Imagery
I don’t shoot mermaid costumes or angel wings or dinosaur hats. I want the imagery I create to be timeless and not limited by a fad. Occasionally families come to me with a specific heirloom piece: Vintage Ray Ban sunglasses from a diseased grandfather, childhood cowboy boots, a blanket made by grandmother, or a hat made by an auntie. I’m happy to incorporate these items in a session, but the majority of my images are pure simplicity.
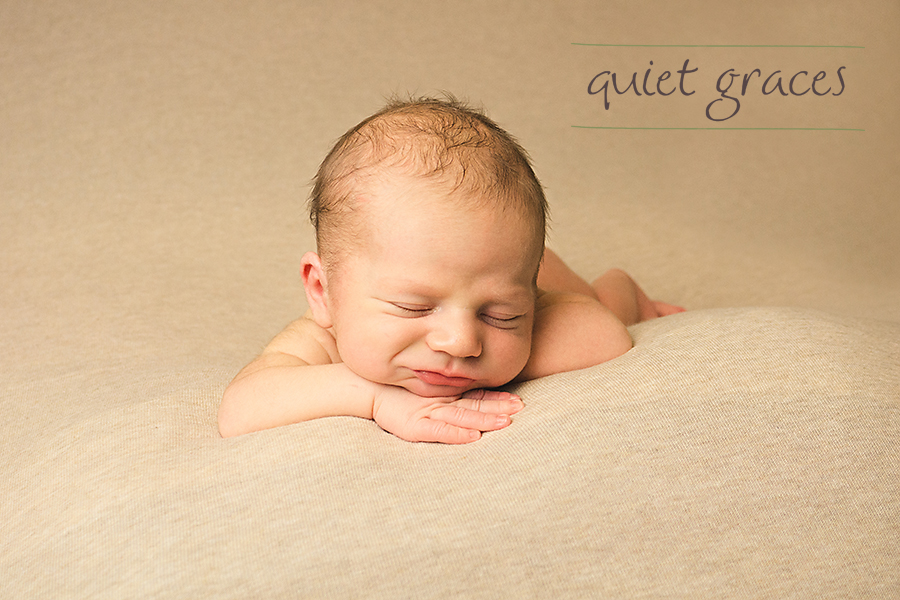
You Want to Create Art for Your Home
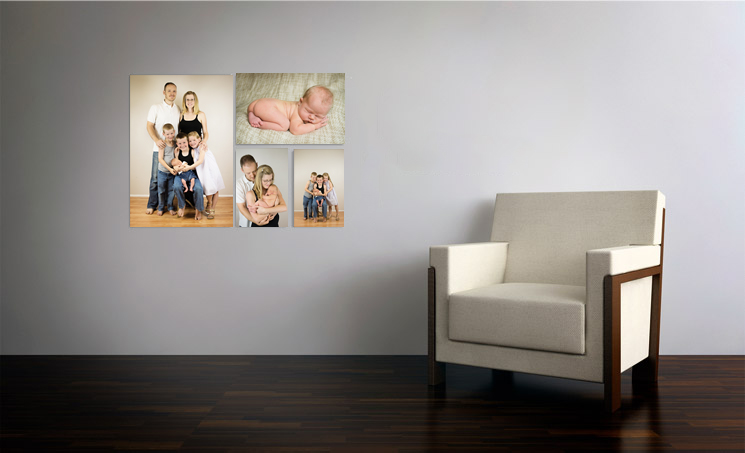
You’d love a canvas over the crib, or maybe an album on the coffee table to flip through for years to come. Perhaps you envision an ever expanding gallery wall of imagery, mirrors, and word art as the focal point for your home.
However you like your portrait art, we’re creating it together for you to display and enjoy. You may want digital files to archive or share with family members, but you understand that a heirloom portrait or album is a piece that will be treasured.
Am I describing you? Then I’d love to talk to you about your vision for the art we can create together during this newborn session. Contact me about a session today.
12
2013Oh, sweet Everett, you made us work for all the sleepy newborn pictures in Greenville SC that we took at this session.
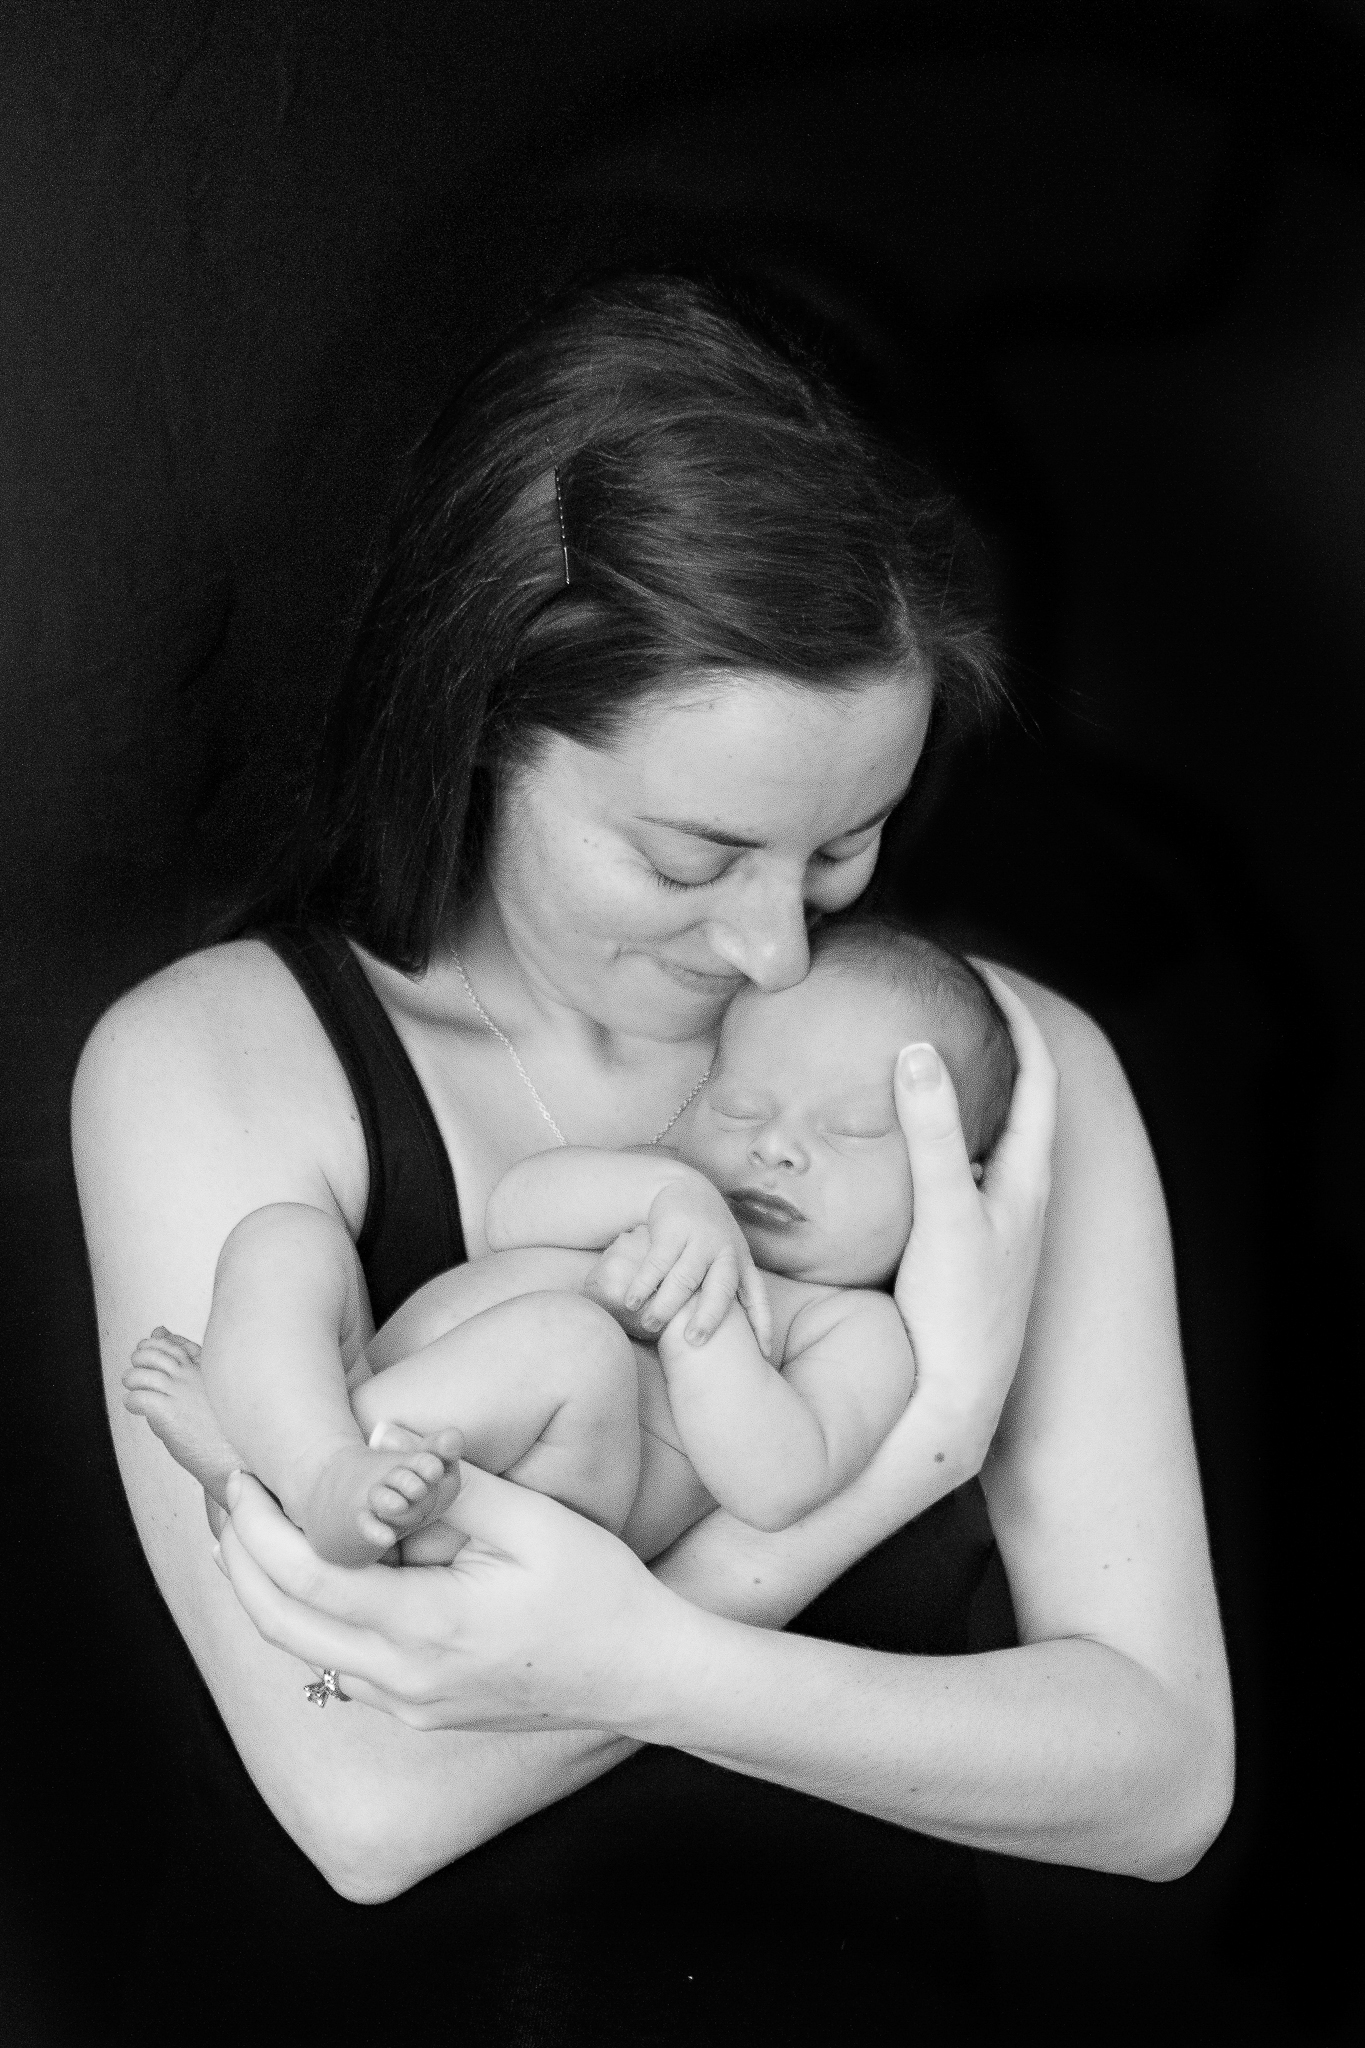
At just 6 days new you were powering through your first growth spurt. Your mommy was so tired that half the session’s images were a complete surprise to her 😉
And your daddy was a champion rocker and cuddler and newborn spotter. I think I may have offered him a job as my assistant.
But despite all these obstacles, there was joy in the room. You, long awaited baby, were here. The one they had hoped for and prayed for and cried over.
See your mommy and daddy weren’t sure that you would ever come to be. There was a long road walked before these even longer nine months as they waited for your arrival.
And despite all the changes you’d created and lack of sleep in those six days, never have two more grateful parents looked down at a baby as adoringly as you, Everett.
You are blessed to have such wonderful parents, sweet boy. And I am blessed to see them love you.
10
2013The Layer Mask is sort of the king of the good photo editing software. But it’s kind of hard to explain. Let me try in plain English. You know those Name/Word Canvases that you get little kiddos to make? Here’s an example from pagingfunmums.com.

You lay down the masking tape in the arrangement you want and then you paint over top. Later you peal off the masking tape to show your design. That’s what a layer mask does. You apply your extra work, but then decide you don’t like it in just a few places or that you only want it in a few places and so you mask off the portions you don’t want effected by the changes. Does that make sense? I hope so.
How to Apply and Use a Layer Mask
Note: I’m about to use a technique that I think is cheesy in most cases. It’s called Selective Color: where most of an image stays in black in white but you select one thing to remain colored. I’ve used this technique two times ever and in both cases I think it was cheesy. In fact, the only places I’ve seen it done tastefully was Schindler’s List and Disney’s Paperman Short Film. I’m only using this technique here because it’s really easy to see the effect of the layer mask. However, layer masks are useful in everything: from layers to curves to skin smoothing to creating beautiful vignettes. If you can dream it… a layer mask can isolate the technique. So I’ll show it in selective color first so you can see what I’m doing, and illustrate a layer mask technique with a vignette where I physically have to add the Layer Mask.
Using a Layer Mask with a Brush
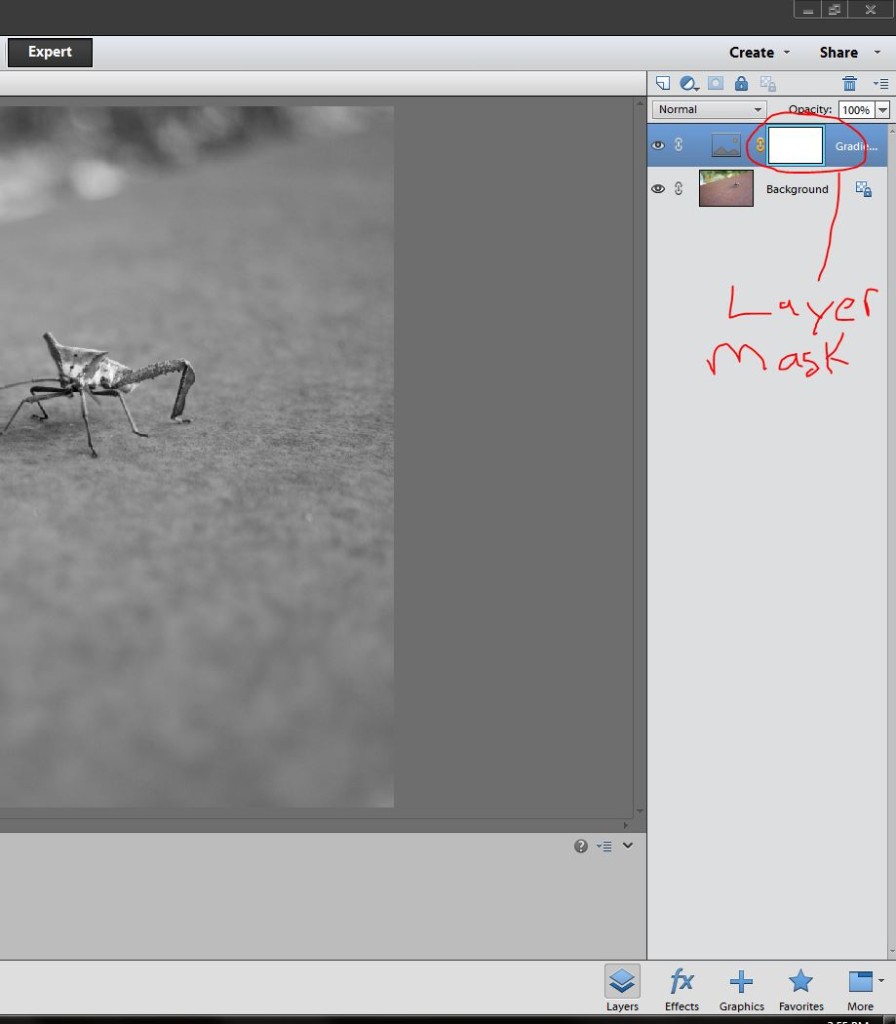
Here is an image I’ve turned black and white. Gradient map comes up with a layer mask attached. I’ve circled that below.
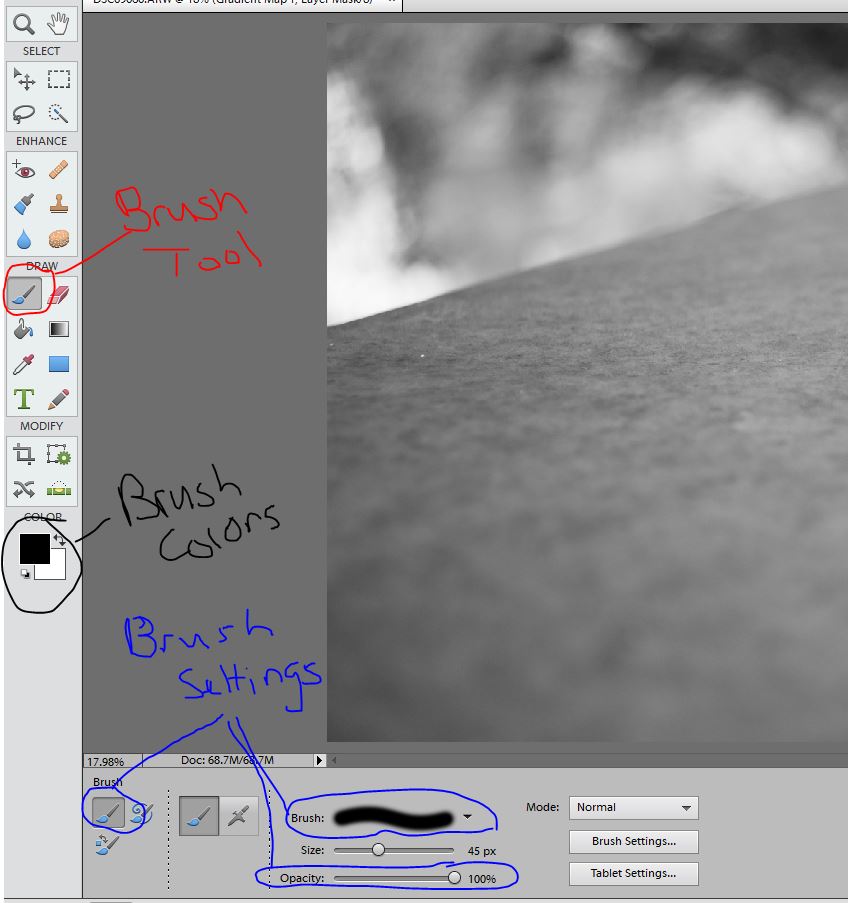
I’m going to select the brush tool (the tool I use most of the time when working with a layer mask). Using the brush at 100% opacity and with a soft edge I’m going to reveal some color by masking off the gradient map layer.
A black brush will remove and effect while a white brush will reveal the effect. So here I want a black brush.
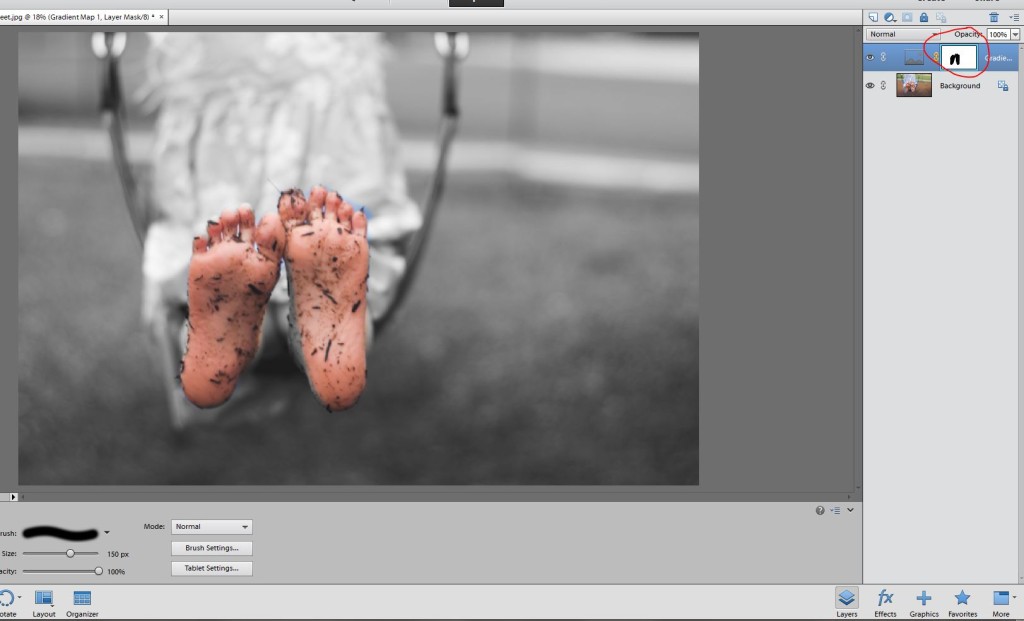
I brush over the detail I don’t want effected by the layer in black while my layer mask is selected. Make sure the layer mask is selected. You paint the details you don’t want shown right on the image but you’ll see the black appearing on the previously white layer mask.
This reveals the layer below which is a color layer. Obviously if I really wanted to do this for this image, I’d need to spend a bit of time refining the edge by switching from black to white brushes and making sure I painted this the way I wanted. (Excuse the change in image mid-way through the tutorial. I suddenly realized the bug itself was black and white… epic fail.)
Adding a Layer Mask to a Layer without a Mask while Making a Vignette
Here I’m going to apply a vignette. It’s a fancy French word meaning to darken the edges of a photo so as to draw the viewers eye where the artist wants it. These are the steps I use to do that.
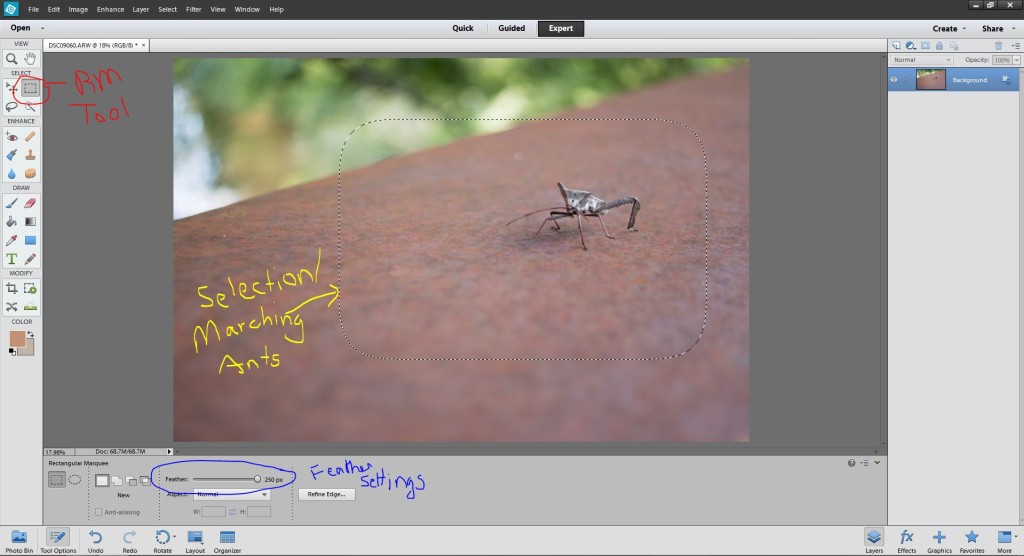
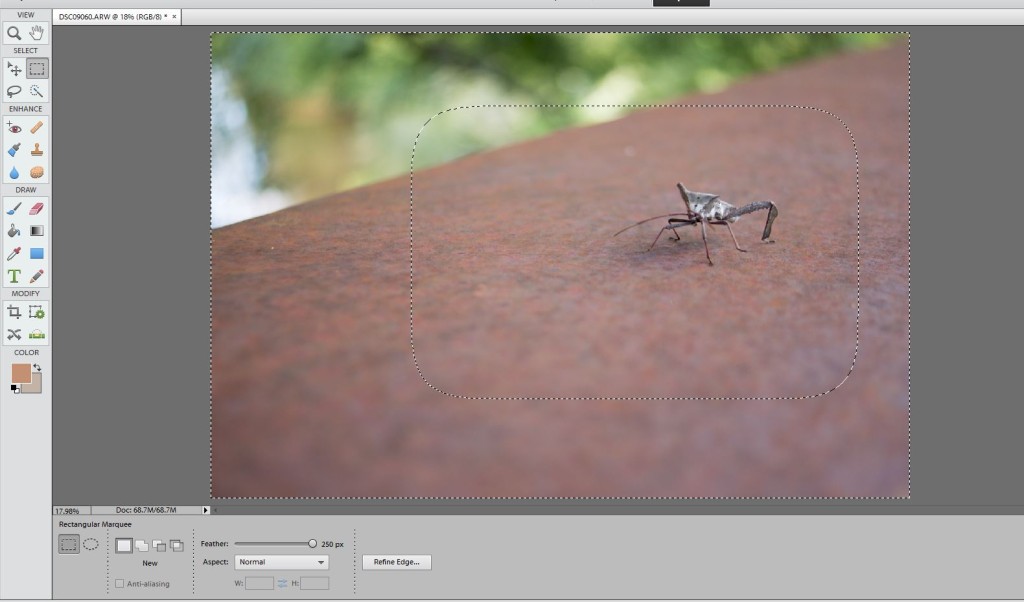
- Select the Rectangular Marquee Tool and change the feather settings to 250px
- Use the Rectangular Marquee Tool to select the part of my image that I don’t want effected by the vignette. You’ll see marching ants around your selection. If you don’t like where the selection ended up press Ctrl+D (or Cmd+D on a Mac) to deselect and try again.
- Right Click inside the selection and then click “Select Inverse.” Your Marching Ants/Selection will look like this now.

- Now right click your background layer and click “Duplicate Layer.” Click Okay.
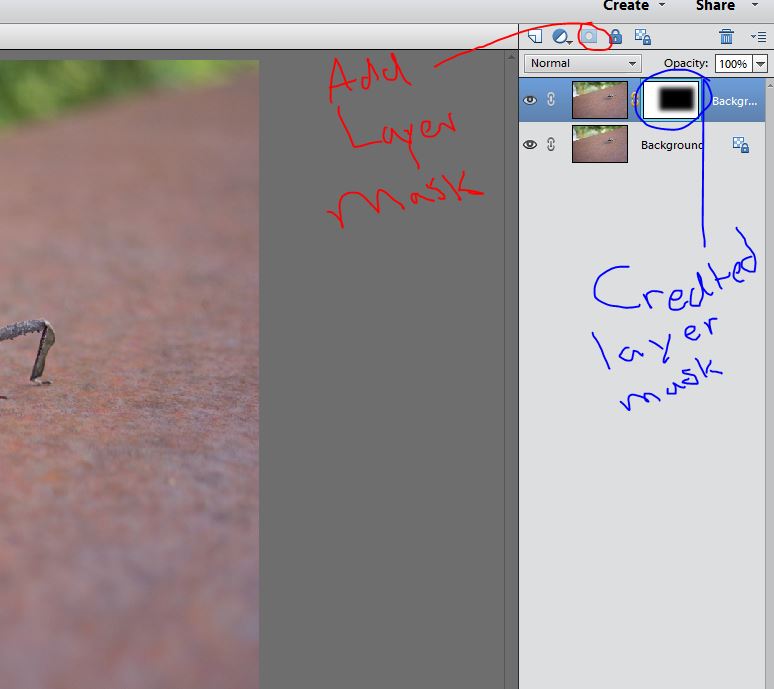
- Then Select the Add Layer Mask Button and your selection will turn into a layer mask.

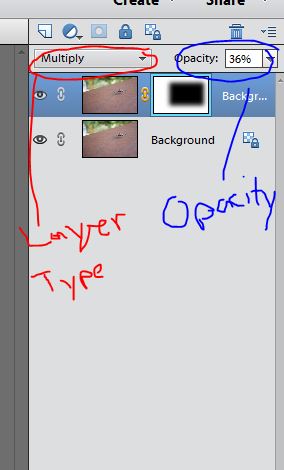
- Now change the Layer Type to Multiply and then adjust the Opacity of the Vignette to your liking.

A quick before and after.
Final Layer Mask Thoughts
I know this was a super quick overview of layer masks, but I want you to know that Layer Masks are the secret superhero power of photo editing software. They are used in everything. I gave a beginners overview but if you want to learn more, I’ll once again send you to Amanda at Everyday Elements for further study.
