11
2014The fun part about doing this class for me has been getting to know and love my “students” (all now friends) in my free beginner photography class. I really feel blessed by these amazing people who stuck with me to the end.
From the beginning, Teddy wanted to make the most of this class. He knew that critique would be the heart of the class and dug right in helping us all grow. And I mean all of us! He critiqued me frequently too. 🙂
Even from the beginning he had a very distinctive style. As I began to get to know him better, I learned that he was an engineer who was extremely precise. He brings this heart to his images with angular lines and precise composition. But he also has a vision of what he wants to create artistically. A heart that wants his viewer to see beauty in the unlikely and purpose in what might seem purposeless.
Here is one of Teddy’s first images. The motion blur was a happy accident and the white balance needed lots of work but you can see the art he was longing to create in this image.
These are some of the images from his Final Project.
28
2014So as of this moment, this might be the only photography project I get to post. Amber has been there since the very beginning and I’m thrilled to show her off. But this is the last call for those of you following along silently or who have dropped off the grid for a season: if you followed along this year and would like me to feature your final project, then shoot me an email with your project and I’ll be happy to do it!
So let me remind you where Amber was when we started this photography course. This is the very first image she uploaded to our group.
Amber’s final project was just to capture her daily mundane. I think your jaw is going to drop at the comparison from the image above and this first image in her project. I’m so excited about how far she’s come!
I’m so proud of you, Amber, I can’t wait to see pictures of your big kids loving on your new little one very soon! 🙂
21
2014And we’re at the finish line.
I really appreciate all of you who have participated both through the whole thing or even through parts. I’m proud of all of your growth.
Today I’ll show you my final project/photo essay and next week I’m super excited to show you Amber’s. Hopefully one or two of the others will add yours in the mix for the following week. If it’s Flickr (and the process of learning it) standing in your way of showing off a final project , feel free to email me your images (quietgracesphotography@gmail.com ) and I’ll be happy to both feature your growth and encourage you.
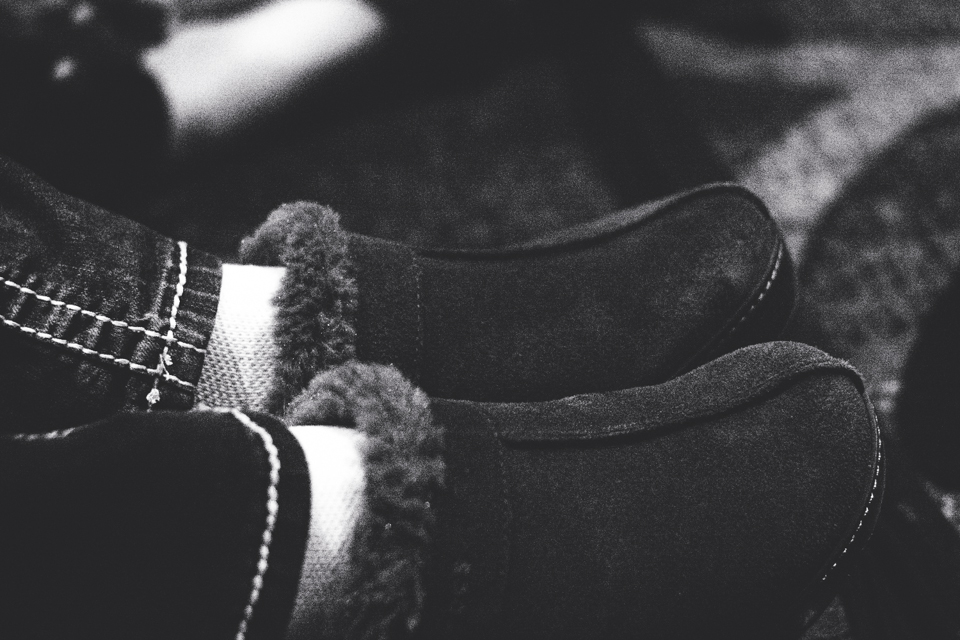
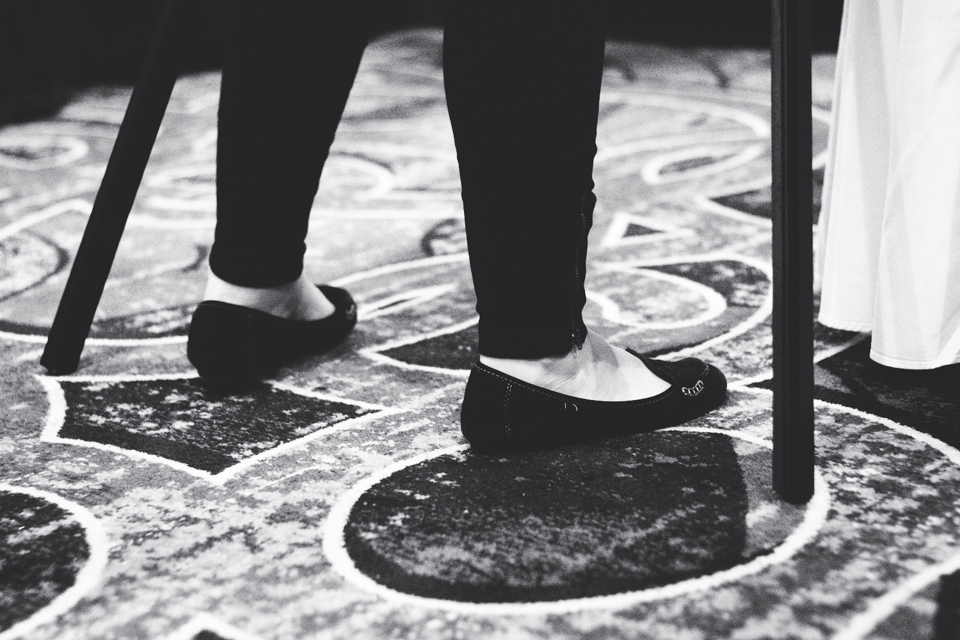
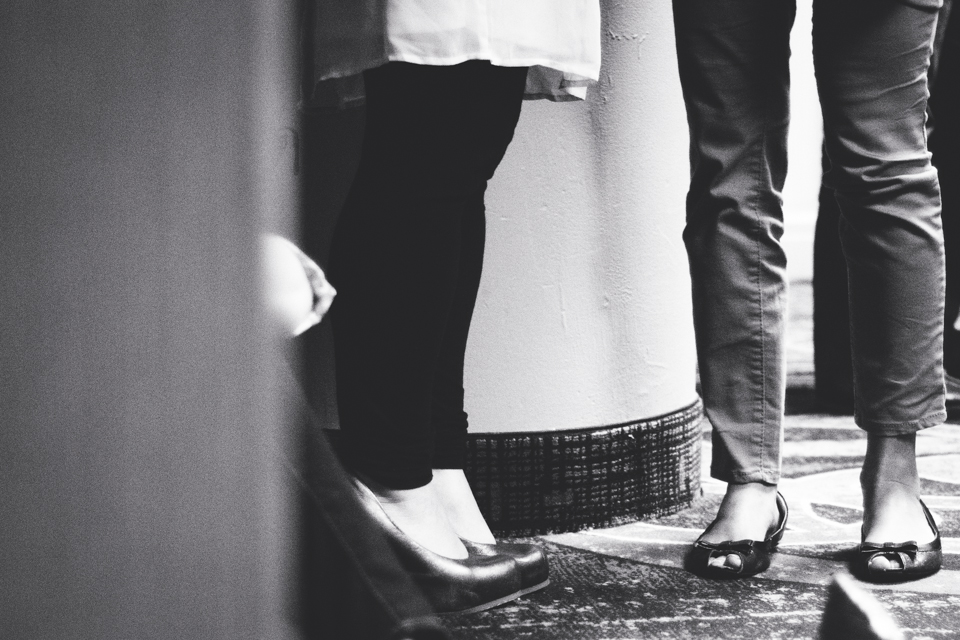
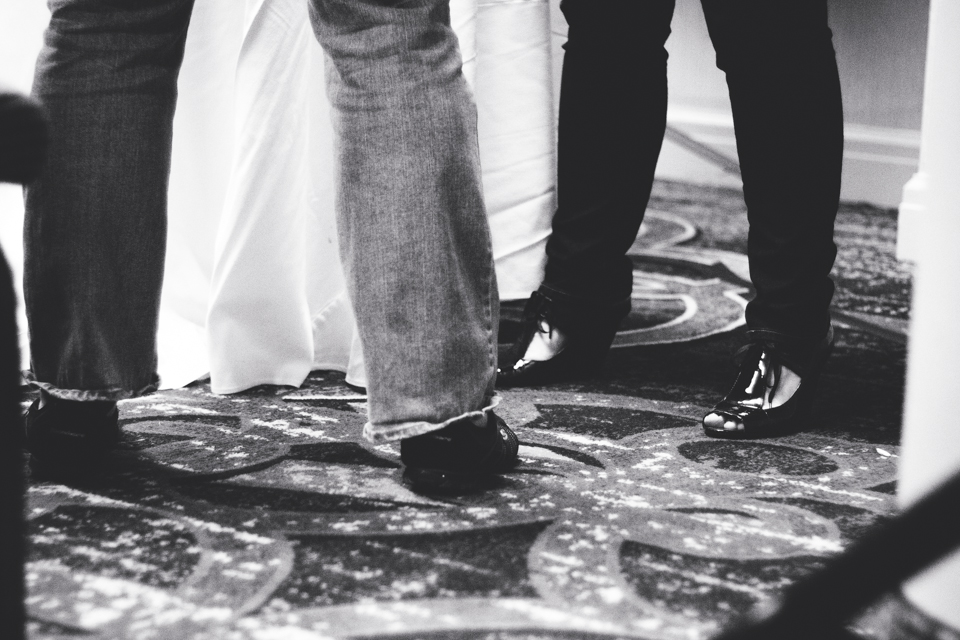
How Beautiful the Feet
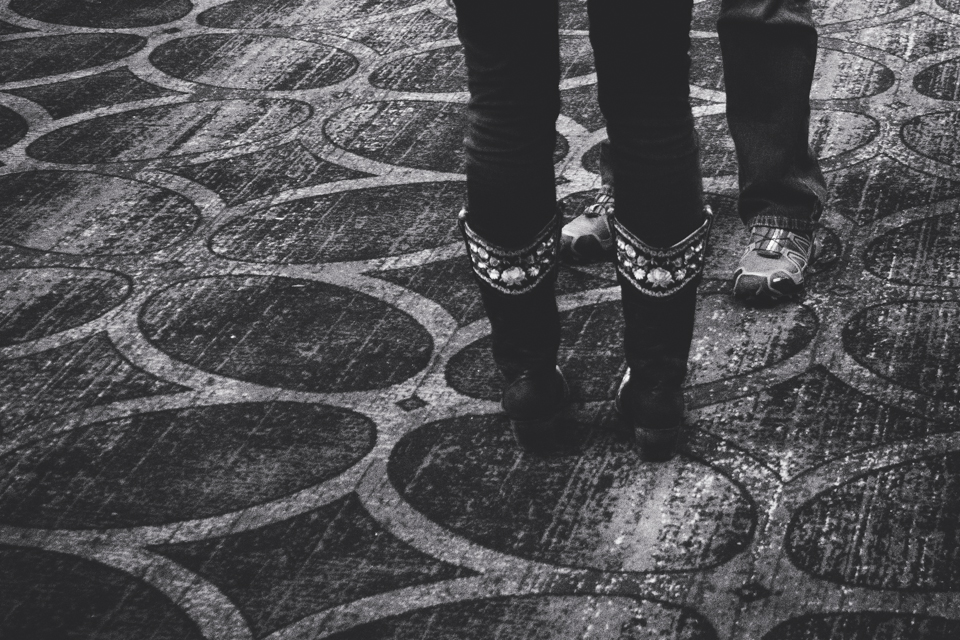
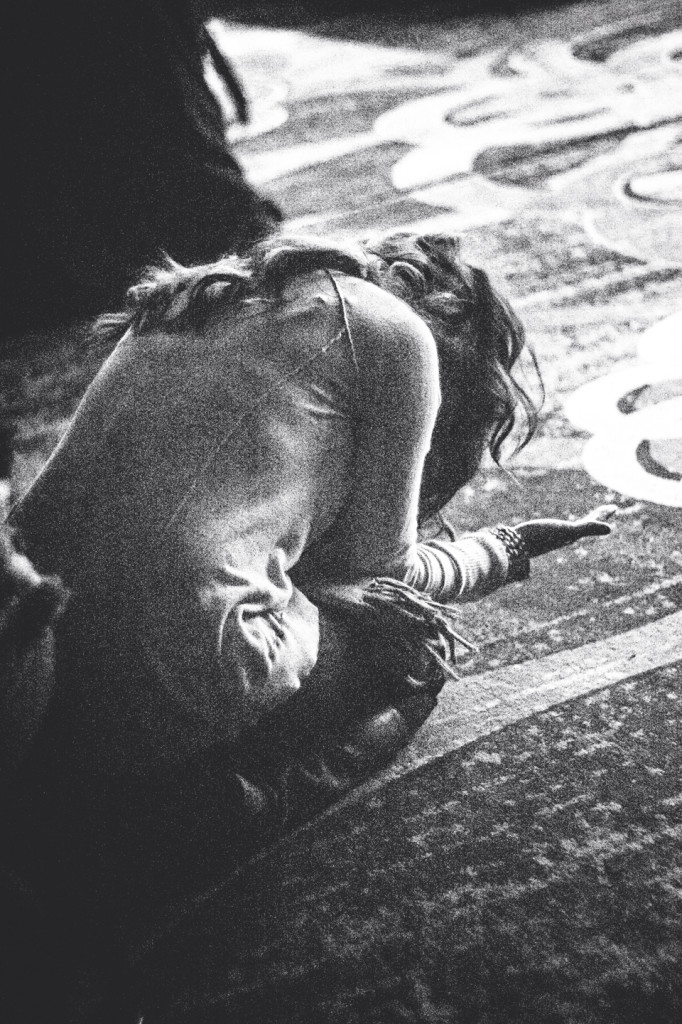
This was not the final project I intended. I had my own thoughts and ideas. And then I was on an elevator scared out of my wits and totally wanting to bail and listening to Ann whisper to herself over and over “How Beautiful are the Feet that Bring Good News”
I stayed in the place of fear because of those words. I learned what I was there for. And I thought about how powerful feet are that move toward another even in fear. How that one movement can change a life’s course.
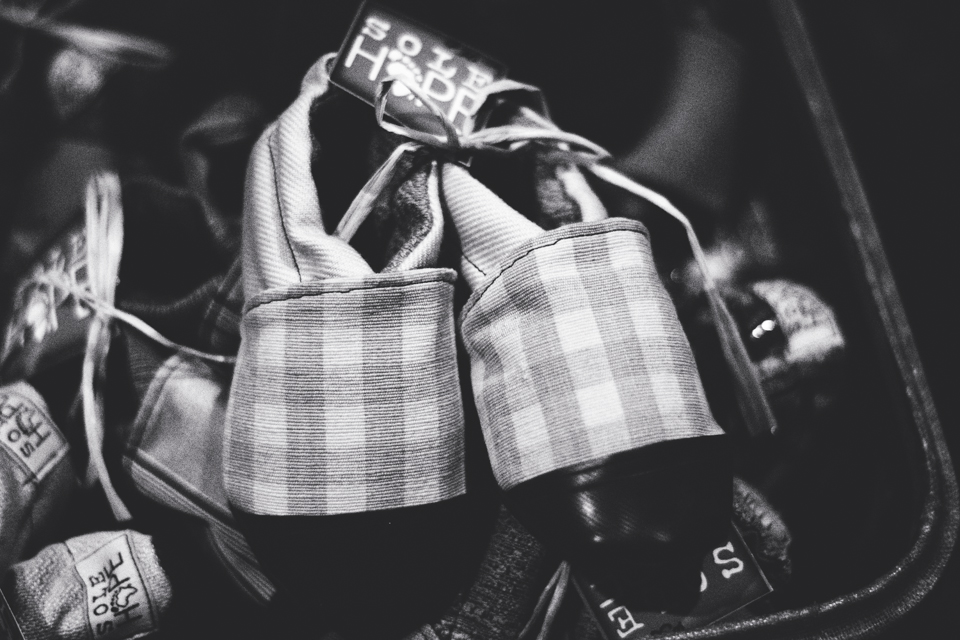
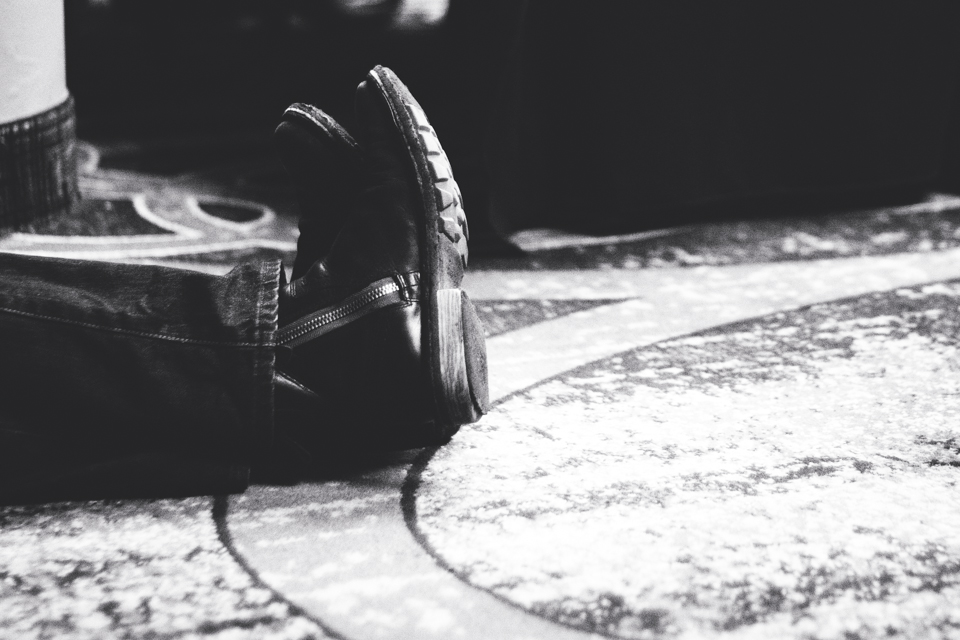
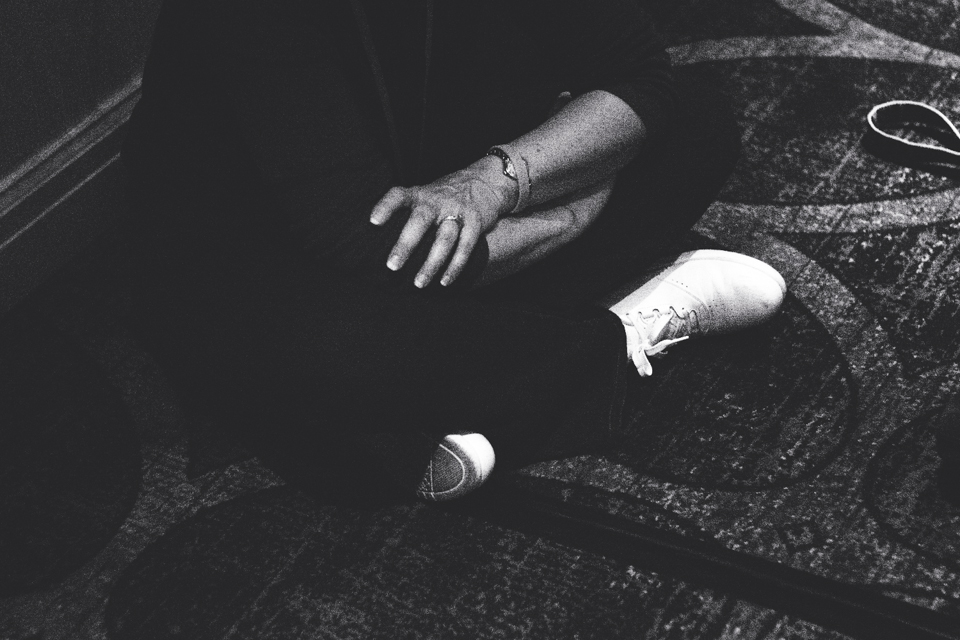
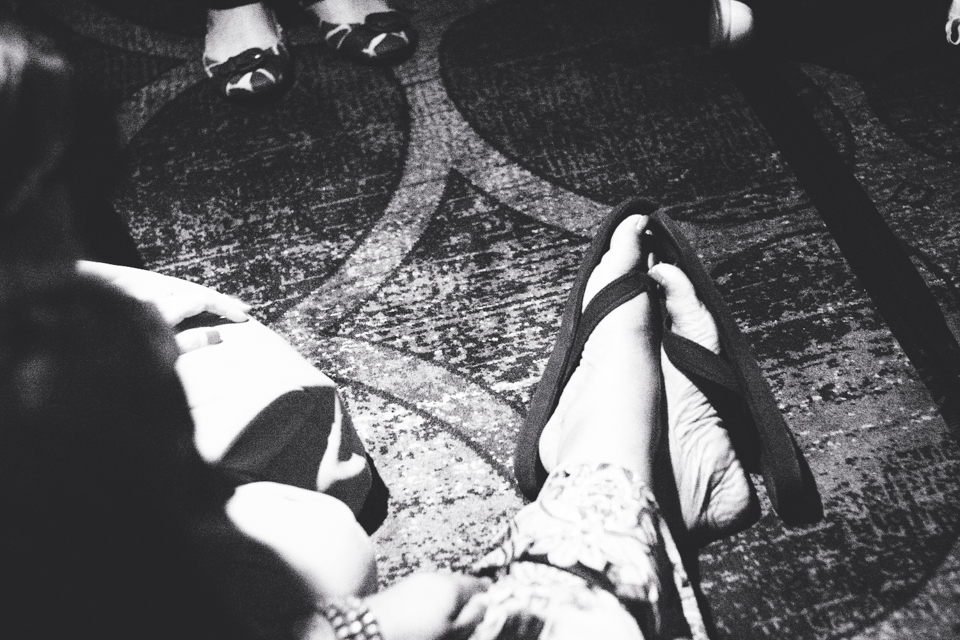
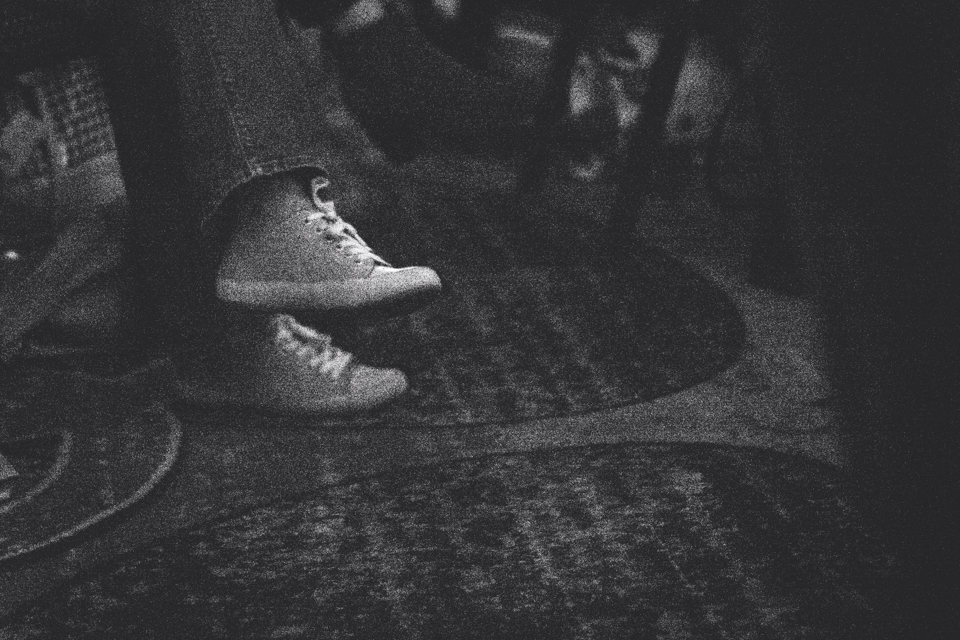
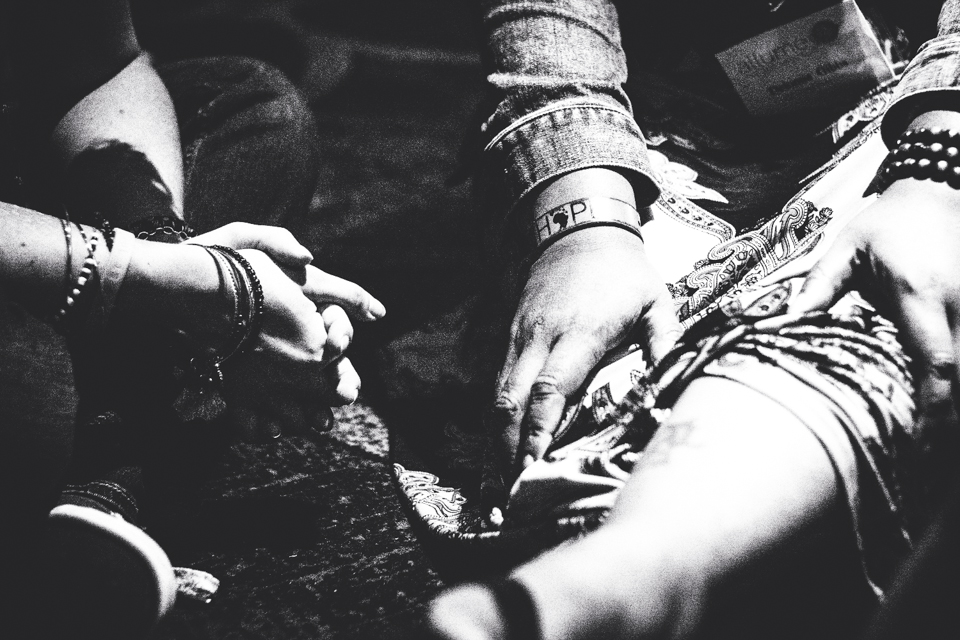
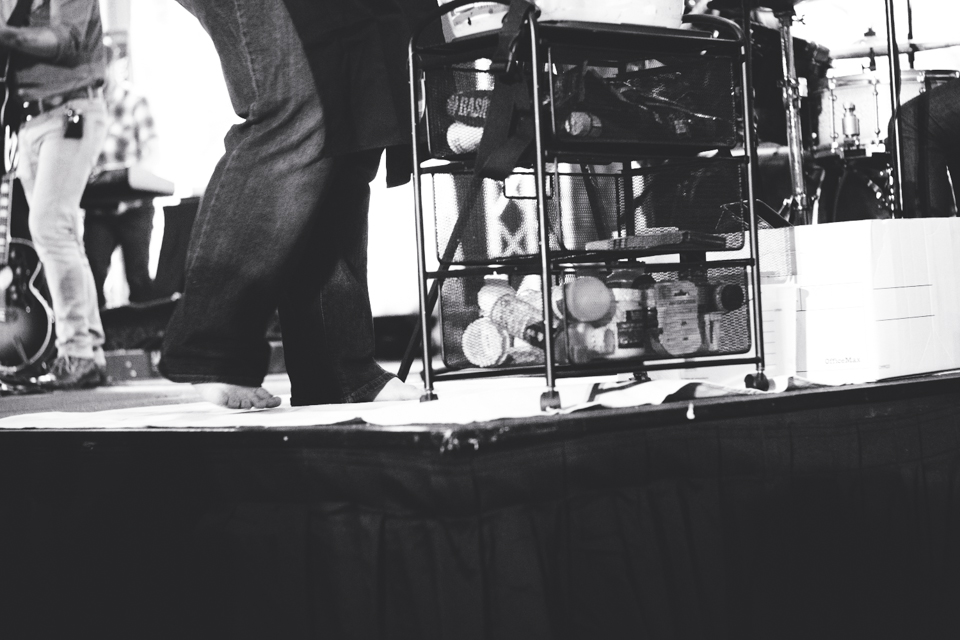
And then I was the weird photographer crawling around in all the Allume conference rooms photographing beautiful feet. Photographing prayer and words of hope and worship. And these little shoes that bear the gospel through Sole Hope.
So here is my final project.
14
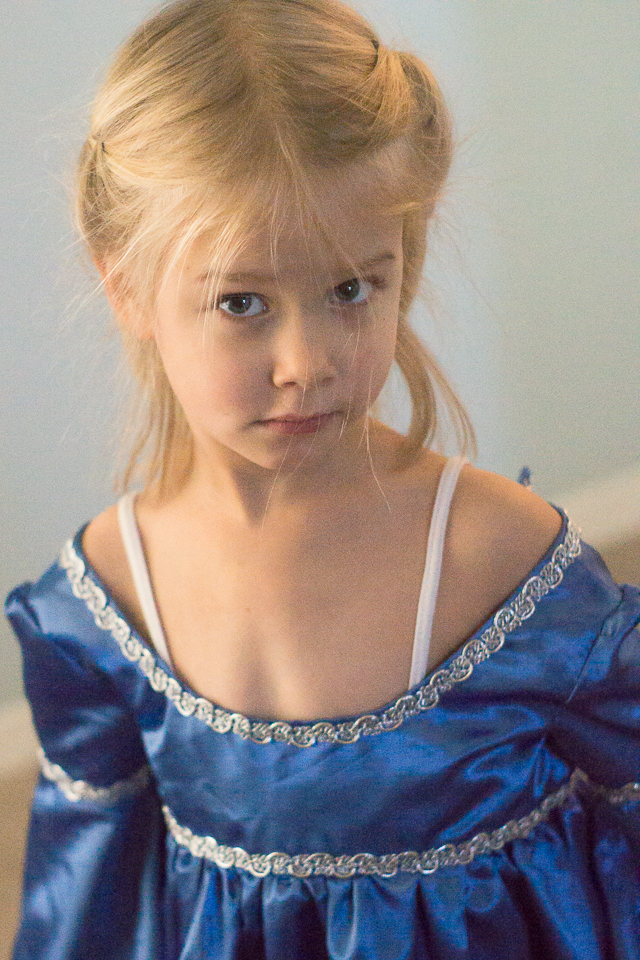
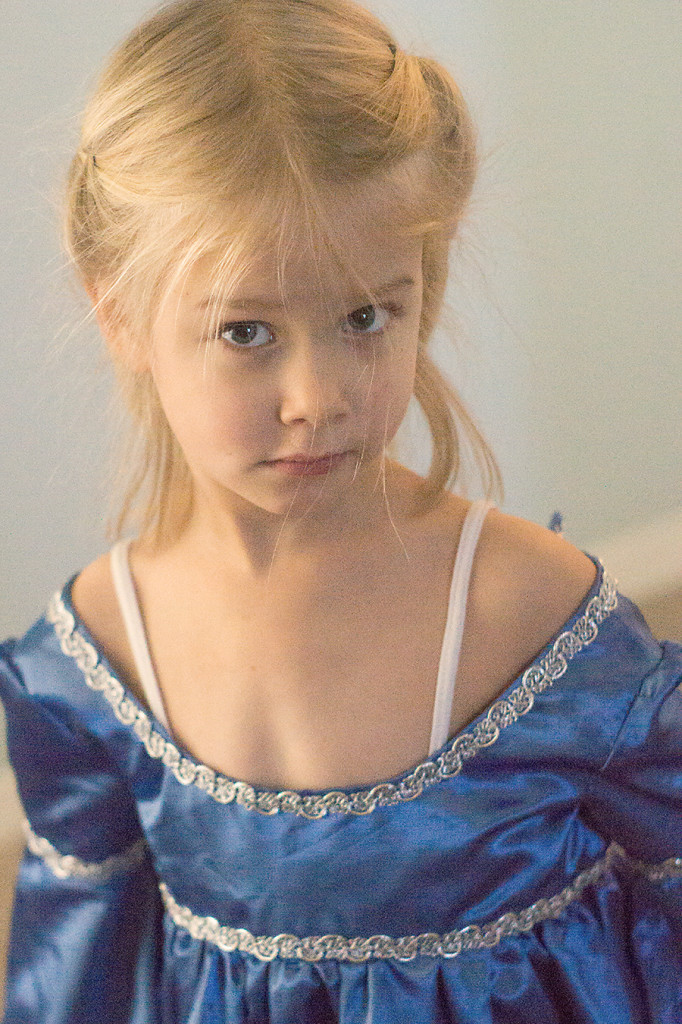
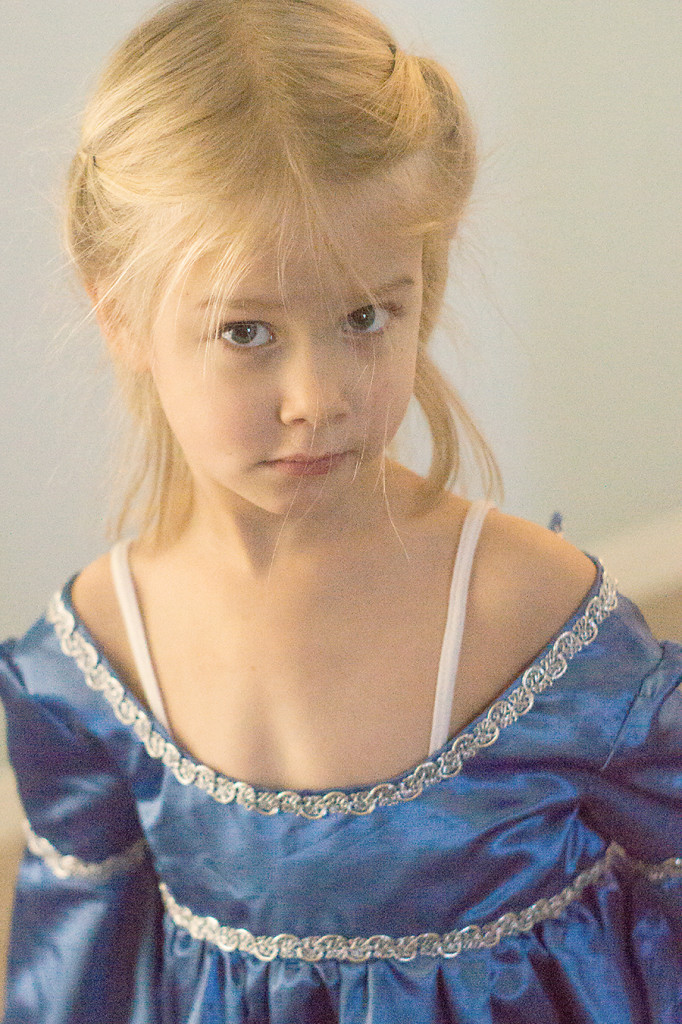
2014Alright, faithful few in this class, this is it! The last in the series. Woohoo! I’m making this short on words and high on pictures. Remember there are 100 ways to do a clean edit or any editing at all. This is the quick stuff I apply to an edit of my own family. Here’s my SOOC (straight out of the camera) RAW file saved as a JPEG so I can post it here. I try to remember to turn my camera back to JPEG to shoot my kiddos in between sessions, but more often than not I forget :-p
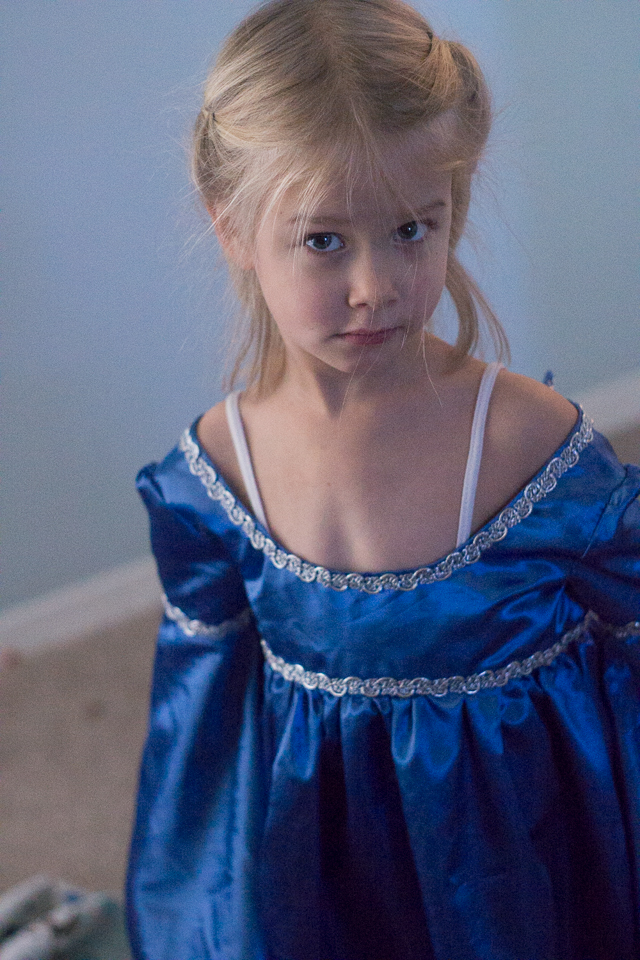
Lightroom Manual Edit
- I did not white balance this image in camera in my blue bedroom with mixed lighting: daylight from the window and florescent from the bulb. (bad Melissa! :-p) So the first think I want to do is use White balance tool on the white in her strap on the left side. You can also use this tool with a grey or black. This is the white balance tool in LR.

- Decide it’s still too cool and move the Kelvin slider to 4976 to warm it up to where I like it.

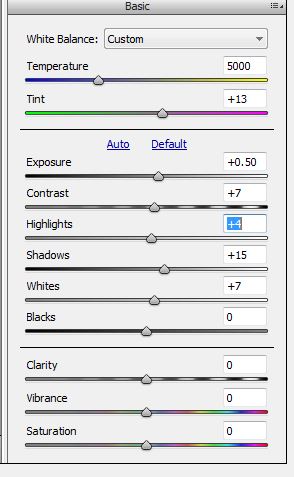
- Bring Exposure and Contrast up to these numbers.

- Play with the Tone curve until I like it

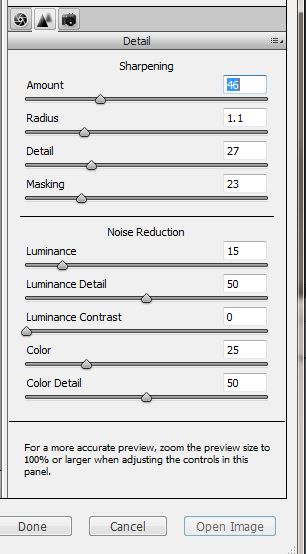
- This image was super noisy (ISO 6400), so I adjusted the details to the following settings to sharpen a bit and reduce noise.

- Cropped
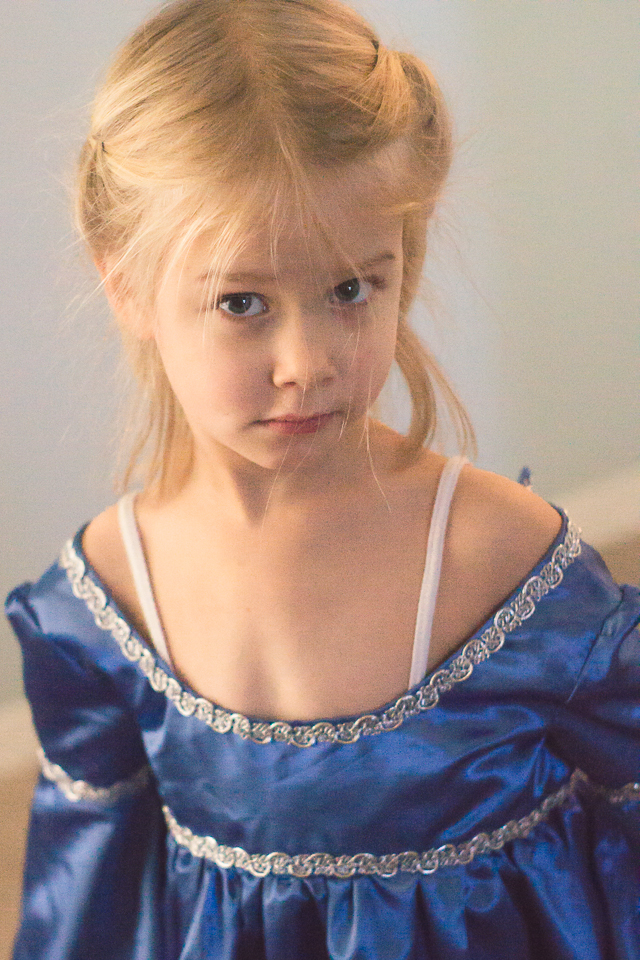
- Here is a the Manual Edit Before/After


- Then for fun I applied Erin Tole’s Nova Preset (my favorite). Here’s that after.

PSE Manual Edit
- Opened in the RAW editor and made the following adjustments. This is really pretty similar to what I did in Lightroom 😉 If I had shot JPEG, I would have had less control over the noise and I would have done the white balance adjustment in a Levels Layer. I probably needed to do some more noise reduction here than I did because it’s really noisy here compared to the Lightroom edit.


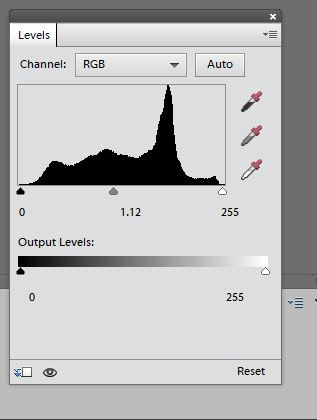
- Opened a levels Layer and Bumped the Midtones

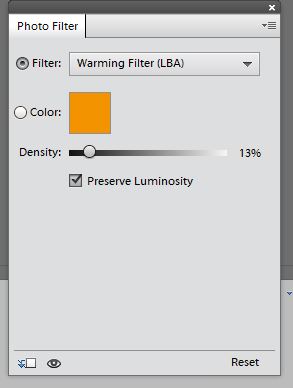
- Still didn’t think this looked warm enough so I added a Photo Filter using the following settings

- Cropped
- Here it is after a Clean Edit.


- Then For Fun I ran Pure’s Golden Sunset Action.

Usually I would do a diptych in PSE to compare images, but I just transferred to a new computer (WOOOOHOOOOOO! I can actually run PSE and LR at the same time!!!!!!! ahem….) and don’t have everything set up to do that yet.
So here is the LR Edit on the Left and the PSE Edit on the Right. There’s really not a whole ton of difference, it just takes a few more steps in PSE 😉
31
2013Hey there, free beginner photography class. Our year is coming to a close now and you all have grown so much. I have about 5 posts left on the agenda and two of those are showcasing the remaining hardcore member’s class projects (ahem). I’ve got a big project in the works for the beginning of January, so here’s the remaining class schedule:
January 14th: How I would edit an image both in Lightroom and in PSE. Step by Step.
January 21: My Final Project (it totally ended up something completely different than I thought it would… and I really need to get a few more shots to complete it).
January 26: FINAL PROJECT DUE DATE.
Technically I just need one person to turn in on this day. I’m totally nominating Amber because most of her project is up already and she’s having a baby very shortly. You hear that, Amber?
January 28: Showcase of Amber’s Final Project
February 4: Showcase of Teddy’s Final Project
February 11: Showcase of anyone else who wants to jump back in (Jessica? Teresa? Andrew? Olivia Fulmer—I know you read these… get out there and shoot for me)
February 18: Showcase of anyone else who wants to jump back in (Jessica? Teresa? Andrew? Olivia Fulmer—I know you read these… get out there and shoot for me)
Any other Tuesdays I might need for your final projects… and then I’ll close out with some final thoughts. If you’re just now stumbling onto this class, I’m planning on reworking and re-releasing this for 2015. I’ll likely get a whole ton less wordy for that go round :-p
Editing Software on Automatic
So I promised I would share some of my favorite actions and presets for those of you who wanted to do somethings on autopilot. So here’s my favorite sources and much loved actions in my unusually small arsenal.
Actions
How to Install Actions
Favorite Free Actions
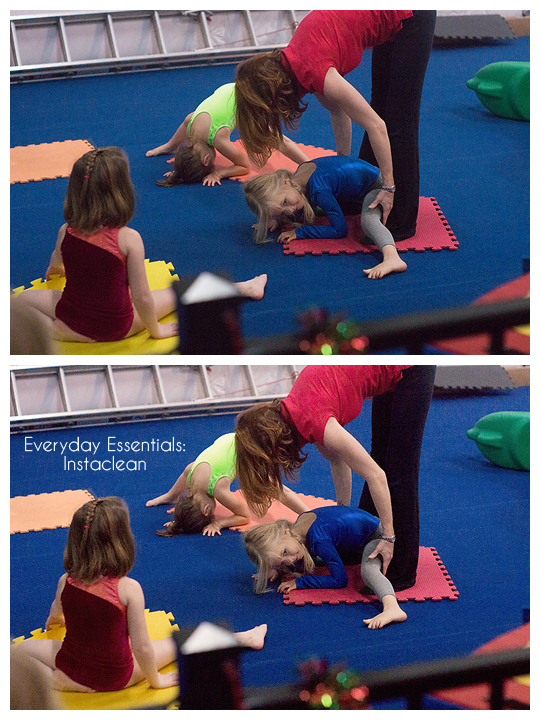
Everyday Elements (my favorite is InstaClean)
Coffee Shop (I don’s use a lot of hers now that I’ve developed my own style… but there are some great ones here!)
MCP Actions Freebies (Facebook Fix is a Must have for me)
Paint the Moon Freebies (My Favorite is no longer free, but if you like her style, these are so fun!)
Pure Actions Freebies (My favorite is Baby Max BW and Taste of Pure No Ordinary Slumber)
Favorite Paid Actions
I have and love MCP Newborn Necessities (more the retouching actions than the effects actions), but I think Complete Workflow looks amazing for a beginner wanting to invest!
I’m pretty sure I would love Everyday Essentials (but I’m committed not to buying anything action related)
Lightroom Presets
Keep in mind I have only had Lightroom for about 2.5 months at this point. I haven’t amassed a lot of presets because I knew what I wanted out of Lightroom and just invested quickly in what I needed.
How to Install Presets
Great post by Pretty Presets on how to install presets.
Free Presets
Besides the Black and White Film Presets I talked about in the Black and White Post: I have used some of these.
Presets Heaven Project 365 has some great black and whites.
MCP Actions Freebies: I love some of these very much.
Paid Preset
The only set I own is Erin Tole’s Big Sky Presets. I’m not a fan of her black and white because I’m a black and white purist/snob who doesn’t like toning. 😉 But some of them are amazing if I turn off the toning/coloring. I love the color ones though. If I nail exposure, sometimes all I have to do in PSE is smooth the skin and heal any blemishes. That was the time saving that I bought LR for!
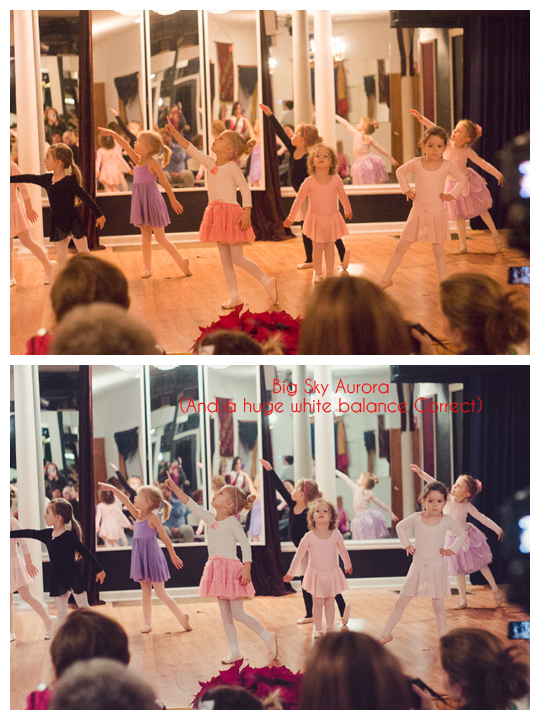
To be fair, I could NOT get white balance in this mixed lighting room. It was insane! So I made a huge white balance adjustment in Lighroom. About to test out a coffee filter trick…
Pretty Presets is one I’ve heard amazing things about if you want to invest!
